Multicolour 3D printing without an AMS or MMU
You do not need a filament changer to print in colour. Any printer can pause at a layer while you load the next filament. The trick is choosing models whose colours sit at different heights.
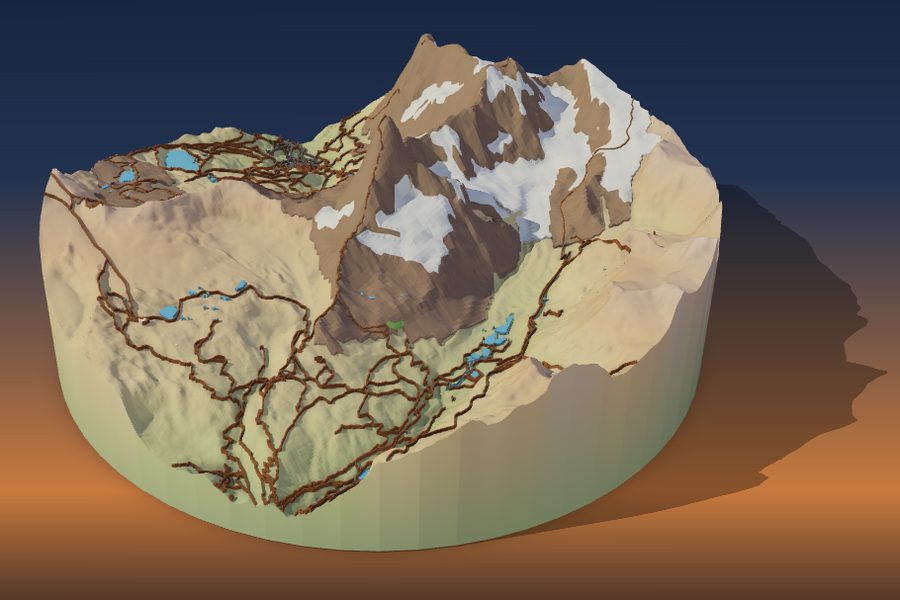
How colour by height works
A printer builds a model one layer at a time from the bottom up. If you change the filament at a certain layer, everything above that height prints in the new colour. Do it three times and you get four colours, with no extra hardware.
The catch is that each layer can only be one colour. Colour by height gives horizontal bands, so it suits models where the colours are stacked:
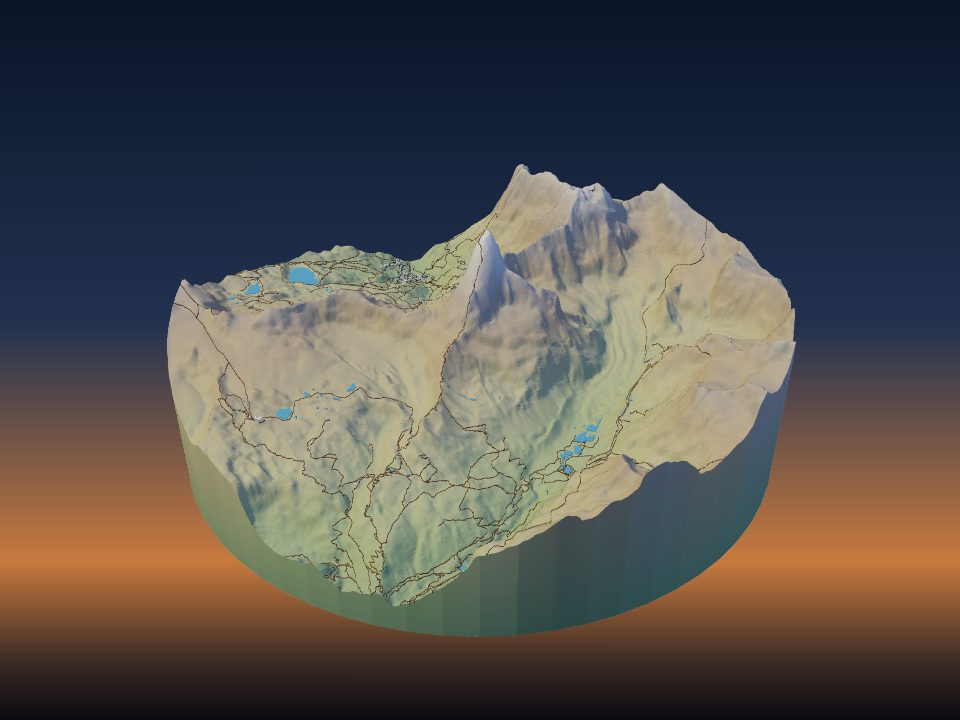
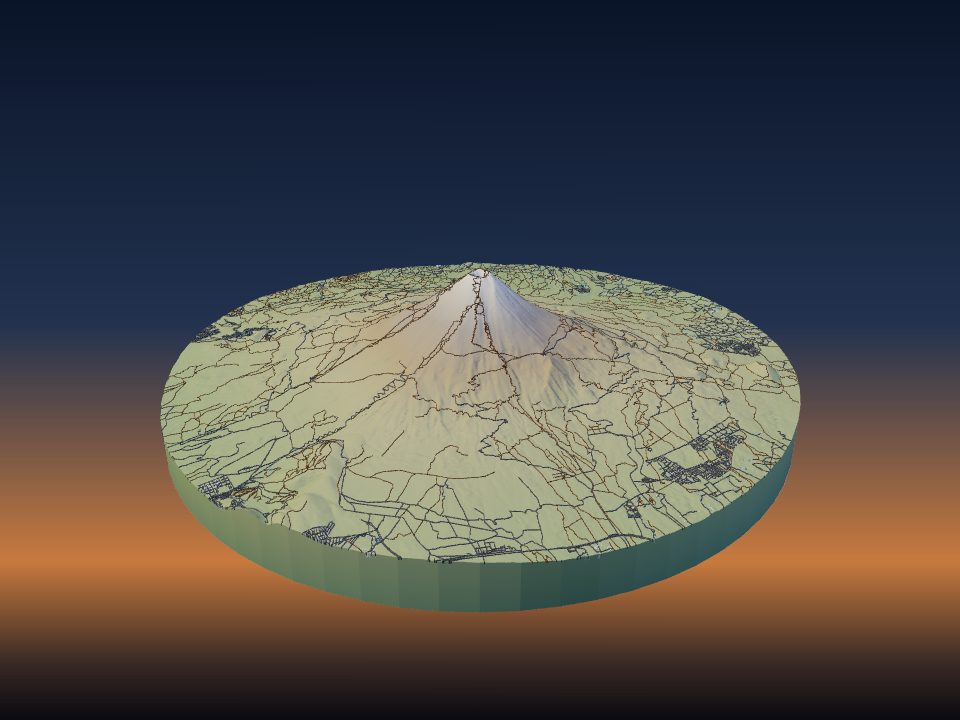
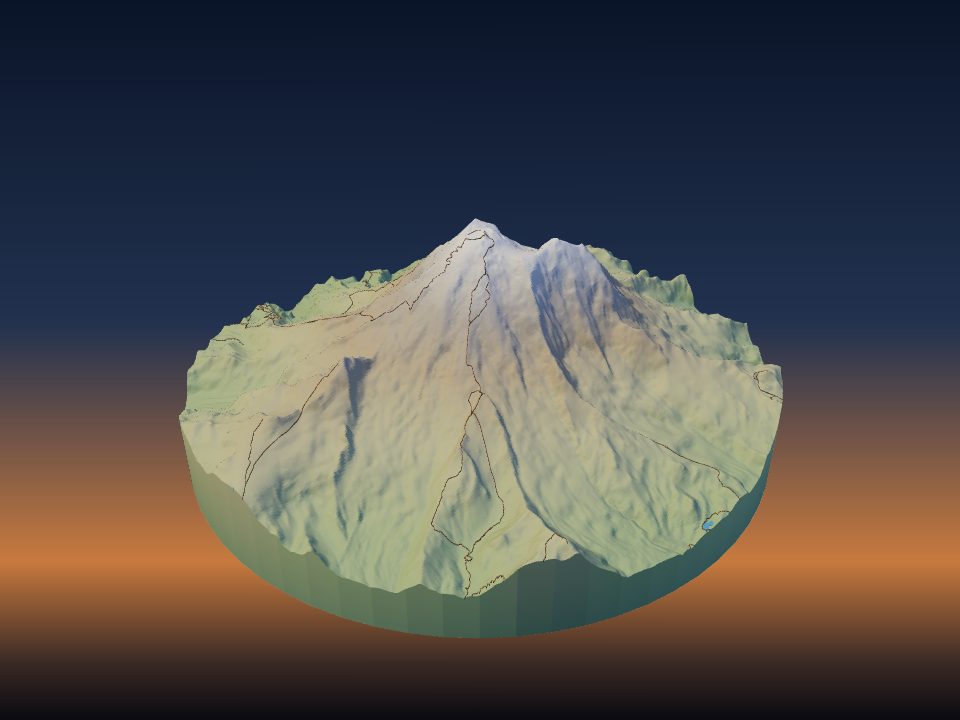
- Mountains: green valleys, grey rock, white snow on the peaks.
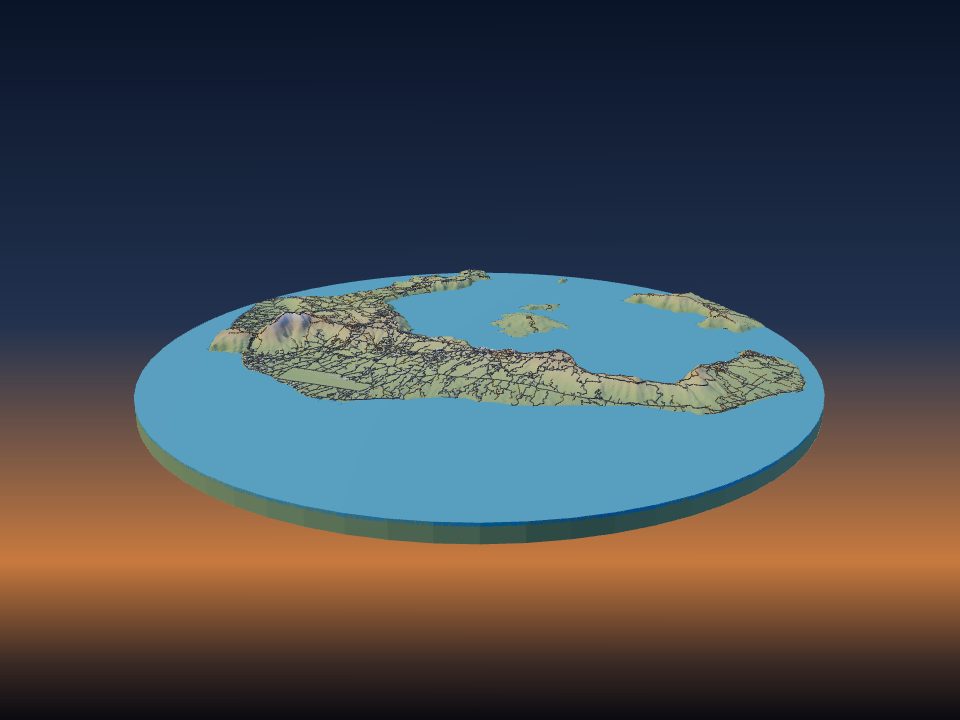
- Coasts and islands: blue sea, sand, then land.
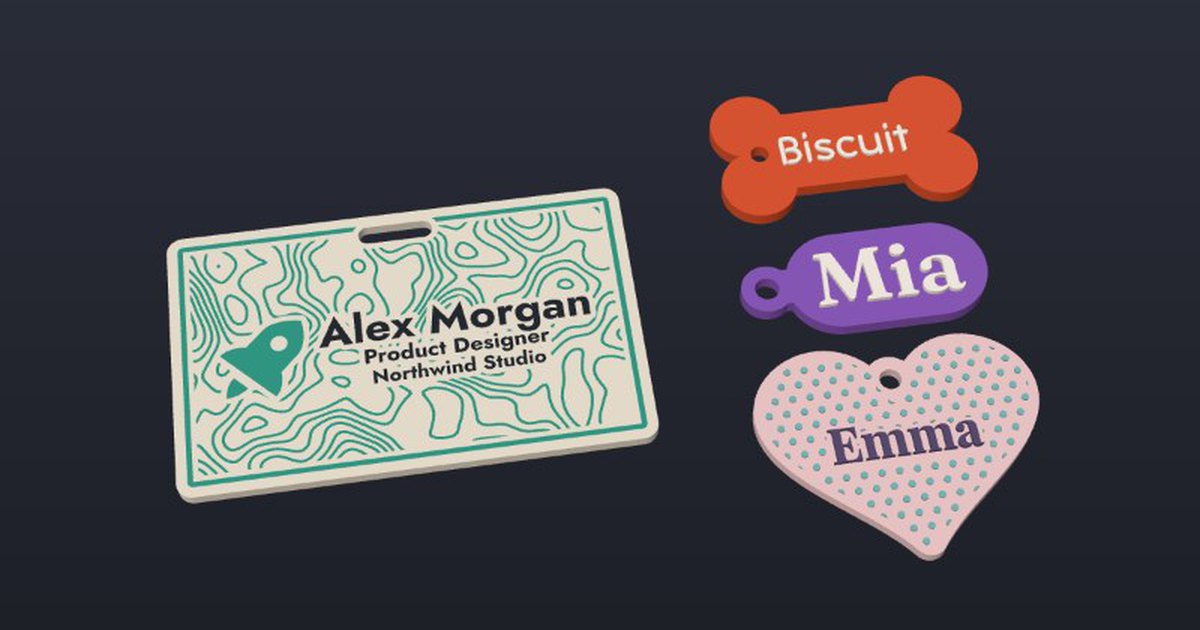
- Signs, name tags and keychains: a base in one colour and raised letters in another.
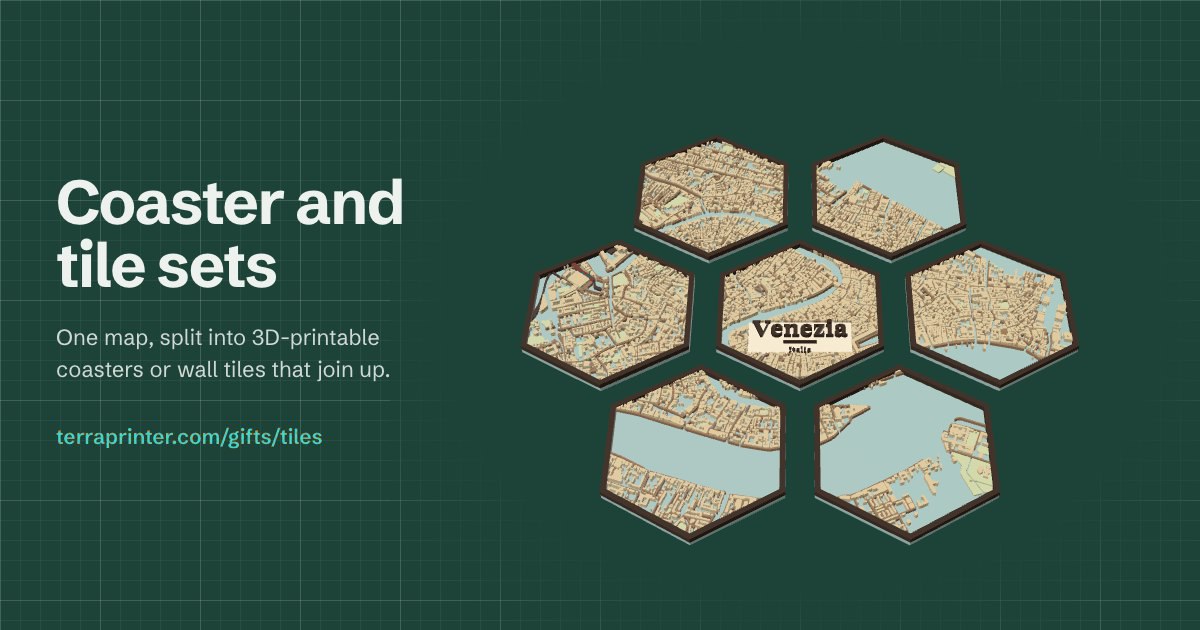
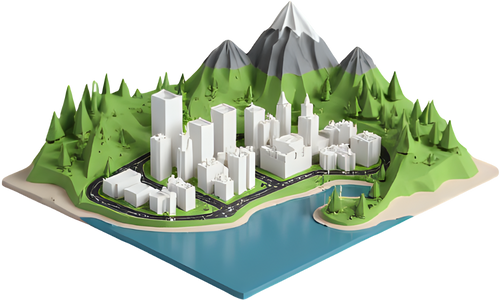
- Flat city maps: the ground in one colour and the buildings rising out of it in another.
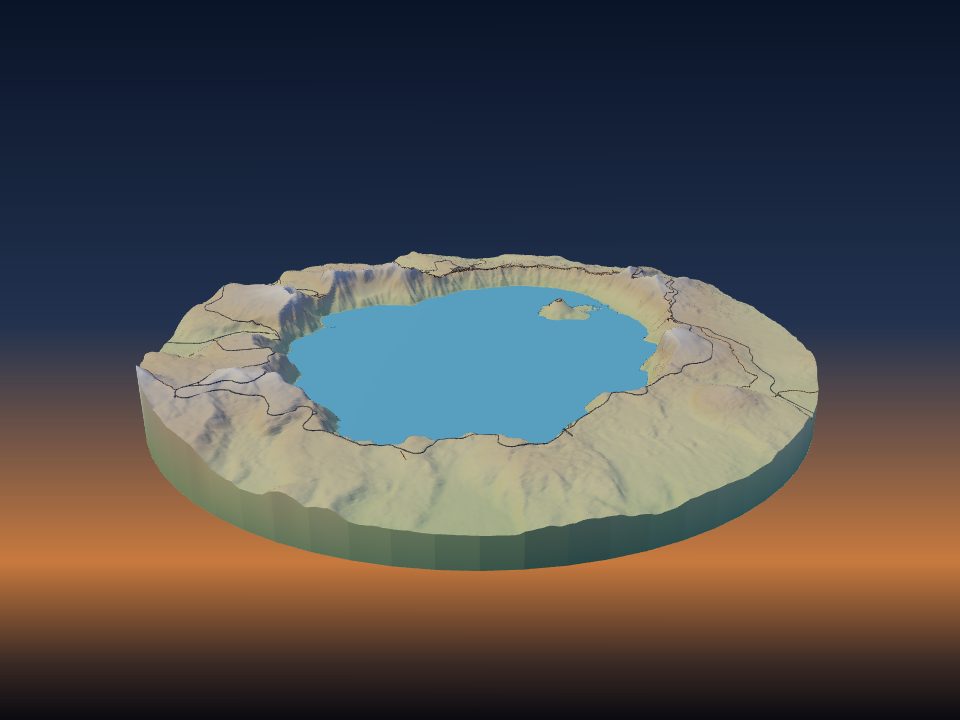
It does not work when two colours share the same layers, such as a blue lake beside green grass at the same height. That needs a multi-material printer.
Plan the swaps before you slice
Finding the right layers by hand is fiddly. TerraPrinter works them out for you. Generate a model, open the 3D preview, press Make adjustments and choose Colour plan.
It lists each colour the model uses with the parts in it, and the grams of each colour once the estimate is ready. Under One nozzle: swap by hand, pick your layer height (0.12, 0.16, 0.2 or 0.28 mm) and it gives you the steps:
- which colour to start with;
- each pause as a height in mm and a layer number, and which colour to load there.
If the colours share layers, the Colour plan says so instead of giving steps that would come out wrong. Print the colour card gives you a page to keep by the printer.
Make a model that stacks its colours
Some settings in the app turn almost any place into a model that colour by height can print:
- Height bands (in Surface colours, step 4, Print) colours the terrain by elevation, from 2 to 12 bands. Each band starts at a height, so it maps one to one onto filament swaps. Choose Even steps for evenly spaced heights or Equal area to give each colour about the same share of the model.
- Flat model in the Terrain panel prints the ground flat while buildings, roads and water keep their own heights. A city then becomes ground, then roads, then buildings, each above the last.
- Give layers that print at the same height the same colour. Roads and the ground around them can share one, for example.
Open the Matterhorn with height bands, press Generate, then open the Colour plan to see the swaps.
Add the pauses in your slicer
Every common slicer can stop at a layer for a filament change. Slice the model, open the layer preview, move to the layer the plan gives you, and add the change there:
- Bambu Studio and OrcaSlicer: in the preview, right-click the plus button next to the layer slider and choose Add pause or Change filament.
- PrusaSlicer: in the preview, click the plus icon on the layer slider to add a colour change (M600) at that layer.
- Cura: Extensions → Post Processing → Modify G-Code → Filament Change (or Pause at height), and enter the layer number.
Slicers count layers slightly differently, so check that the preview shows the colour change at the height in mm the plan gives, not only the layer number.
At the printer
- Stay nearby when a pause is due. Most printers keep the bed heated while paused, but a long pause on a large print can let the edges cool and lift.
- When loading the new colour, push filament through until it comes out clean, with no streaks of the old colour, before resuming.
- Pull the purged strand away from the nozzle before the print continues, so it is not dragged across the model.
- Light colours over dark ones may need an extra layer or two to cover. Start a white snow cap one layer lower than you think.
Quick win: a snow cap with one swap
The simplest colour print is one swap: grey or brown for the mountain, white above the snow line. In the 3D preview, open Make adjustments, then Layer preview. Drag its slider until the white starts where you want the snow, and note the layer number and height it shows. Add one colour change there in your slicer.
For more on colour, including multi-material printers and colouring the land itself, see how to 3D print a multi-colour map.