How to reduce purge waste on multicolour prints
Every filament change on an AMS, MMU or similar purges the old colour out of the nozzle. On a small multicolour model that purge can outweigh the model itself. Most of it can be avoided.
Where the waste comes from
When a single-nozzle printer with a filament changer switches colour, it has to push out the old filament until the new colour comes through clean. That purge goes into the poop chute or the prime tower. It happens on every layer that uses more than one colour, for every change on that layer.
So the waste depends on three things:
- how many layers have more than one colour;
- how many colour changes each of those layers needs;
- how much each change purges, which is most from a dark colour to a light one.
The size of the model barely matters. A 5 cm model and a 15 cm model with the same layers purge about the same amount, so the waste hurts most on small prints.
Use fewer colours on the same layers
The biggest saving is in the model, before you slice. In TerraPrinter:
- Give parts the same colour. Roads and buildings can share white; parks can share the forest green. Each colour you drop removes changes on every layer it was on.
- Cap the colours. In Surface colours, Filament slots limits how many colours the terrain may use; the least-used colours merge into their neighbours.
- Raise Smallest patch. It joins colour specks smaller than that size (2.5 mm by default) into the area around them. Tiny specks cost a colour change on every layer they touch.
- Try a style with fewer colours. Make adjustments → Styles has one-click sets such as Two colours.
The Colour plan in Make adjustments shows how many grams each colour uses, so you can see which colours are barely used and worth merging.
Stack colours by height where you can
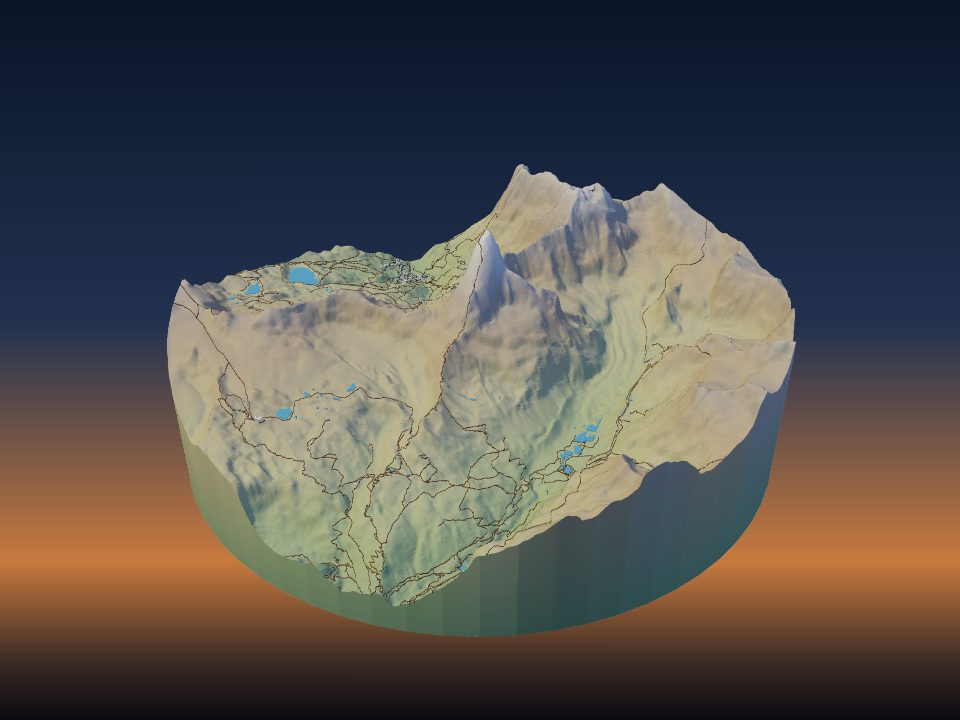
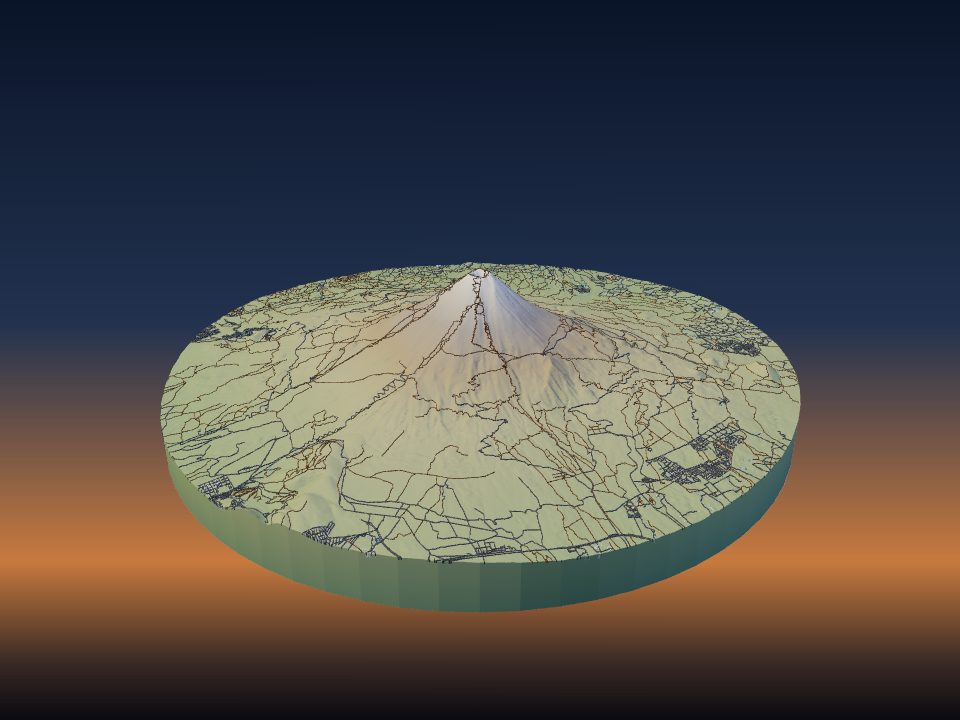
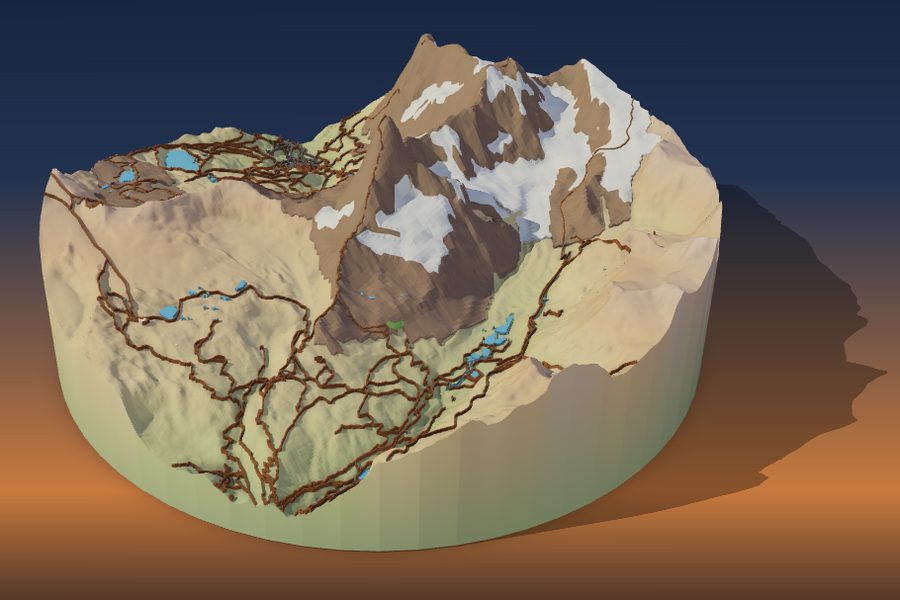
A layer with one colour has no purge at all. Colours that sit at different heights, like snow above rock above forest, only change once per colour for the whole print, instead of on every layer.
Height bands and Flat model both give stacked colours, and models like that can also print on a single-nozzle printer with no changer. See multicolour printing without an AMS.
Slicer settings that cut the purge
Flush into infill or into an object
Instead of throwing the purge away, the slicer can print it inside the model, where it is never seen. In Bambu Studio and OrcaSlicer, right-click the object and open its flush options: Flush into objects' infill uses the purge as infill. PrusaSlicer calls it Wipe into this object's infill. Terrain models have plenty of infill under the surface, so this often swallows a large share of the purge.
Even better, add a small spare object you want anyway, such as a keychain, coaster or test piece, and use Flush into this object (PrusaSlicer: Wipe into this object). It prints in mixed colours from the purge instead of wasting it.
Lower the flushing volumes
The default flushing volumes are cautious. In Bambu Studio and OrcaSlicer, the Flushing volumes button next to the filament list sets how much each change purges, with a multiplier for all of them. PrusaSlicer has Purging volumes in the same place. Lowering the multiplier to around 0.7–0.8 is often fine between similar colours. Print a test piece: if a light colour shows streaks of the previous one, raise it again.
Keep the prime tower small
The prime tower is printed on every layer the model has, even layers with one colour. Use the slicer's default tower width or smaller, and print tall single-colour parts separately if they make the tower much taller than it needs to be.
Pick colours that change cheaply
- Going from a light colour to a dark one needs far less purge than dark to light. Black to white is the most expensive change there is.
- Colours close to each other, such as two greens or a grey and a white, flush quickly.
- If you have a choice, use mid tones for the most-used colours rather than black and white.
Most slicers already order the colours on each layer to keep the purge down, so the choice of colours matters more than the slot they sit in.
Print several at once
The purge is per layer, not per object. Two copies of a model on one plate share the same colour changes, so they purge about the same as one copy. If you are printing gifts, ornaments or tiles, fill the plate in one go.
For a single print, a smaller model with the same colours does not save much purge. A model with fewer colours on the same layers does.