How to paint a 3D printed terrain map
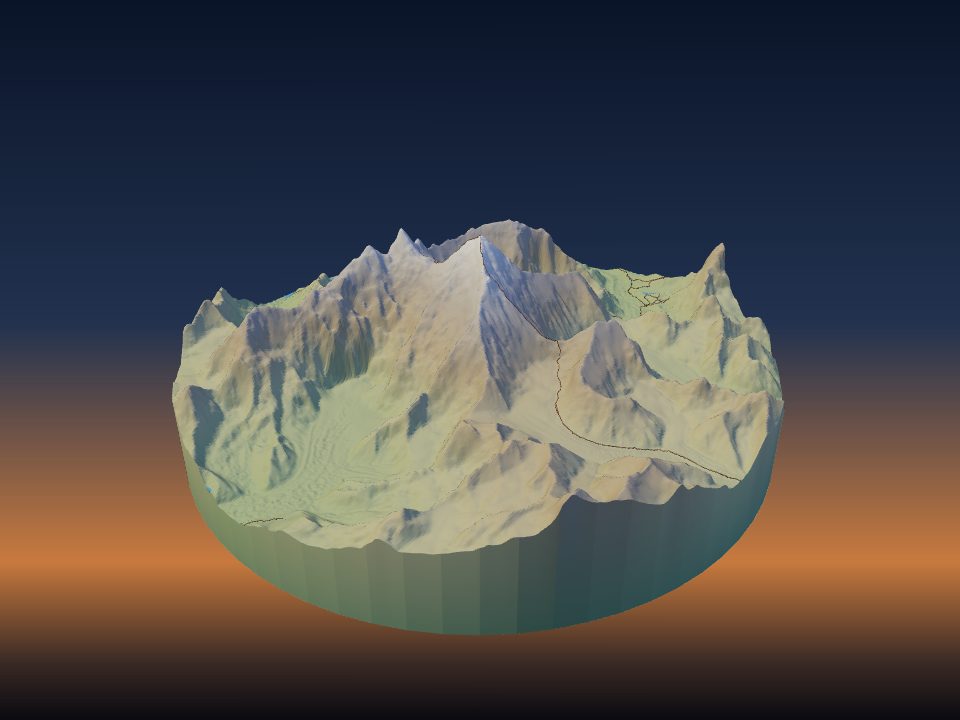
Paint brings out the shape of a terrain print: dark valleys, bright ridges, glossy lakes and white peaks. Most of the work is in a few simple steps, and a little set-up before printing makes them easier.
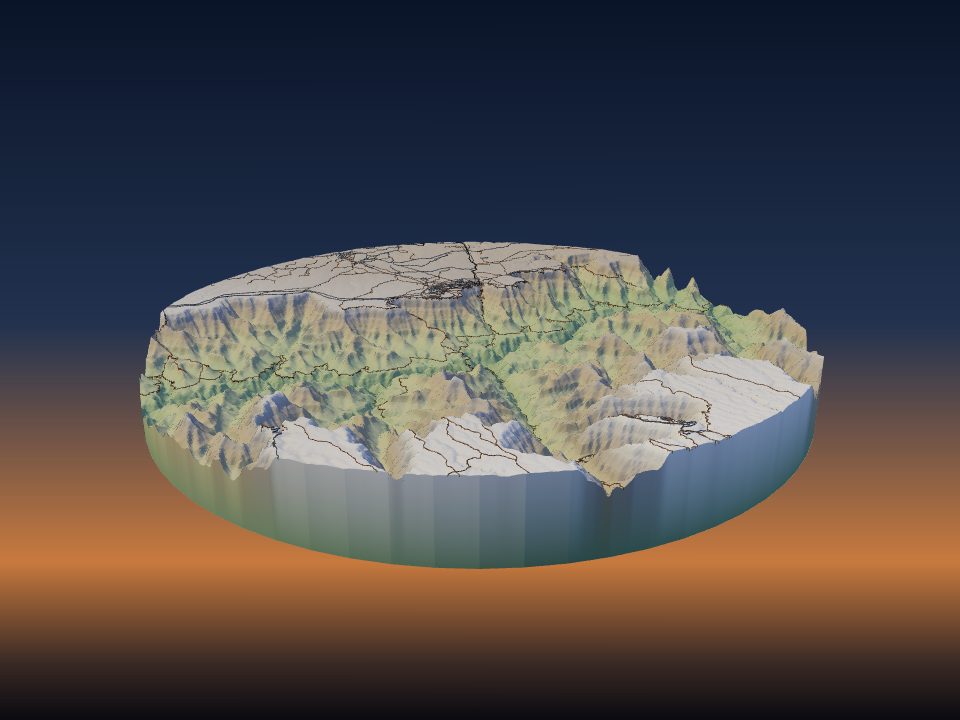
Set up the model for painting
A model made for painting is printed in one light colour, with relief that a brush can catch. A few settings in TerraPrinter help with that before you download.
- One filament. The plain STL download is one merged piece. In the 3D preview, Make adjustments → Styles → All white shows how the model looks in a single colour.
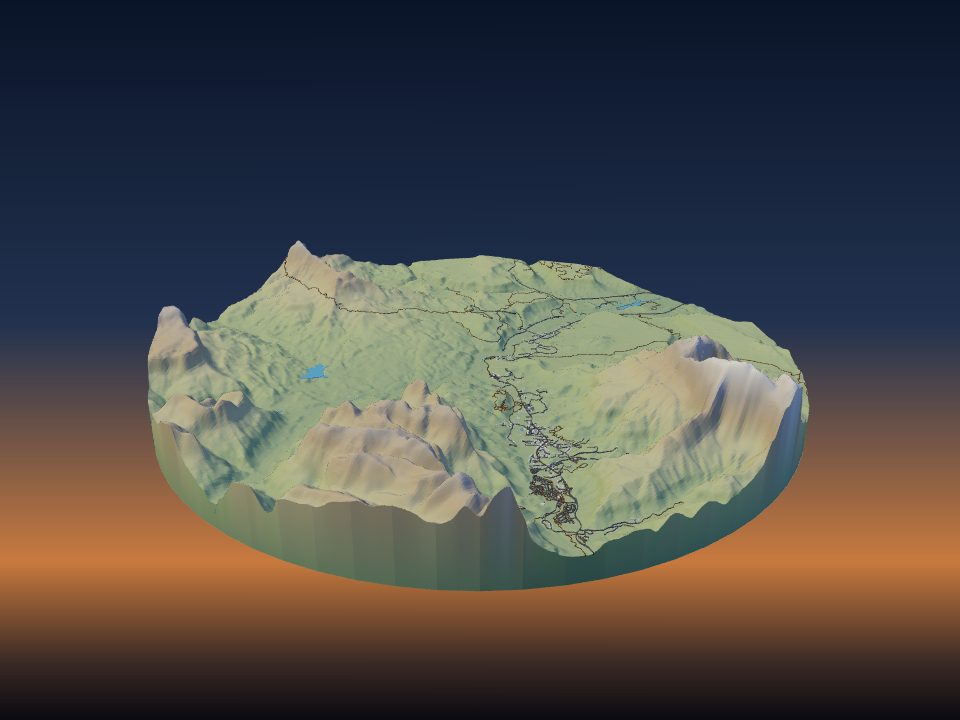
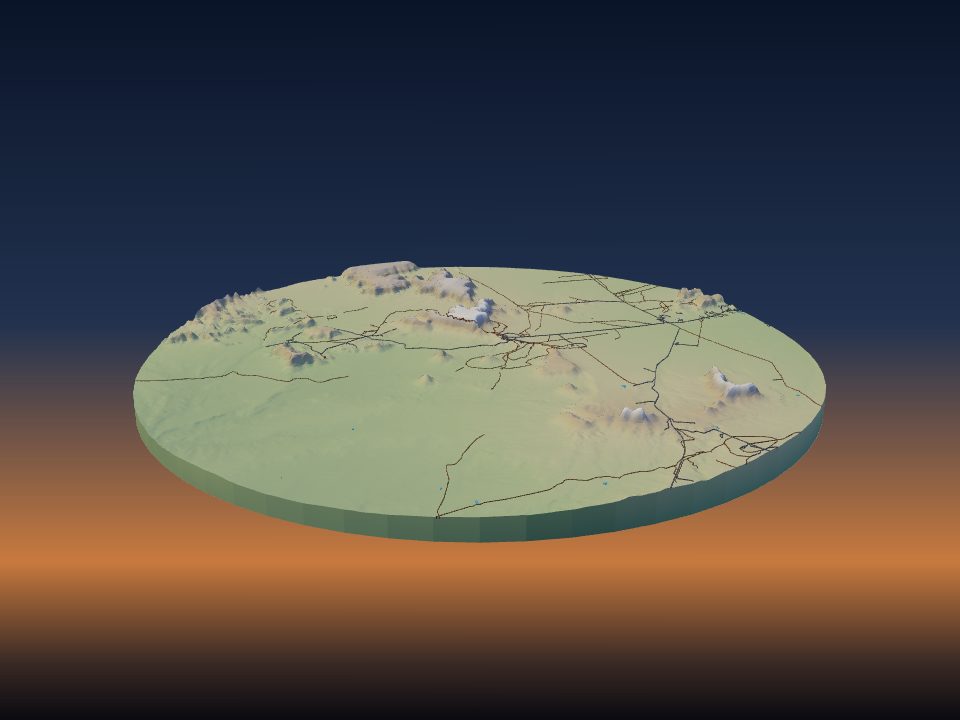
- Relief. The Vertical exaggeration slider in step 1 goes from 0.1× to 10× (1.5× by default). Stronger relief gives dry brushing more edges to catch. See how much vertical exaggeration to use.
- Smoothing. Mesh smoothing (step 2, under Detail and smoothing) softens small bumps in the terrain. Slopes paint more evenly, but fine detail is lost, so use low values.
- Tiny buildings. Hide buildings smaller than leaves out sheds and kiosks that would print as loose specks, which are hard to paint and easy to knock off.
Build painting guides into the print
Some options give you lines and edges to paint against, so you do not need a steady hand.
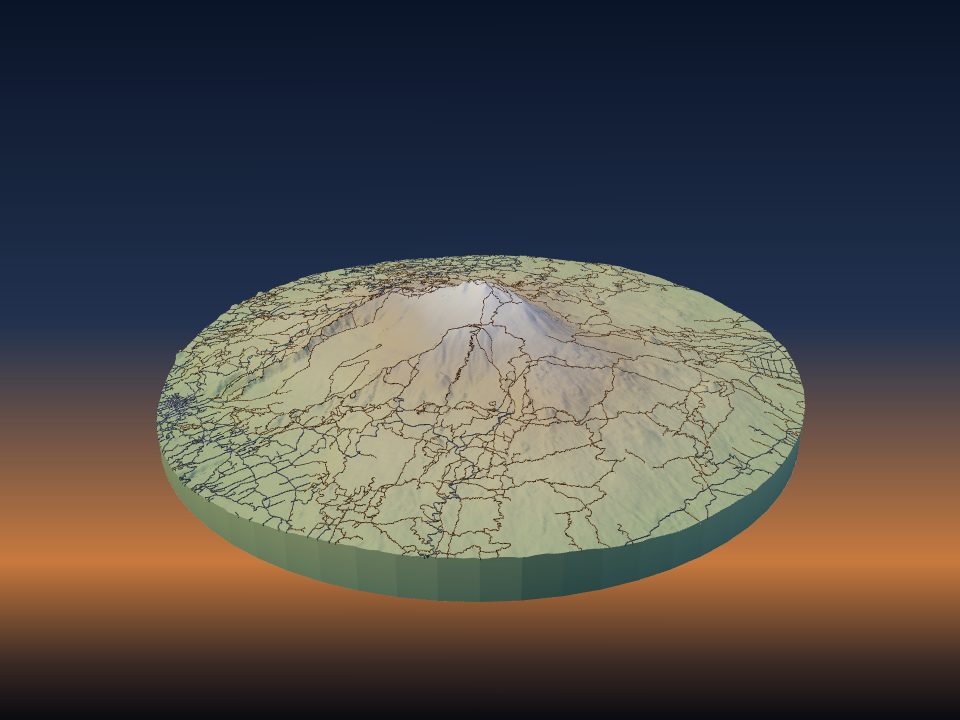
- Contour lines (step 3, under Overlays) are raised lines at fixed elevation steps, from 10 to 500 m apart, 0.2 to 2 mm high. Dry brushing picks them out, and one line can mark where the snow or the tree line starts.
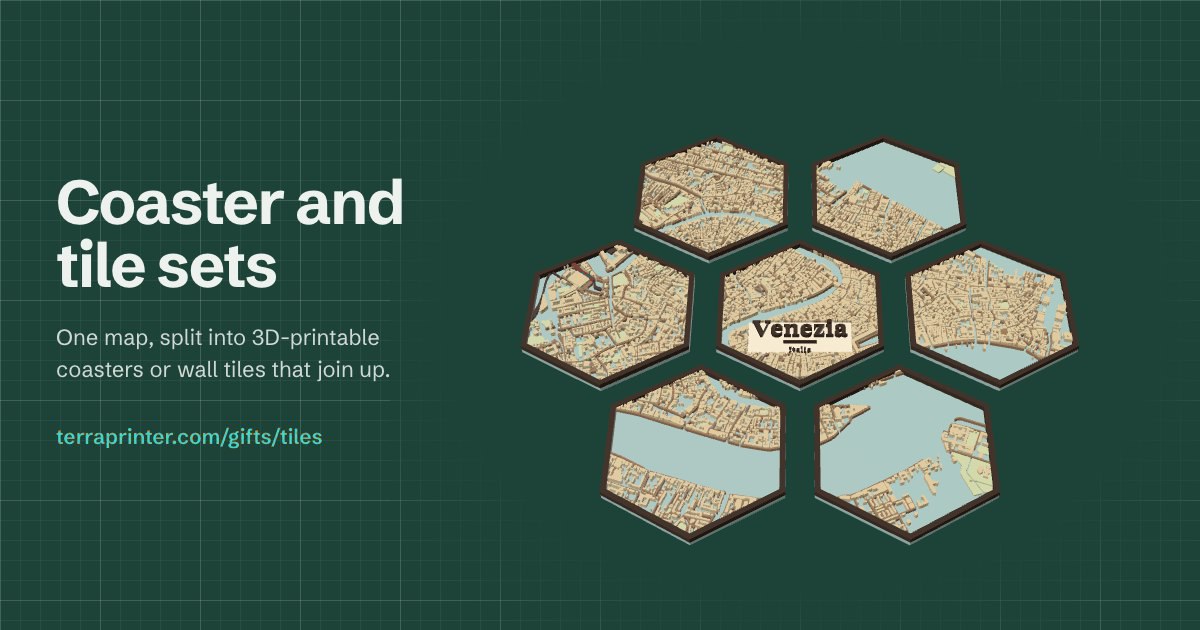
- Frame & label (step 4) adds a raised rim with an optional engraved place name. With Separate frame on, the frame prints on its own and the finished model drops into it, so you can paint the frame and the map separately.
- Base thickness (1 to 20 mm, 5 mm by default) sets the solid block under the terrain. A thicker base gives you something to hold while painting.
You can also mix printing and painting. Print water, roads or buildings in their own filament from the colour 3MF and paint only the land, or the other way round. See how to 3D print a multi-colour map.
What you need
- A spray primer in grey, or black and white for shading.
- Acrylic paints: a few greens, browns and greys, white, and a deep blue.
- A dark wash, ready-made or mixed from paint and water.
- Brushes: a medium round brush, a small detail brush and an old flat brush for dry brushing.
- Matte varnish for the land and gloss varnish for the water.
- Paper towels, a water pot and a palette or old plate.
If you are new to painting, print a small test piece of the same place first. A 50 mm square is enough to try colours and techniques before you paint the real model.
Clean up and prime
Remove the brim and any strings first. Sand only the sides and the base if you want them smooth; sanding the top would blur the relief.
Wash the print with warm water and a little dish soap, and let it dry fully. Clean plastic takes primer much better.
Spray a primer in two or three light coats from about 20 to 30 cm away, rather than one heavy coat that fills the detail. Grey primer is the easiest base for most landscapes.
For stronger shadows, prime the whole model black, then spray white from directly above only. The tops and the sun-facing slopes turn light and the valleys stay dark, which gives you a shading guide before any paint.
Base coats
Acrylic paints work well on primed PLA and PETG. Thin them a little with water so they flow into the texture without hiding it.
Start with the middle tones: green or brown for the land, grey for rock, sand colour for deserts and beaches. Paint large areas first and leave fine details until later.
A satellite photo or a hiking map of the place is a good colour guide. Forest, bare rock and fields often follow the slopes and valleys you can see on the model.
Dry brushing ridges and peaks
Dry brushing makes every ridge, crest and contour line stand out. It is the single most useful technique for terrain.
- Take a flat, stiff brush and a colour a few shades lighter than the base coat.
- Dip the tip, then wipe almost all of the paint off on a paper towel.
- Brush lightly across the surface in different directions. The paint catches only the raised edges.
- Repeat with an even lighter colour, using less pressure, for the highest edges.
Build the effect up slowly. It is easy to add another pass and hard to take one away.
Washes for valleys and shadows
A wash is very thin, dark paint that runs into the low places. It deepens valleys, gullies and the gaps between buildings.
Mix dark brown or black acrylic with a lot of water and a drop of dish soap, or use a ready-made wash. Brush it into the valleys and let it settle.
Dab away any wash that pools on flat areas with a dry brush or a tissue. Let it dry fully before dry brushing over it.
For the best result, wash first and dry brush second. The wash darkens the hollows, then the dry brush brightens the ridges again.
Water, snow and rock
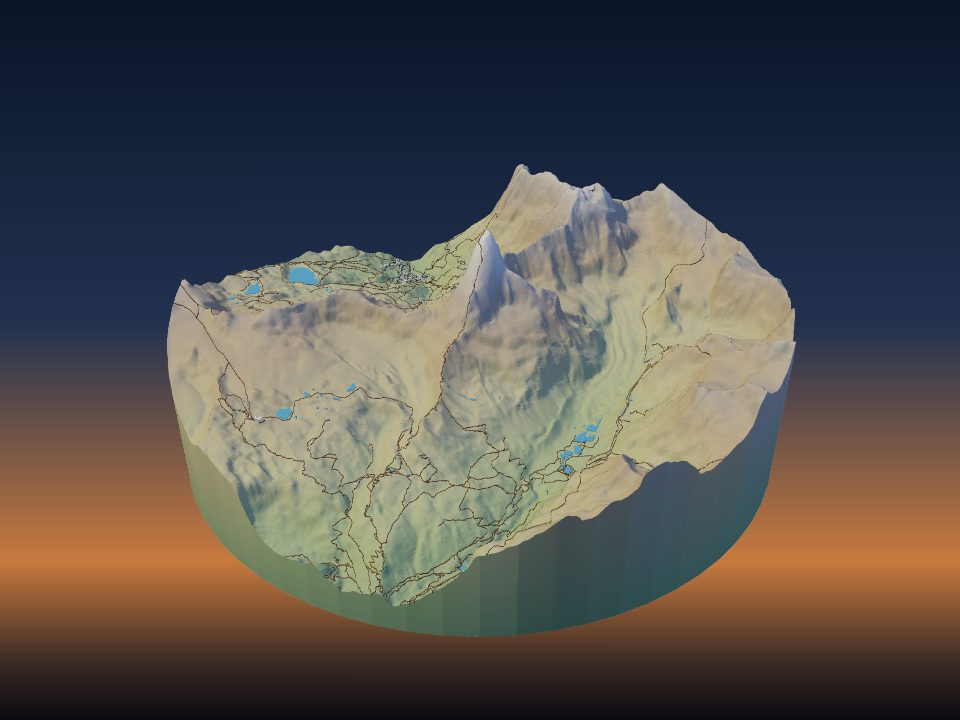
Water. Lakes sit level in their basins, so they give you a flat area to paint. Paint deep blue in the middle and a lighter blue or green near the shore, then add gloss varnish only on the water. A gloss coat on the water and matte on the land looks like real water.
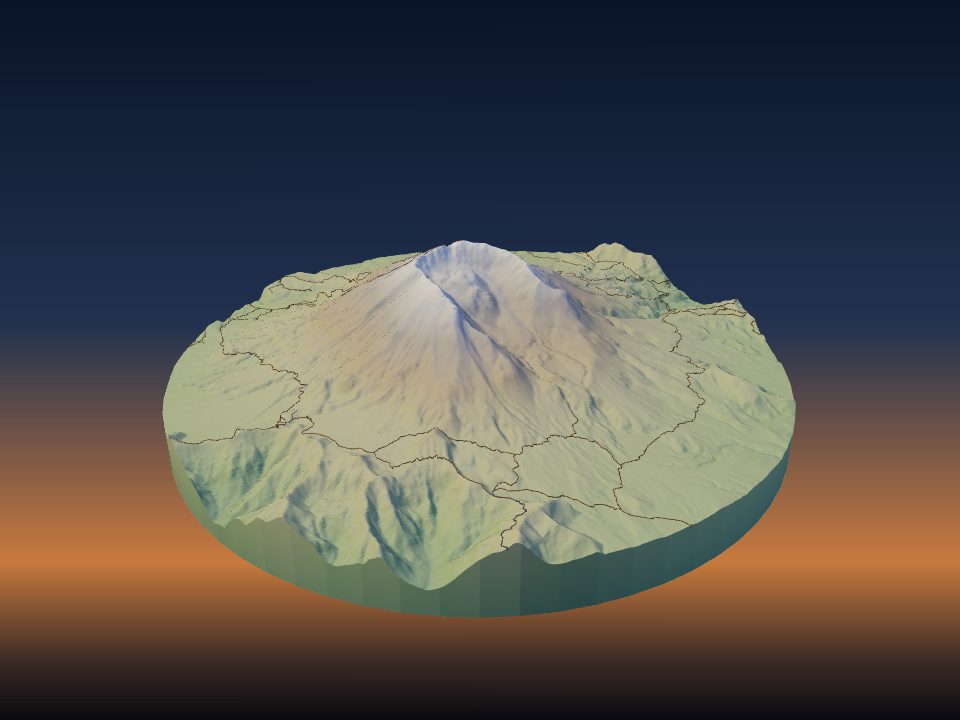
Snow. Pick a height for the snow line, such as a contour line. Stipple white above it with an old brush, then dry brush pure white on the highest ridges. Leave some steep faces grey, because snow does not stay on very steep rock.
Glaciers. Use a very pale blue under the white for glaciers and ice fields.
Rock. Grey and brown dry brushing on steep slopes reads as bare rock, with a dark wash in the cracks.
Seal and display
When the paint is fully dry, seal the land with a matte or satin varnish. It protects the paint from handling and dust, and evens out the shine between colours.
Keep gloss for the water. Spray varnish in light coats, as with the primer, so it does not fill the detail.
For the wall, Wall hanging (under Frame & label) adds keyhole slots in the back for screw heads. Magnet pockets (step 4) adds round pockets in the bottom for disc magnets. Felt pads under the base protect furniture.