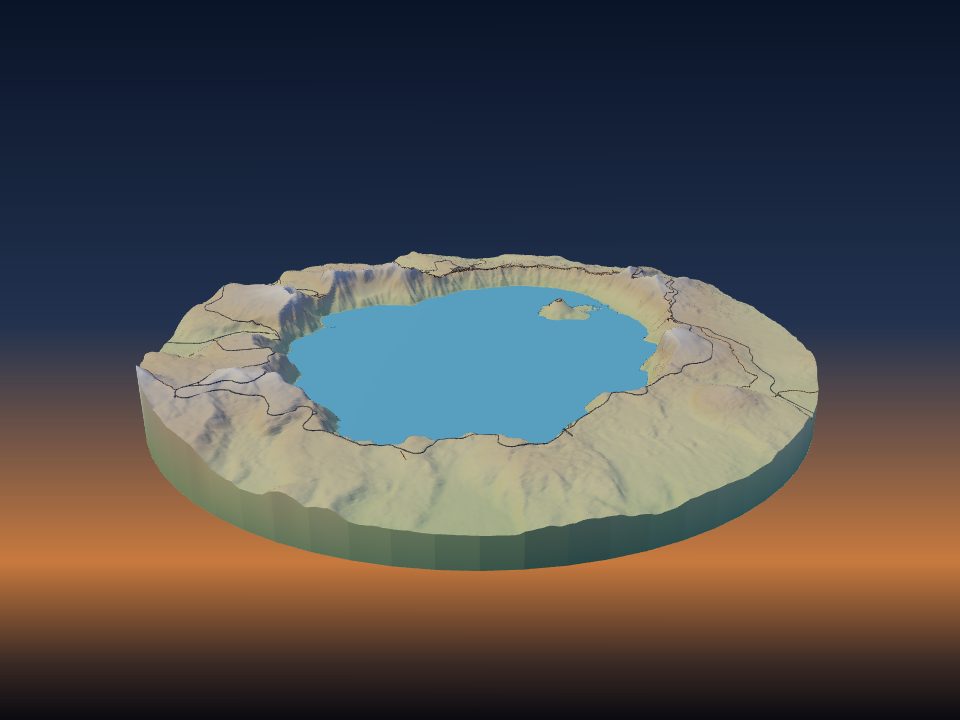
How to 3D print a multi-colour map
A colour map print starts with a file that keeps each colour as its own part. TerraPrinter makes that file for multi-material printers, and plans the filament swaps if you have a single nozzle.
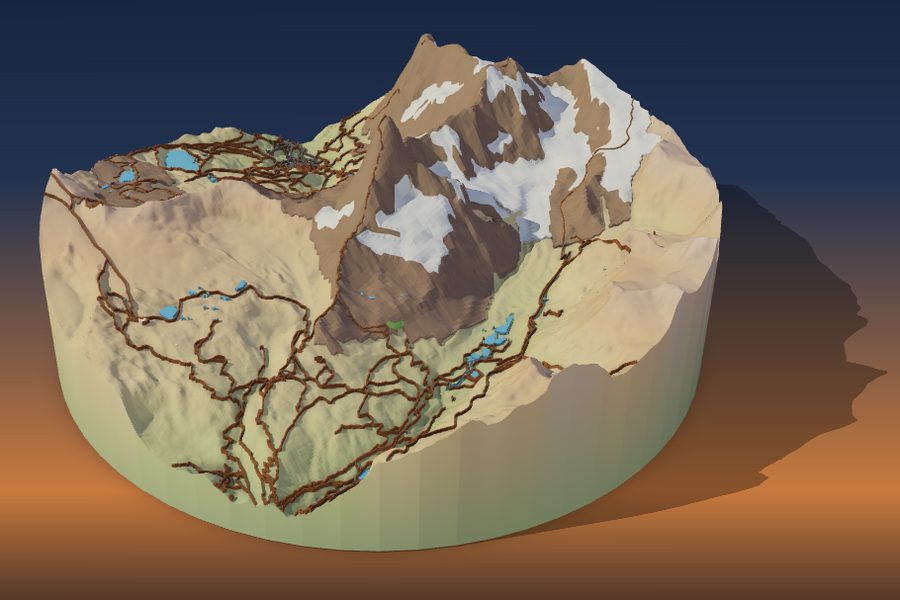
Three ways to print a map in colour
There are three common ways to get colour onto a terrain print. TerraPrinter prepares the file for each of them, so pick the one that suits your printer.
- A multi-material printer (a filament changer such as an AMS or MMU, or a toolchanger) prints every colour exactly where it belongs, even when water, roads and forest share the same layer.
- Filament swaps by height work on any printer. The print pauses at a layer, you load the next colour, and everything above that height prints in the new colour.
- Painting works with one white or grey filament. See how to paint a 3D printed terrain map.
What is in the colour 3MF file
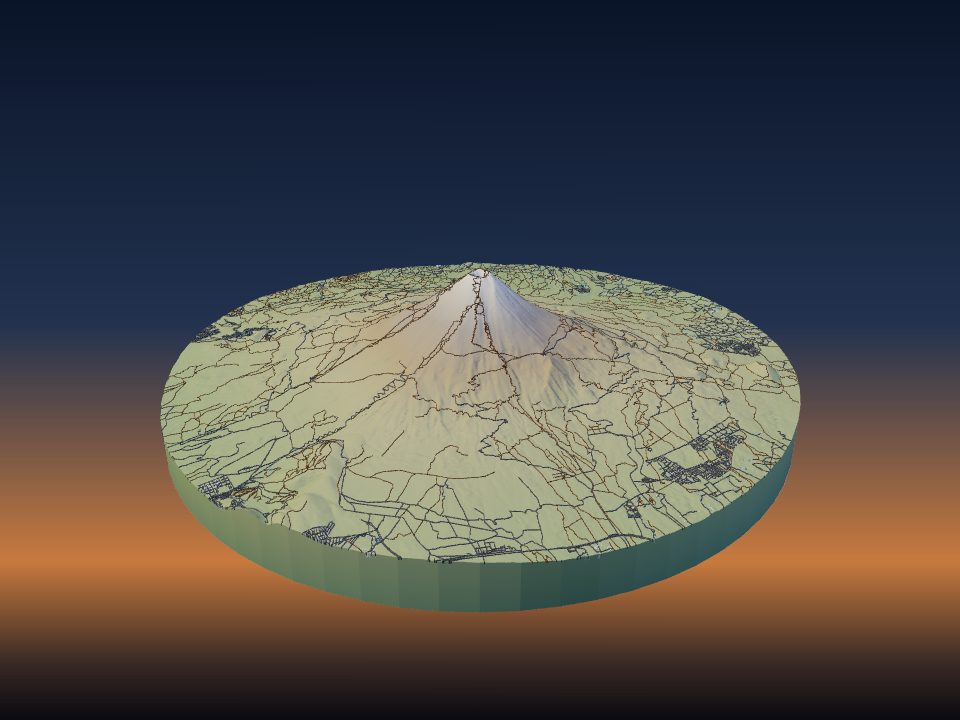
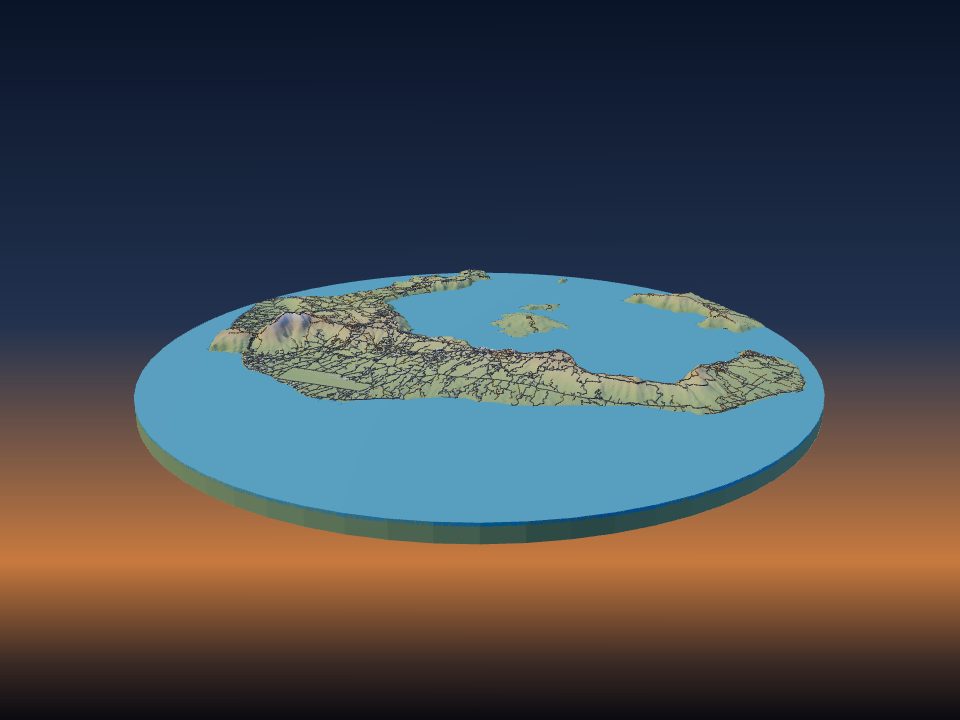
After you press Generate 3D Model, the download window offers Download 3MF as the main button. The terrain and every map layer you switched on arrive as separate parts, each with its own colour and a clear name such as Terrain, Buildings, Roads, Trails, Rail, Water or Parks.
Other parts join in when you use them: Trees, Contours, each GPX route, memory pins, ski runs by difficulty, Paved areas and Airports. The base and the sides of the model belong to the Terrain part, so they print in the terrain colour.
In close-up models of a few streets, parts that share a colour are merged into one, which keeps the list of parts short.
STL is a single-colour format, so the plain STL button gives one merged piece. For a slicer without 3MF colour support, the menu next to it has One STL per colour (zip): the base terrain and each colour as its own STL, aligned so they load as one object.
Choose a colour for each layer
In step 3, Features, every map layer has a colour swatch next to its switch: Terrain, Buildings, Roads, Trails, Rail, Water and Parks. Under Overlays, Contour lines have a Line color, and each GPX route gets its own colour.
Pick colours close to the filaments you own. The 3MF carries the colour of each part, so the preview in your slicer looks like the model, and you choose which filament prints each part.
For a quick start, open the 3D preview, press Make adjustments and choose Styles. It offers one-click colour sets: All white, Topographic, Night city, Two colours, Blueprint and Desert. You can change any colour afterwards.
Colour the land itself with Surface colours
Map layers colour what sits on the land. Surface colours, in step 4, Print, colours the ground itself. It splits the terrain surface into colour regions, and each region prints as a thin coat welded onto the base terrain on its own filament. It is made for AMS, MMU and toolchanger printers.
The default source is Land cover: forest, grass, rock, sand, glacier and snow from OpenStreetMap, each with its own colour picker and tick box. Untick a type to leave it as bare terrain. Lakes and rivers keep the Water layer colour.
- Snow line: ground above this elevation prints as snow. On Auto it follows the latitude; untick Auto to set it yourself, up to 6,000 m.
- Rock on steep slopes: unmapped ground steeper than the angle you set (38° by default) prints as rock.
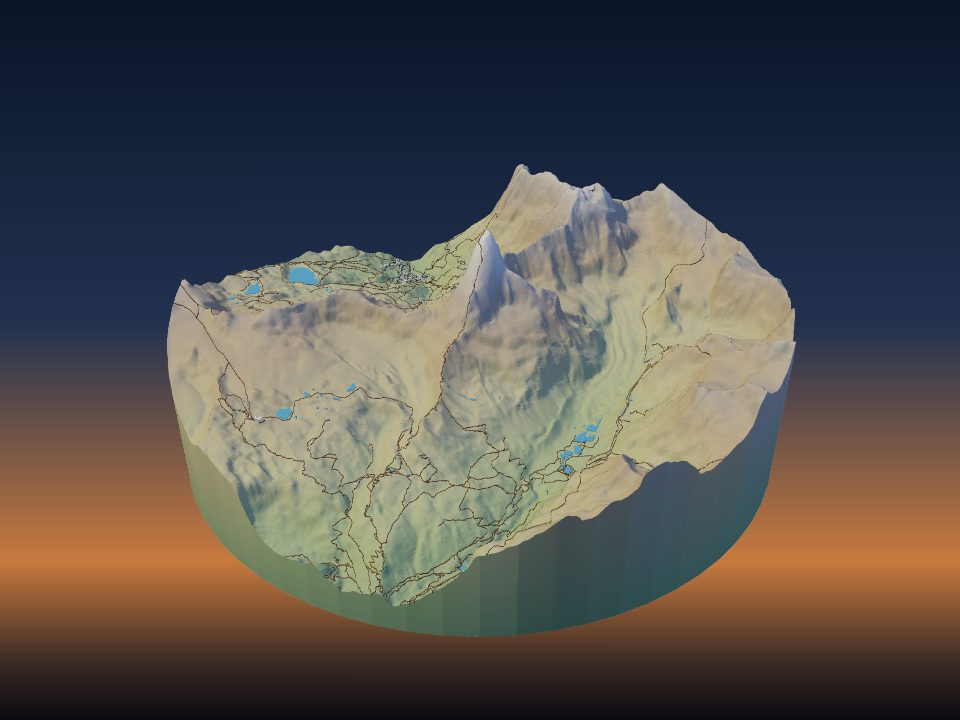
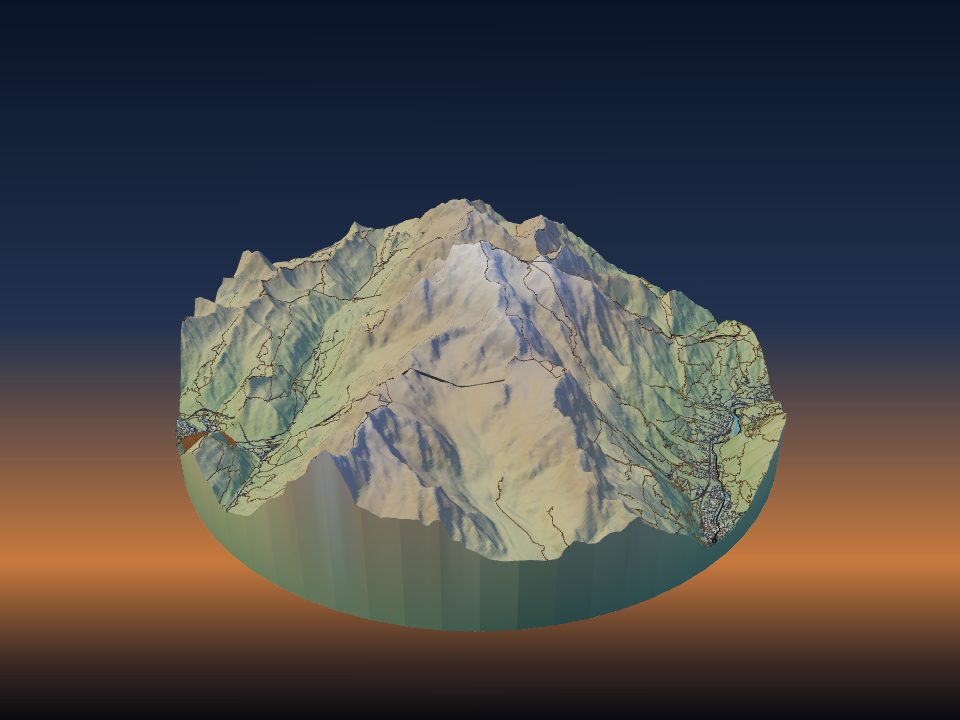
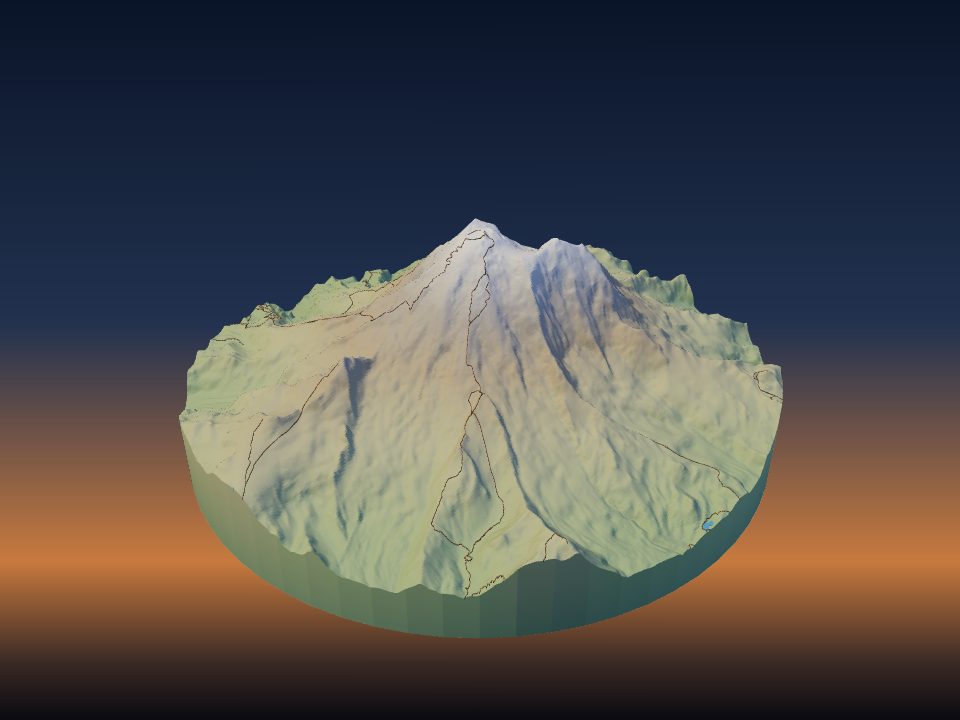
Surface colours are switched off while the HD satellite map is shown, so pick another map first. Changes apply on the next Generate. Open the Matterhorn with Surface colours on and press Generate to see it.
Satellite colours and height bands
Surface colours has two more sources. Basemap imagery reduces cloud-free Sentinel-2 satellite imagery to between 2 and 12 filament colours (6 by default). After Generate, recolour any swatch in the palette to match the filaments you actually have.
Height bands colours the terrain by elevation, like the colour key of a printed map. Choose 2 to 12 bands (4 by default), spaced as Even steps of height or Equal area, where each band covers about the same part of the model. Band 1 prints in the terrain colour and each band above it is its own filament.
With Sea-floor relief on, the sea floor gets its own blue depth bands, from 1 to 8 of them. Try height bands on the Matterhorn.
Fit the colours to your filament slots
Each colour needs a filament slot, and the base terrain uses one of them. In Surface colours, Filament slots sets how many the terrain may use, from 2 to 16 or no limit (4 by default, one AMS). If there are more colours than slots, the least-used colours merge into their neighbours.
Smallest patch (2.5 mm by default) joins colour specks smaller than that printed size into the area around them. That means fewer filament changes and a cleaner print.
In step 4, Print, you can also set Your printer, the Nozzle and its Filament slots. The print check in the download window then warns you when the 3MF has more colours than your printer holds.
The quickest way to save a slot is to give two parts the same colour. For example, roads and buildings can share white, or parks can use the same green as the forest coat.
Every colour change on a multi-material printer purges some filament. Fewer colours on the same layers means less waste and a faster print.
One nozzle: swap filament by height
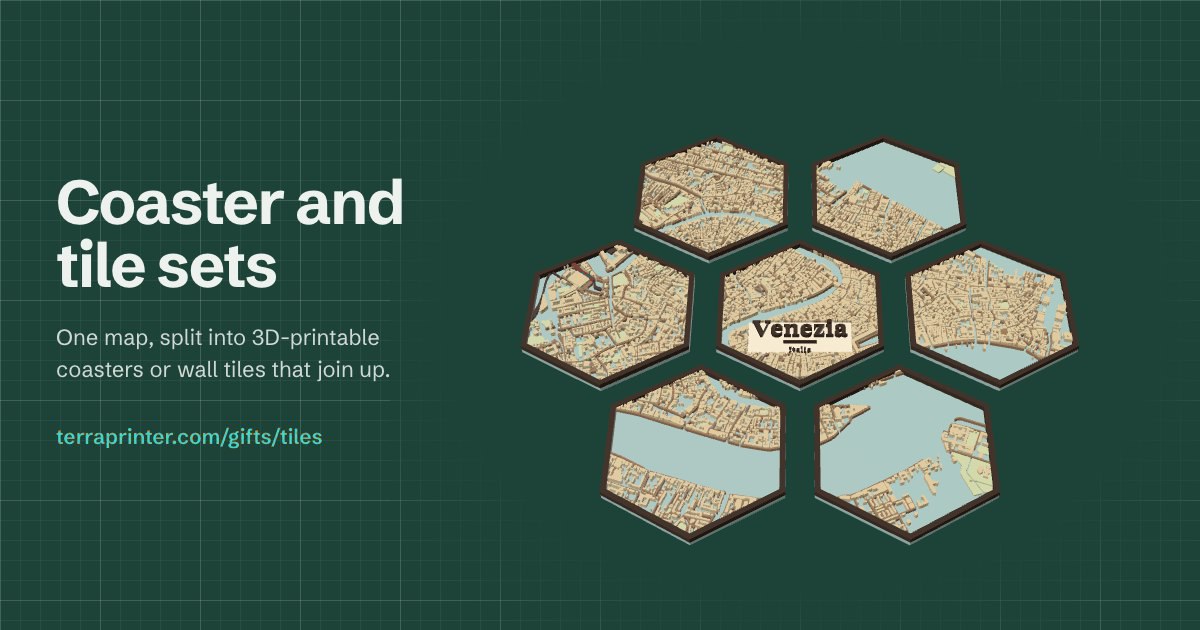
Without a multi-material printer you can still print in colour by changing filament at set layers. This gives horizontal colour bands, so it works best for snowy peaks, height bands and flat city maps.
In the 3D preview, press Make adjustments and open Colour plan. It lists each filament with the parts that use it. Under One nozzle: swap by hand, choose your layer height (0.12, 0.16, 0.2 or 0.28 mm) and it lists each step, such as which colour to start with and at which height and layer to pause and load the next one.
Add those pauses, or colour changes, in your slicer at the layers shown. Print the colour card gives you a page to keep by the printer.
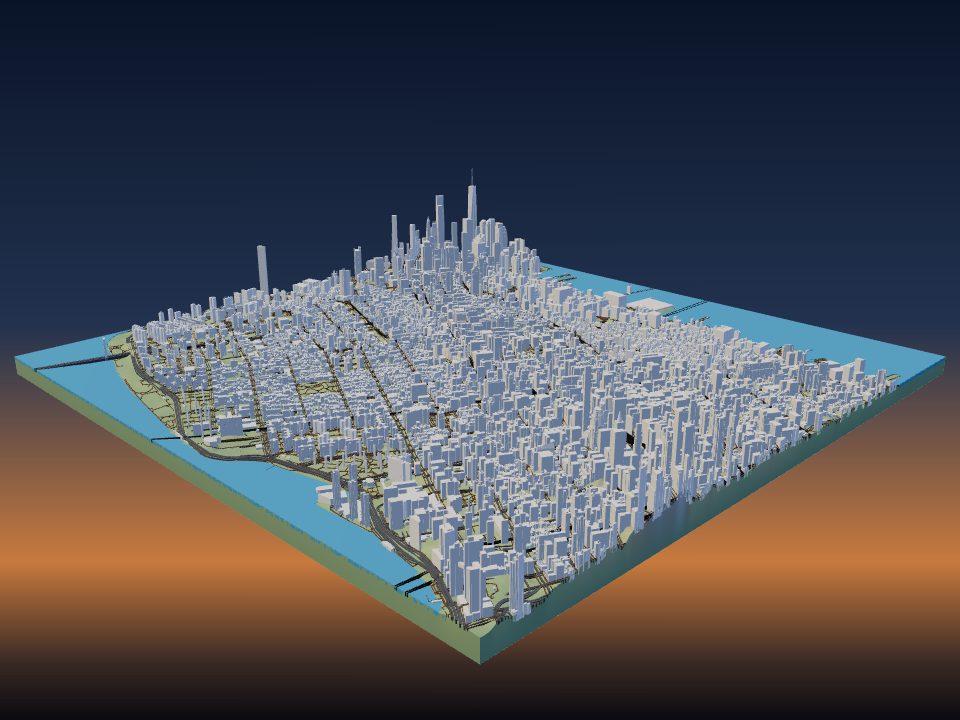
On terrain, roads, water and the ground around them often print at the same heights. When that happens, the Colour plan says that swapping by height cannot give these colours. Use a multi-colour printer, or turn on Flat model in the Terrain panel. It prints the ground flat while buildings, roads and water keep their own heights, so swaps by height can work. The Colour plan then lists the steps.
For a simple snow cap on a single-colour print, open Layer preview in Make adjustments. Its slider shows the layer number and height in mm, so you can find the layer where the snow should start and add one colour change there.
Load the file in your slicer
The download window has an open-in-slicer button that sends the 3MF straight to your slicer. The file stays on our server for one hour so the slicer can fetch it.
Some slicers offer to load a multi-part 3MF as separate objects. Under More formats, the option Bambu Studio 3MF: one object, a part for each colour keeps it as one object and puts each part on its own filament in order of colour.
- Check that every part sits on the model as one object, not spread across the bed.
- Assign a filament to each part, or check the automatic choice.
- Slice and look at the layer view, especially thin roads and trails.
- Print a small test area first if you are trying new colours.
For general settings such as layer height, infill and walls, see the best print settings for terrain models.