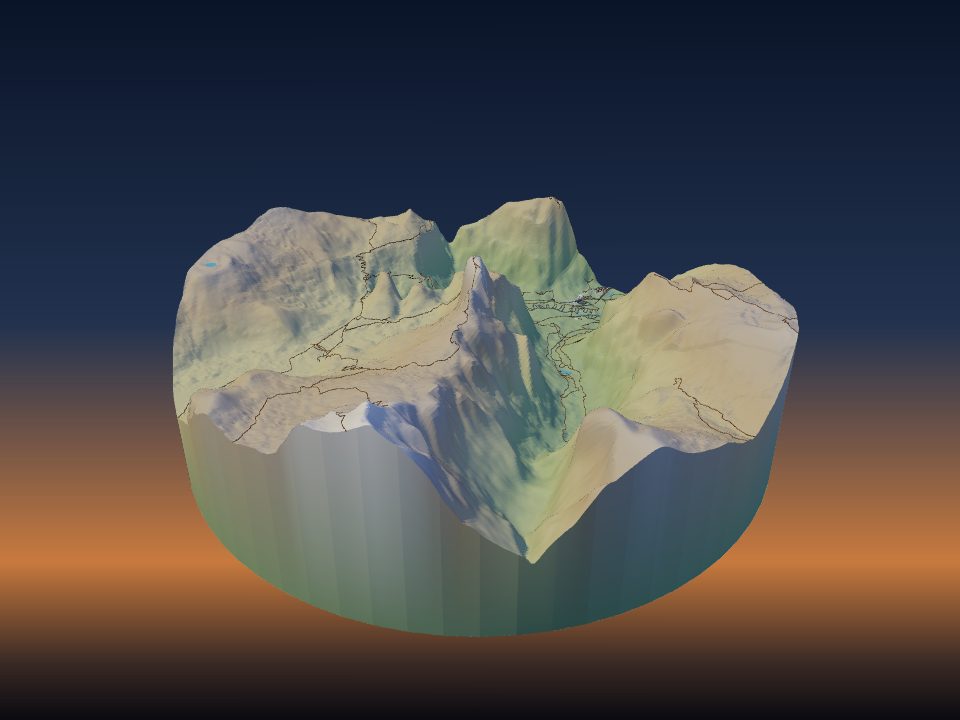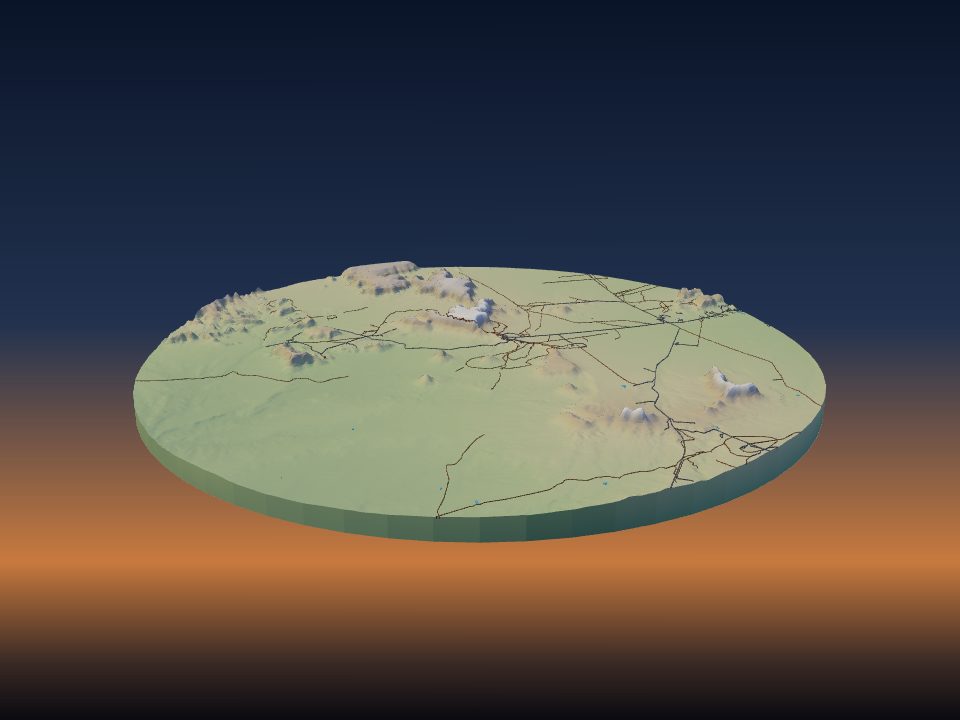
Best filament and slicer settings for 3D printed terrain maps
Terrain models are easy prints: a flat base, a surface with no overhangs and few fine parts. A few settings decide whether the hills look smooth and the details come out clean.
Start in the app: tell it your printer
Some print problems are easier to fix in the model than in the slicer. In the Print step of the TerraPrinter settings, choose your machine under Your printer (or a custom size), then set the Nozzle and the number of Filament slots.
After you press Generate 3D Model, the download window shows a short print check based on those settings. It warns when:
- the model is bigger than your bed, with a button to shrink it or split it into tiles;
- the model is taller than your printer can build, with a button to lower the terrain;
- roads, paths or railway lines are thinner than 0.8 times your nozzle, with a button to widen them;
- many buildings are smaller than twice your nozzle and would print as specks;
- the base is under 2 mm on a print 60 mm or larger, with a button to make it 3 mm;
- the 3MF has more colours than your printer has filament slots.
Layer height and nozzle
Layer height matters more on terrain than on most prints. Every layer shows as a small step on a slope, like a contour line. Gentle hills show the steps most.
- 0.2 mm is a good default for mountains and most models.
- 0.12–0.16 mm gives smoother slopes on hills, plains and small models, but takes longer.
- 0.28 mm is fine for quick test prints and large tiles that are seen from a distance.
Many slicers have a variable or adaptive layer height option. It uses thin layers where the slopes are gentle and thick layers where they are steep, which suits terrain well.
A 0.4 mm nozzle suits almost every terrain model. The app sizes trees to at least 1.2 mm across so they print with a 0.4 mm nozzle. A 0.2 mm nozzle shows more detail on small city models but is much slower. A 0.6 mm nozzle is faster for large tiles, but thin roads and small buildings may not print, so set it in the app and follow the print check.
Walls, top layers and infill
- Walls: 2–3 perimeters. The sides of the base are flat, so more walls add little.
- Top layers: at least 4–5, or about 1 mm of top skin. Large, nearly flat areas such as lakes and plains can show gaps or a rough surface with fewer.
- Infill: 10–15% is enough for display models. The Print estimate in the app uses 15% unless you change it.
- Infill pattern: gyroid or a grid pattern both work. A pattern that does not cross itself on each layer is usually quieter and avoids nozzle strikes.
Small objects such as keychains or puzzle pieces are stronger with more walls or solid infill.
Base thickness, hollow bases and magnets
Base thickness in the Print step is the solid layer under the lowest point of the terrain, from 1 to 20 mm (5 mm by default). On a large model, a thicker base resists warping, and the print check suggests at least 3 mm when the base is very thin.
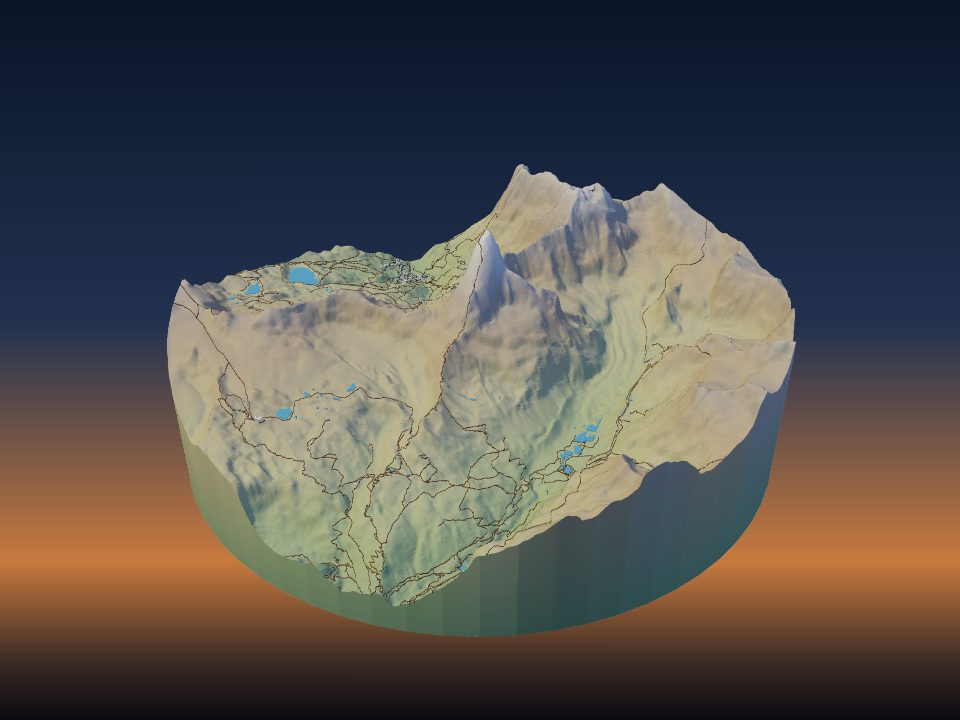
A tall mountain model has a lot of plastic under its peaks. Switch on Hollow base to leave an open-bottom shell under the terrain instead. The inside roof follows the terrain and slopes at 45° or steeper, so it prints without supports. Its Wall thickness goes from 1.2 to 8 mm (2 mm by default).
Magnet pockets adds round pockets in the bottom face for disc magnets from 6 × 2 mm to 12 × 3 mm, with an adjustable fit clearance. They help tiles and puzzle pieces line up on a steel board or a fridge.
For a raised rim and a name plate, use Frame & label. A frame adds height around the edge, so check that it is still well above the lowest terrain.
Orientation, supports and bed adhesion
Print the model as it comes: flat on its base, terrain up. Do not rotate it on its side. The base gives the best contact with the bed and the terrain gets the smoothest surface on top.
Terrain and ordinary buildings have no overhangs, so most models need no supports. Turn supports off, or set them to the build plate only, so the slicer does not add them under cliffs by mistake.
- A lake water surface over a lake bed (with Lake depths and its water surface on) needs supports under the water.
- Some detailed Landmark models have arches or overhangs. Check the slicer preview for parts that start in mid-air.
Large flat bases can lift at the corners. A clean build plate, the right bed temperature and a brim of a few millimetres keep them flat.
PLA, PETG or something else
- PLA is the best choice for most terrain models. It is easy to print, holds sharp detail and comes in many colours.
- Matte PLA hides layer lines and gives soft shadows that show the relief well.
- PETG is tougher and copes better with heat and sunlight. Use it for a model that sits in a hot car, a sunny window or outdoors. It strings more, so fine buildings come out less crisp.
- ABS or ASA are for heat or outdoor use when you have an enclosed printer and good ventilation.
- Silk and metallic filaments look good on mountains but the shine can hide shallow relief.
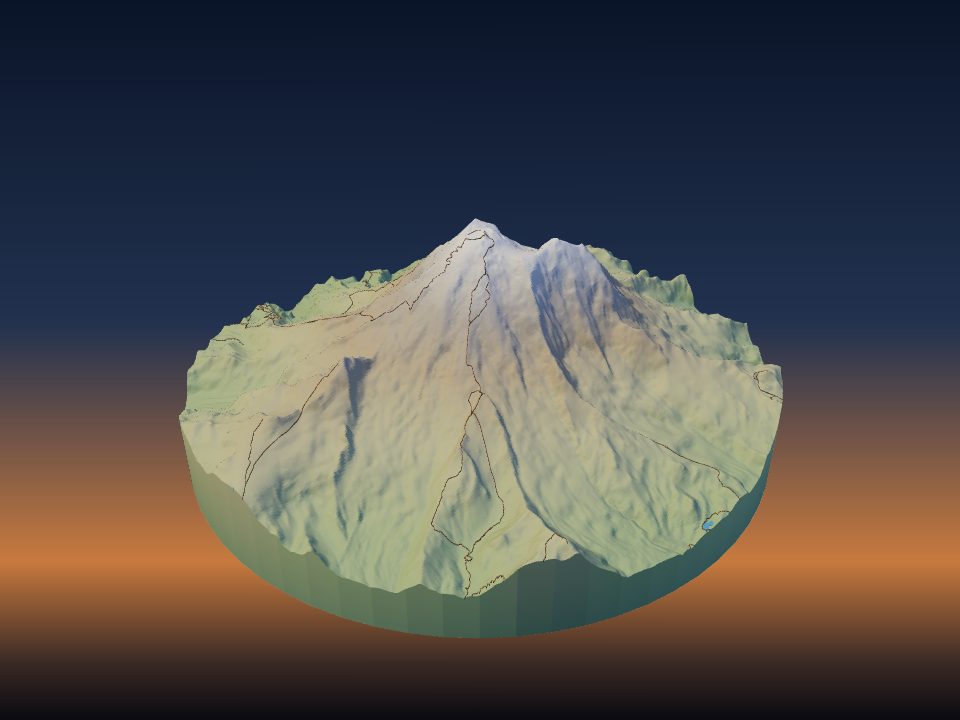
For a single colour, white, light grey or stone colours show the shape of the land best, because shadows stay visible. Dark and very glossy filament hides the relief.
Colours
Download 3MF keeps the terrain, water, roads, buildings and other layers as separate parts. A multi-colour printer can then print each part in its own filament. Surface colours in the Print step can also split the terrain itself into regions such as forest, rock and snow.
For slicers without 3MF colour support, use One STL per colour (zip) from the menu next to STL. Under More formats there is also a Bambu Studio 3MF option with one object and a part for each colour.
On a single-colour printer, you can still change filament by hand. Add a pause at a chosen layer height in your slicer, for example to print snowy peaks in white above a set height.
See multicolour terrain maps and painting terrain prints for more.
Print time and size
The Print estimate in the download window gives a rough filament weight, cost and print time. Choose PLA, PETG, ABS or TPU and an infill from 10% to solid. Your slicer gives the exact numbers.
- Print time grows with the area of the model and with its height. A bigger print size or more vertical exaggeration both add hours.
- A thinner layer height multiplies the number of layers, so going from 0.2 to 0.1 mm roughly doubles the time.
- A hollow base saves filament and time on tall models.
- Print a small test first. A 100 mm version shows how the relief and details look before you commit to a large print.
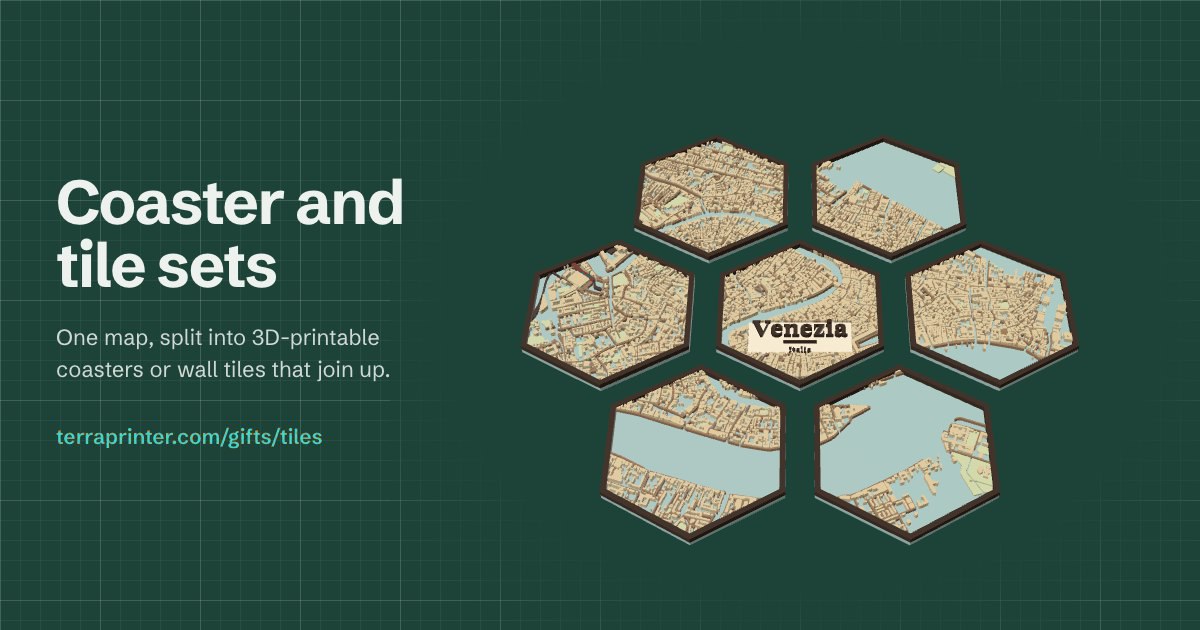
Models larger than your bed can be split into tiles with the Layout options. See large terrain models.
Quick settings to start with
- Nozzle: 0.4 mm
- Layer height: 0.2 mm (0.12–0.16 mm for gentle relief)
- Walls: 2–3
- Top layers: 4–5
- Infill: 10–15%
- Supports: off
- Orientation: flat on the base, terrain up
- Material: matte PLA in white or light grey
- Base thickness in the app: 5 mm (the default), or Hollow base for tall models