How to 3D print a GPX route
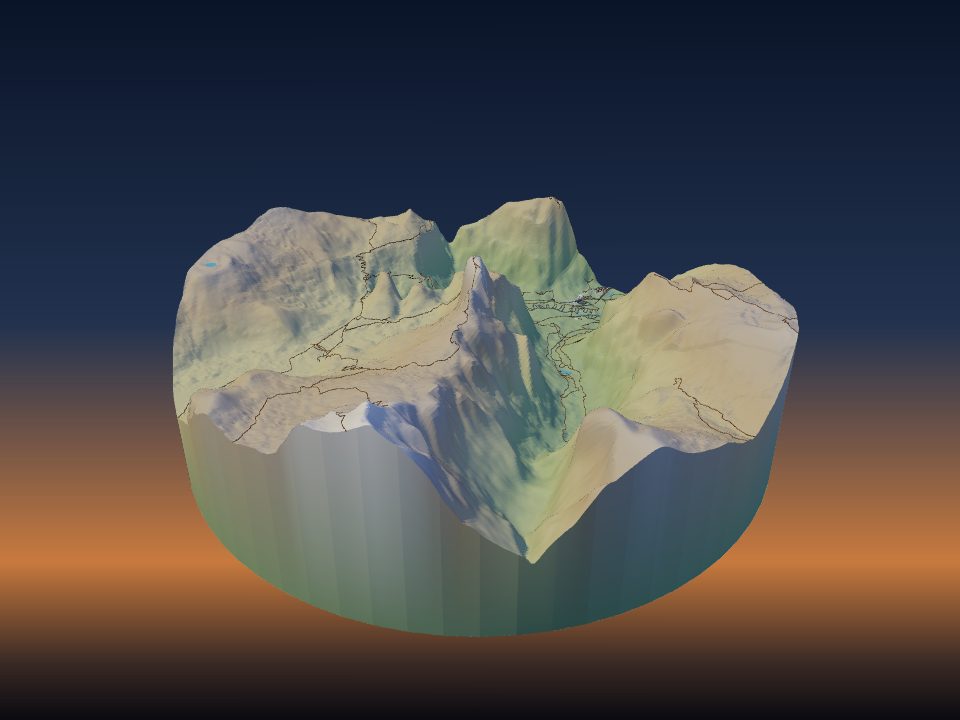
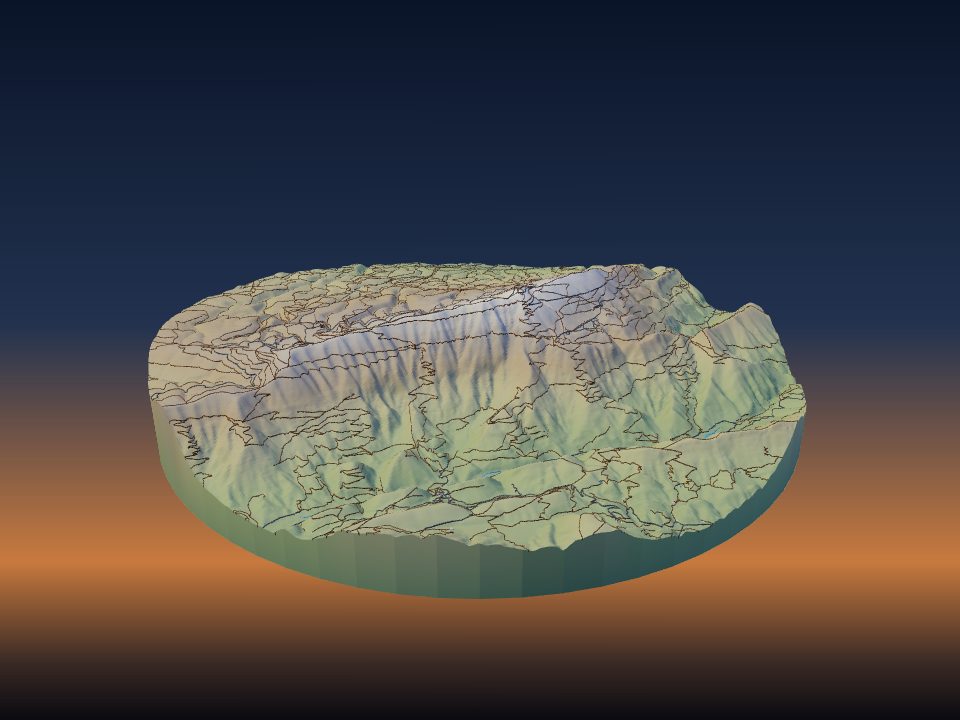
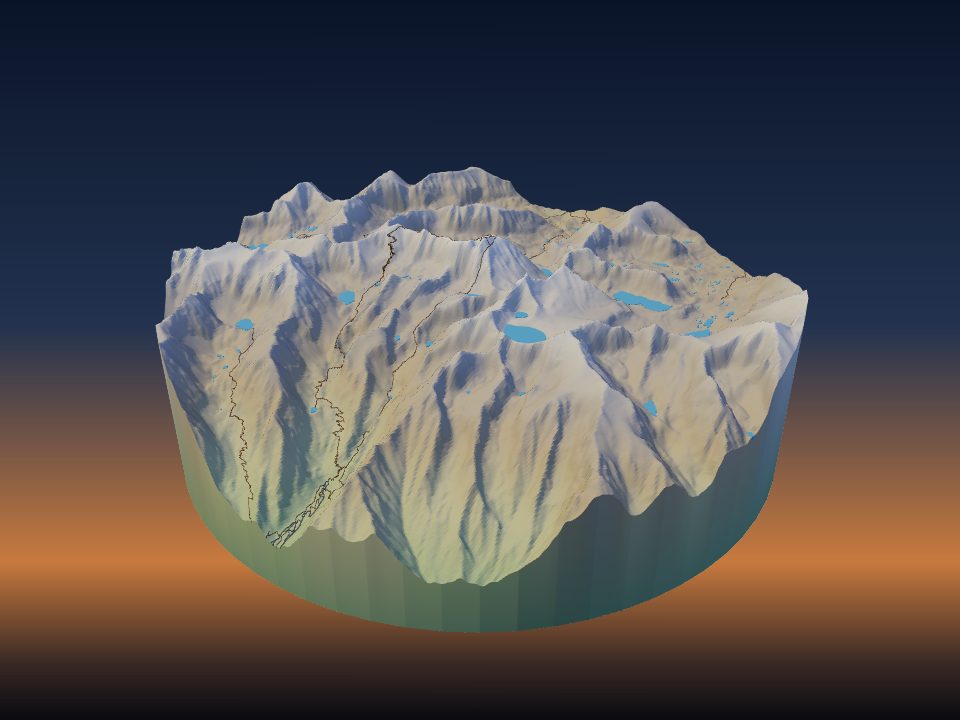
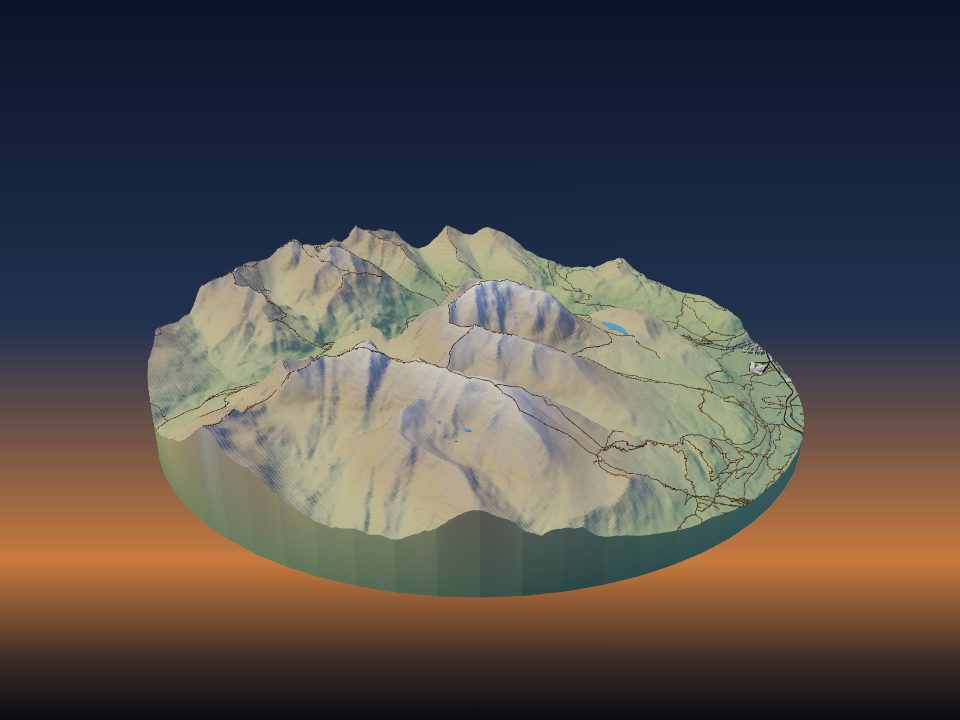
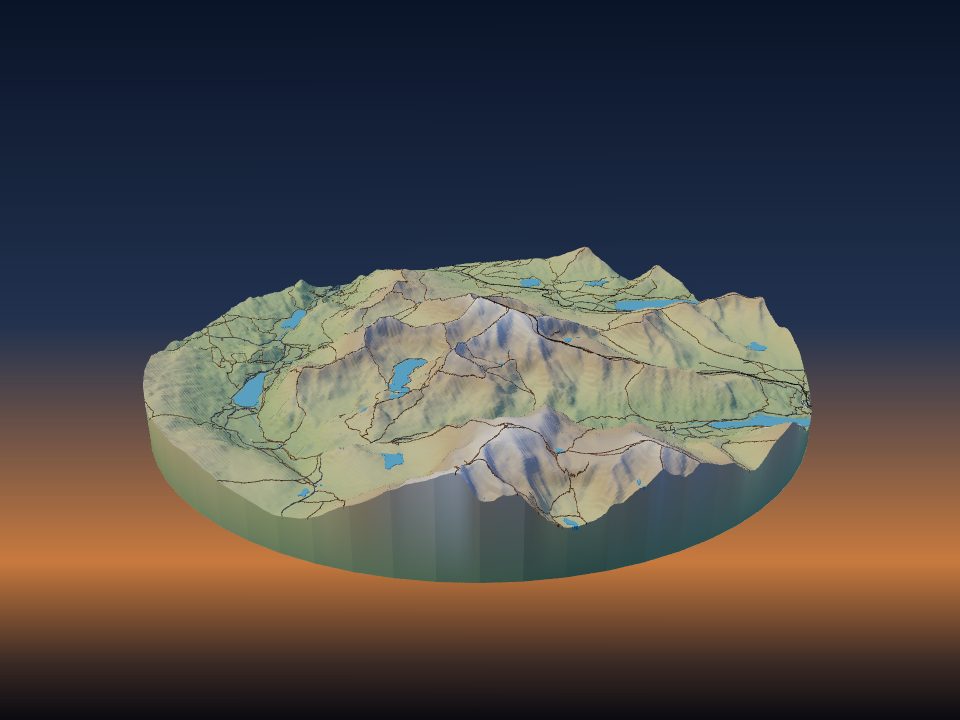
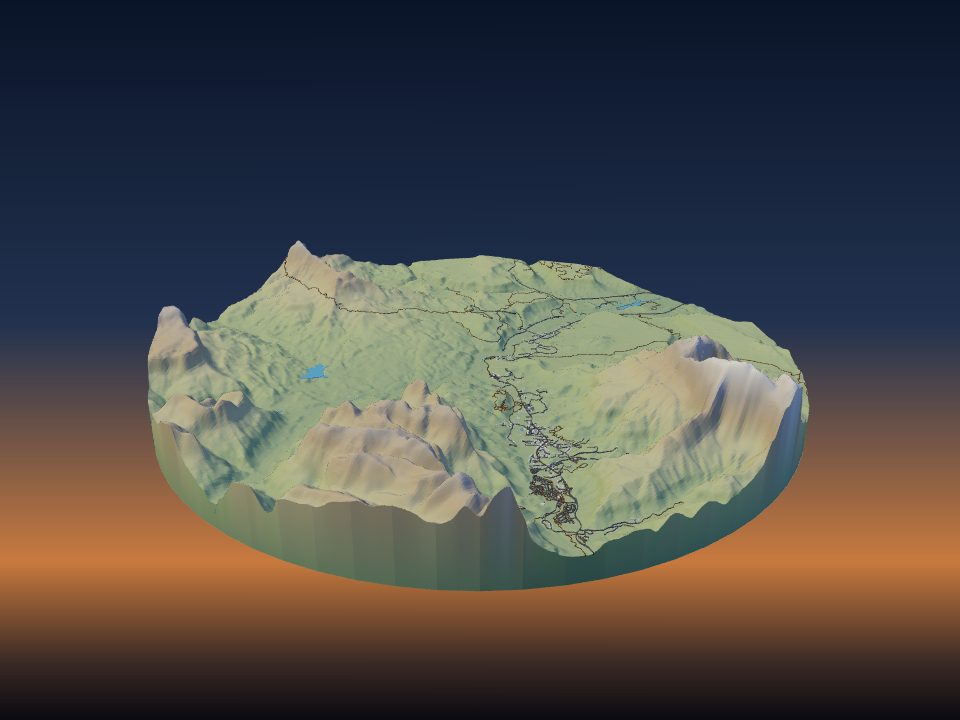
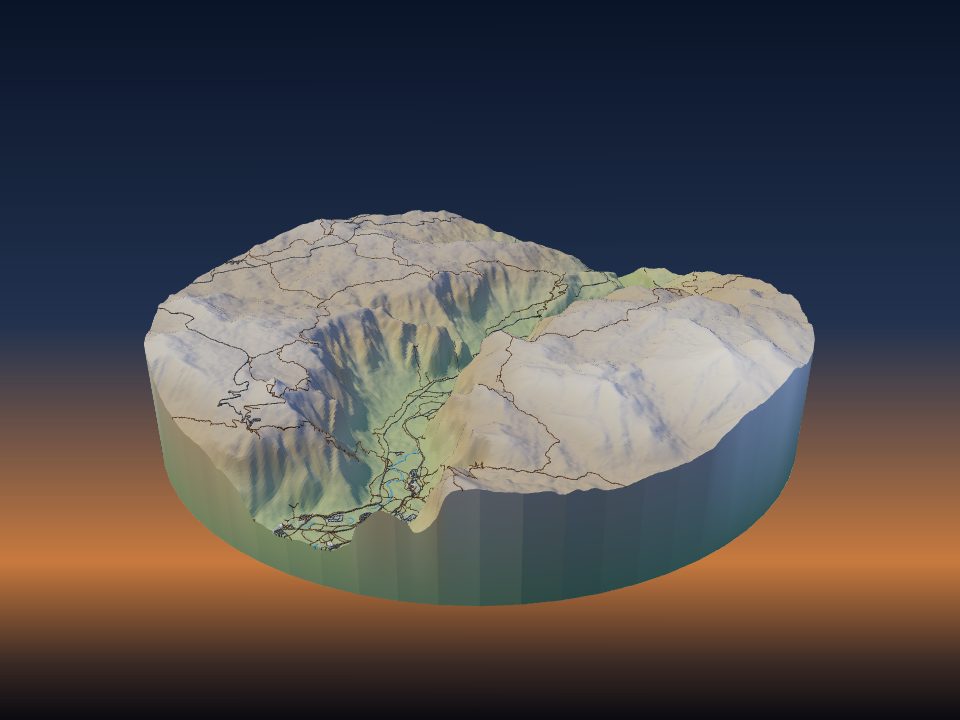
A GPX file from your watch or phone is all you need to print a hike, a race or a ride as a raised line on the real hills. TerraPrinter drapes the route over the terrain, gives it its own colour, and can put several routes on one model.

1. Export the route as GPX
GPX is a plain file format for GPS tracks, and almost every sports watch, phone app and route planner can save one. In most apps you open the activity or the planned route and look for Export, Download or Share, then choose GPX.
- Some apps, such as Garmin Connect or Strava, may only offer the GPX download on their website. If you cannot find it in the phone app, sign in on a computer.
- A recorded track and a planned route both work. TerraPrinter reads track points first, then route points, then waypoints.
- The main app takes .gpx files. If your device only gives you a .tcx file, the race medal maker reads TCX as well.
A recorded track often has a few stray points, for example while the watch was searching for a signal at the start. If your app lets you trim or edit the activity, do that before you export, so the printed line starts and ends in the right place.
2. Load the GPX file in TerraPrinter
Open TerraPrinter. In the settings panel (on a phone, tap the gear), open step 3, Features, and find Routes (GPX) under Overlays. Click Load GPX file(s) and pick one or more files.
The app reads the file in your browser and draws the route on the map, then zooms to it. The route is listed with its file name and number of points, so you can check it is the right one.
If you have no file, type a trail or route name into Find a trail or route by name and pick Hiking and walking, Cycling or Running. It searches OpenStreetMap routes in the map view; leave the name blank to list every route there.
3. Draw the area round the route
Only the part of the route inside your area is printed, so draw the area a little bigger than the track. That keeps the start, the finish and the summit inside the model and away from the edge.
- Use a Rectangle for long point-to-point routes and a Circle or Square for loops.
- Mountain routes look right at 1–1.5× Vertical exaggeration. Gentle running or cycling country often needs 2–3× so the climbs still show; see choosing vertical exaggeration.
- Turn on Frame & label under step 4, Print, for a raised border with an engraved name. If you leave the label text empty, the first route's file name is used, so rename the file or type your own text, such as the race and the date.
- Use Memory pins (also under Overlays) to mark a camp, a summit or a finish line. Each pin prints as a raised marker in its own colour, up to 10 pins.
4. Put several routes on one model
Load as many GPX files as you like, one at a time or several at once. Each route gets its own colour from a set of eight, and you can change it with the colour box next to the route.
A season of races, every stage of a long-distance trail, or two people's routes up the same mountain can all share one model. Remove one route with its × button, or all of them with Clear all.
5. Make the route stand out
Your route can be hard to see if it runs along mapped roads and paths that also print as raised lines. Under step 3, Features, you decide which map features print.
- For a hike, turn off Trails so the only path on the mountain is yours.
- For a road race or a city ride, keep Roads for context but give them a quiet colour, and give the route a strong one.
- Keep Water on. Lakes, rivers and the coast help people recognise the place at a glance.
For a flat city course, Flat model under step 2, Style, prints the streets and the route on a flat base, which is easier to print in several colours.
6. Set the route width and height
- Route width is the width on the ground, from 4 to 60 m (14 m by default). Type a number next to one route to give just that route its own width, from 2 to 200 m.
- Route height is how far the route stands above the terrain on the print, from 0.4 to 5 mm (1.2 mm by default).
However large the area, the app keeps the route at least 0.8 mm wide on the print, so a 0.4 mm nozzle can always print it. On a big area, a wider route reads better from across the room.
A higher route stands out more on a single-colour print, where it is the shape, not the colour, that shows the way. On a multi-colour print, the default height is usually enough.
7. Print the route in its own colour
Download the 3MF, which keeps colours. Each route is its own part, named GPX route 1, GPX route 2 and so on (routes found by name are named after the route). In the slicer, give each route part a bright filament against grey, white or green terrain.
On a single-colour printer, the route still prints as a raised ridge that you can see and feel. You can paint it afterwards with a fine brush; see painting terrain prints. For filament choices and AMS tips, see multicolour terrain maps.
8. Keep your GPX file
The page address and share links keep your area and settings, and routes you found by name, but not the tracks from GPX files you loaded. Keep the file, and load it again when you come back to the model or send the link to someone else.
9. Medals, trophies and other route gifts
The race medal maker turns a GPX or TCX file into a medal, a keychain or a desk trophy. The route is raised on the real terrain or on flat streets, the elevation profile can run round the rim, and the distance and time, or your own words, go in the lettering. The track is read on the page and never uploaded.
- The data sculpture maker turns a stack of GPX tracks into a 3D heat map, where the most-used roads rise highest.
- The ball run maker turns a famous mountain road, a ski run or your own GPX ride into a run where a steel ball rolls down the real hairpins.