How to print a large terrain model in tiles
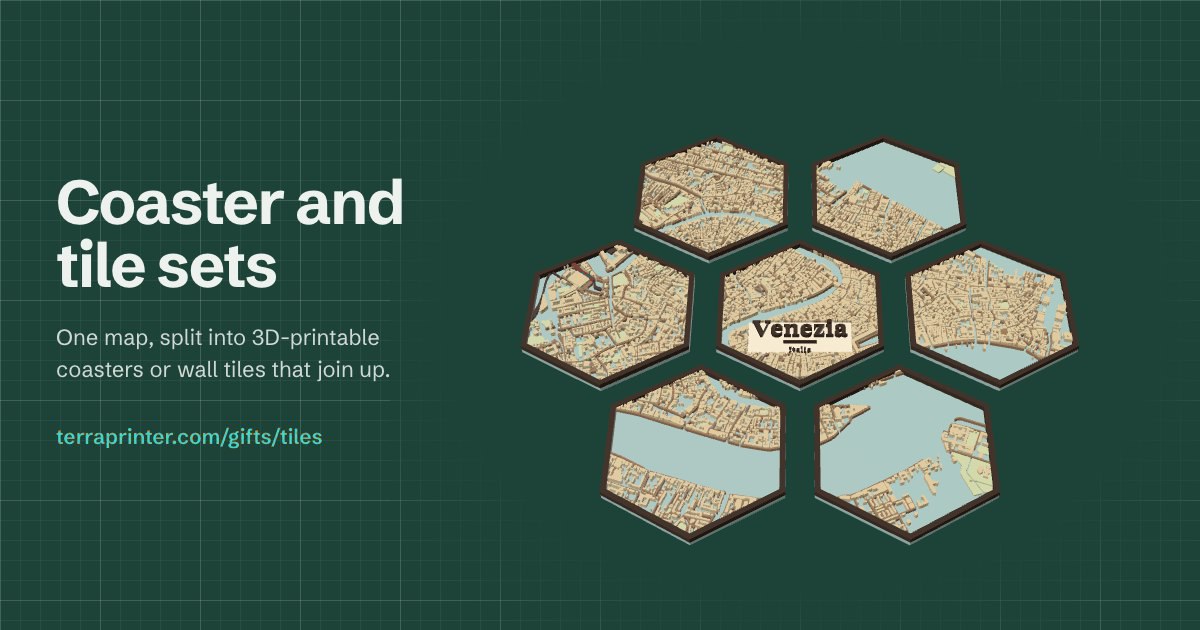
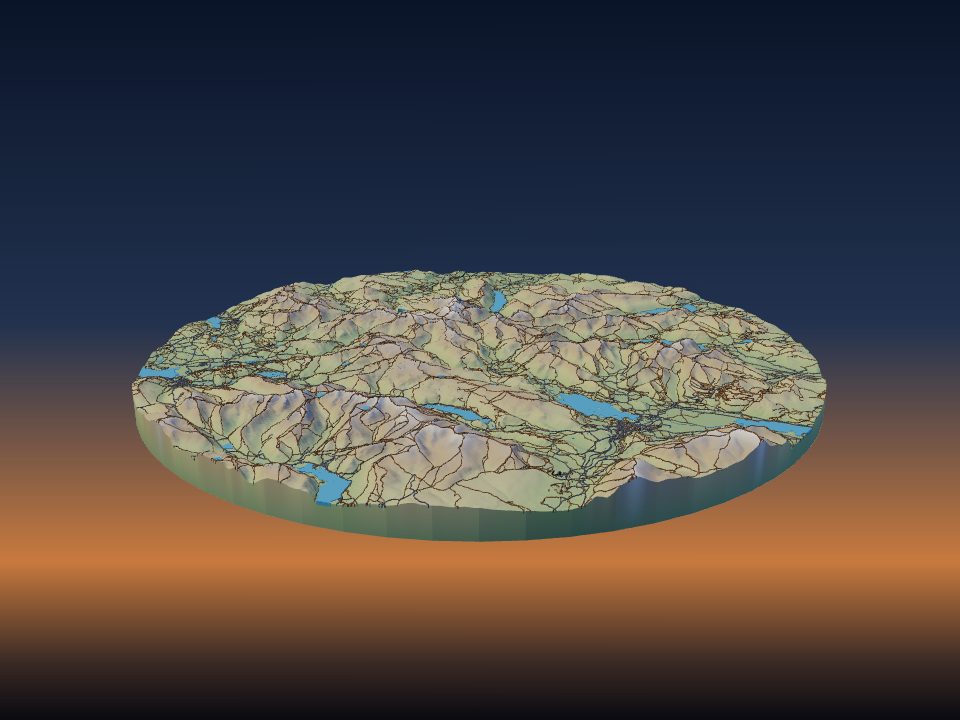
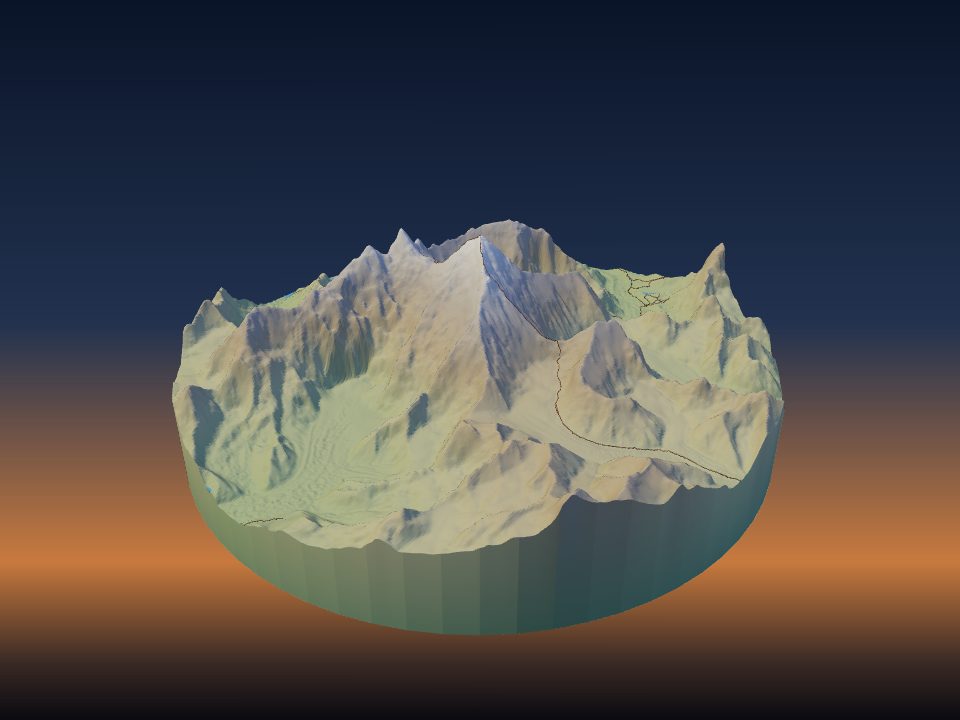
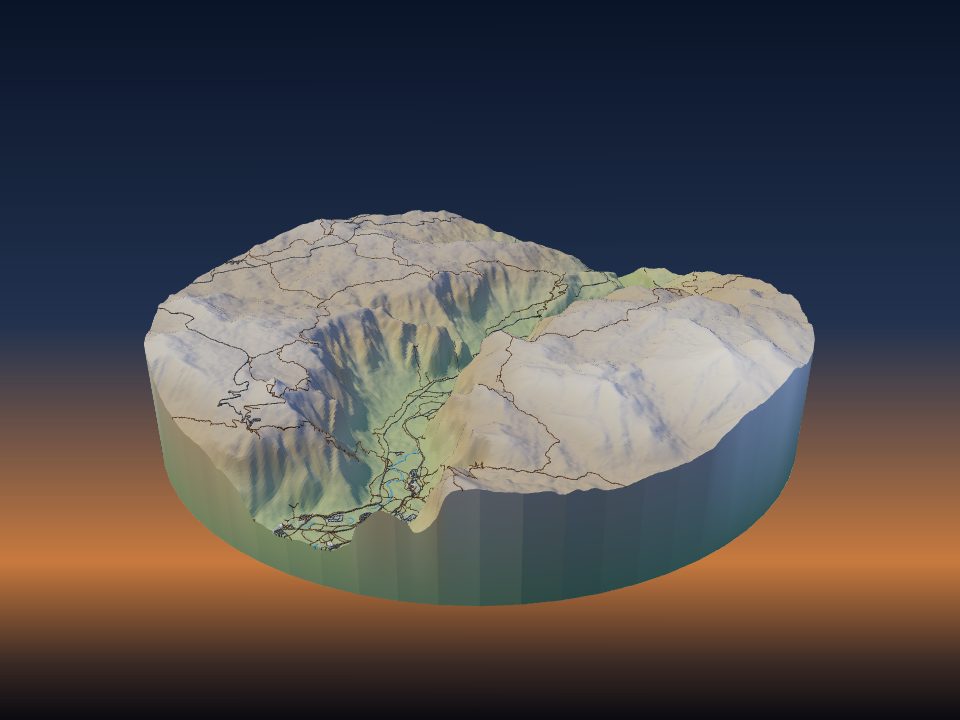
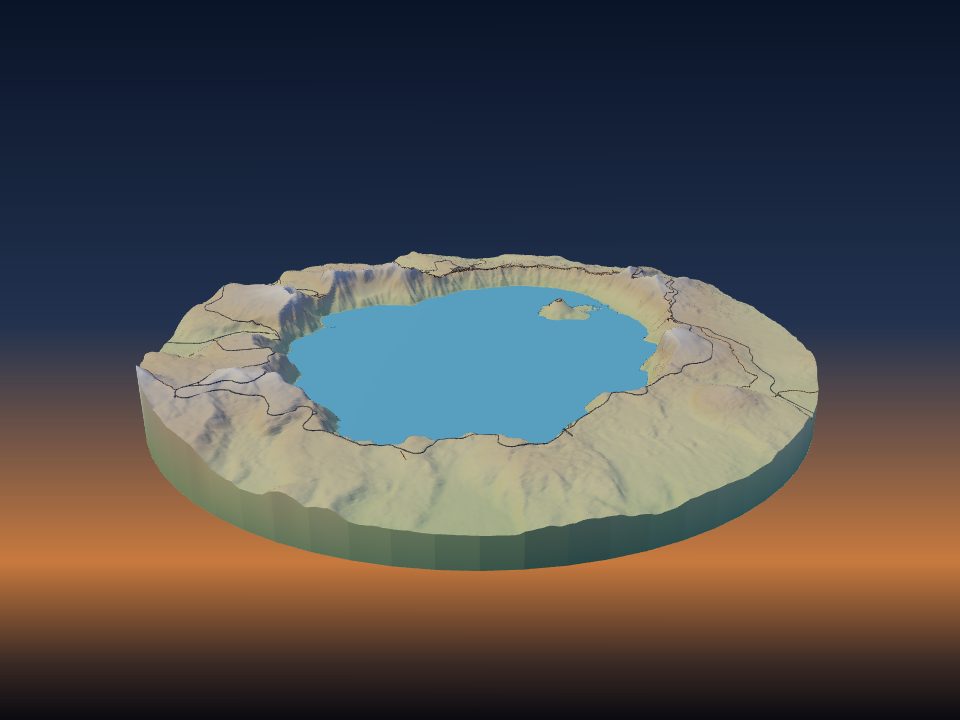
A mountain range, a national park or a whole region can be printed far bigger than one print bed. TerraPrinter's Large project mode cuts the area into tiles that all use the same scale and base height, so they meet edge to edge even if you print them weeks apart.
1. Grid slice or Large project?
There are two ways to print a model in pieces, both under Layout in step 4, Print.
- Grid slice cuts one normal model into rows and columns (up to 10 × 10). It suits a model a little bigger than your bed. If you set Your printer and the model is too big, the app offers to split it into tiles for you.
- Large project is for big areas and big finished sizes. The area can be up to 500 km × 500 km, and each tile is made and downloaded on its own, so the project size is limited by printing time, not by your computer.
A single model covers up to about 120 km × 120 km. If you draw a bigger area, the app offers to switch to Large project. Large project works for places on Earth in the Realistic and Minecraft styles; the Puzzle style is not available for it.
2. Set up the project
Draw the area on the map, then choose Large project under Layout. The panel asks for three things:
- Finished width: how wide the whole model should be, in cm, m, inches or feet.
- Printer: your printer model, or a custom bed size. The tiles are sized to fit it.
- How many printers: with more than one, the tiles are shared out and the guide says which printer prints which tile.
Under Tile size and columns you can set them by hand instead: tiles from 50 to 400 mm square, up to 30 columns and 400 tiles in all. The summary shows the grid, the finished size and the scale, such as 1 mm = 250 m.
For an exact area, type the north, south, west and east edges under Exact area (coordinates) and click Use these coordinates.
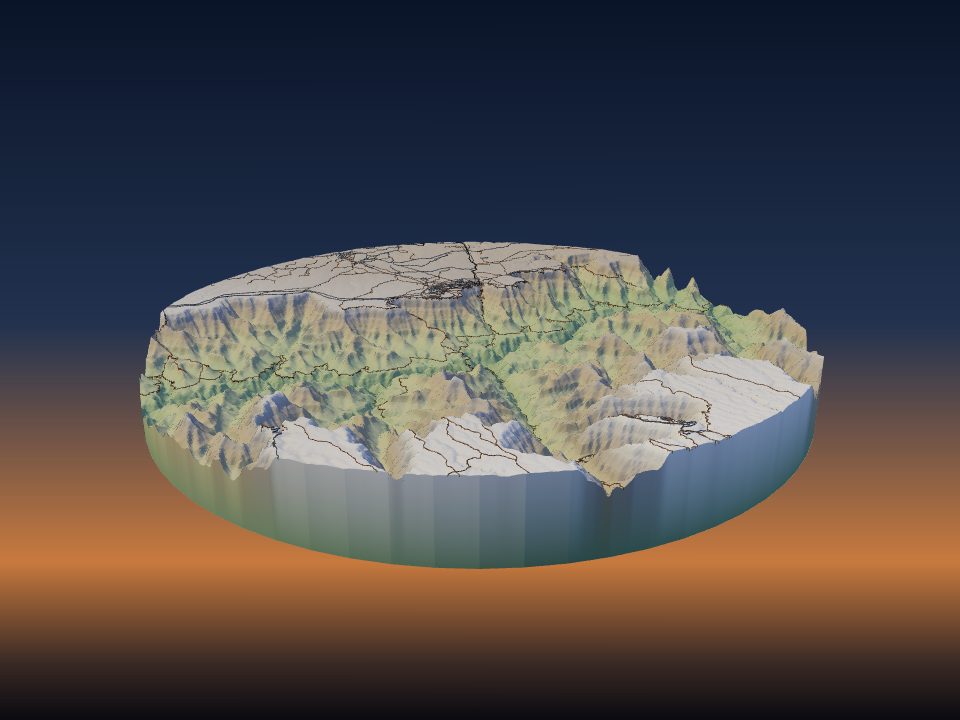
Example: open the Grand Canyon region as a 4-column large project.
3. Scale, base height and exaggeration
Every tile uses one horizontal scale and one base elevation. Before the first tile, the app scans the whole area and takes its lowest point as the base for every tile. The panel shows this base elevation, with a Rescan button.
Big areas print at small scales, which makes mountains low. At 1 mm = 500 m, a mountain that rises 2,000 m above the base is only 4 mm tall at 1× exaggeration. Most large projects need more Vertical exaggeration than a single model of one peak; see choosing vertical exaggeration.
The panel also shows how tall the tallest tile will be. If that is more than your printer can build, it offers a button to lower the exaggeration until it fits.
Set the exaggeration, base thickness and every other setting before you make the first tile. If you change them later, the panel warns that new tiles will not line up with the ones you already made.
4. Preview and estimate
Click Preview the whole project in 3D to see all the tiles together before you print anything. The panel also estimates the filament and printing time for the whole project, and the time on each printer when you share the work.
Large projects add up quickly. Check the estimate, and if it is too much, use fewer columns, a smaller finished width or a lower base thickness.
5. Make and save the tiles
Tiles are named like a spreadsheet: letters are rows from the north (A is the top row) and numbers are columns from the west, so A1 is the north-west corner. Tiles on the bottom row may be shorter than the others.
- Click a tile on the map or in the grid to make that one, or click Make the next tile.
- Save all tiles makes every remaining tile one after another, as STL or 3MF. Save them into a folder, or as a ZIP. A text guide shows the layout and the scale, and, with several printers, which printer prints each tile.
- Copy project link and bookmark it. The link keeps the area, the scale, the base height and which tiles you have downloaded, so you can make more tiles on another day.
- With a free account, you can also keep the project in My builds, with your progress saved as you go.
6. How the edges match
Each tile fetches its own elevation data, so neighbouring tiles could end up with slightly different heights along a shared edge. To prevent that, the app takes one strip of elevation data along each line between tiles and blends both neighbours into it. The edges are made to the same heights, so they meet flush.
For this to work, print every tile at 100% scale with the same slicer settings. Do not rescale tiles in the slicer.
7. Align and glue the tiles
Two options under On each tile make assembly easier:
- Tile label and north arrow on the bottom (on by default) cuts each tile's name and an arrow pointing north into its underside.
- Holes for alignment pins (1.75 mm filament) adds two holes on each shared edge. Cut 1.75 mm filament into 19 mm pieces and push one into each pair of facing holes. Pin holes need a base at least 4 mm thick.
Lay all the tiles out on a flat table, face up, before gluing anything. Check that the edges meet and that the north arrows all point the same way.
- Scrape or sand off any first-layer bulge (elephant's foot) along the bottom edges so the tiles sit tight.
- Glue one row at a time, starting from a corner, and press each joint flat against the table while it sets.
- For a model of a metre or more, glue the tiles onto a stiff backing board, such as plywood or MDF, so the joints do not flex.
8. Printing tips for a big project
Print a single tile first and check it before you start the rest. It shows whether the exaggeration, base thickness and colours look the way you want.
Use the same filament brand and colour for every tile, because colours often change a little between brands and batches. For print settings that suit terrain, see print settings for terrain models.