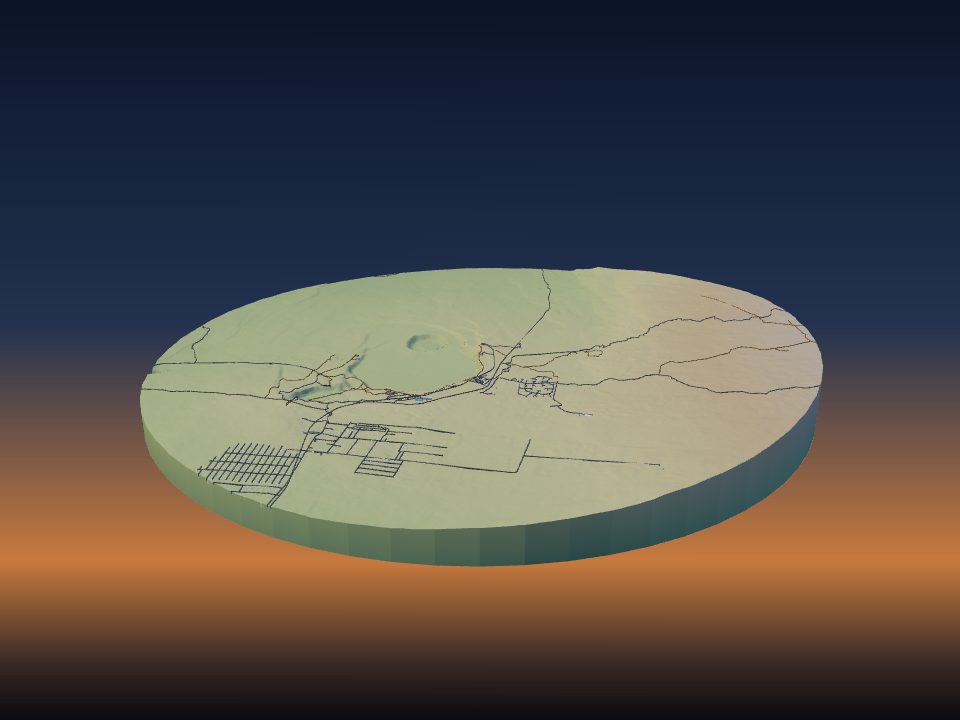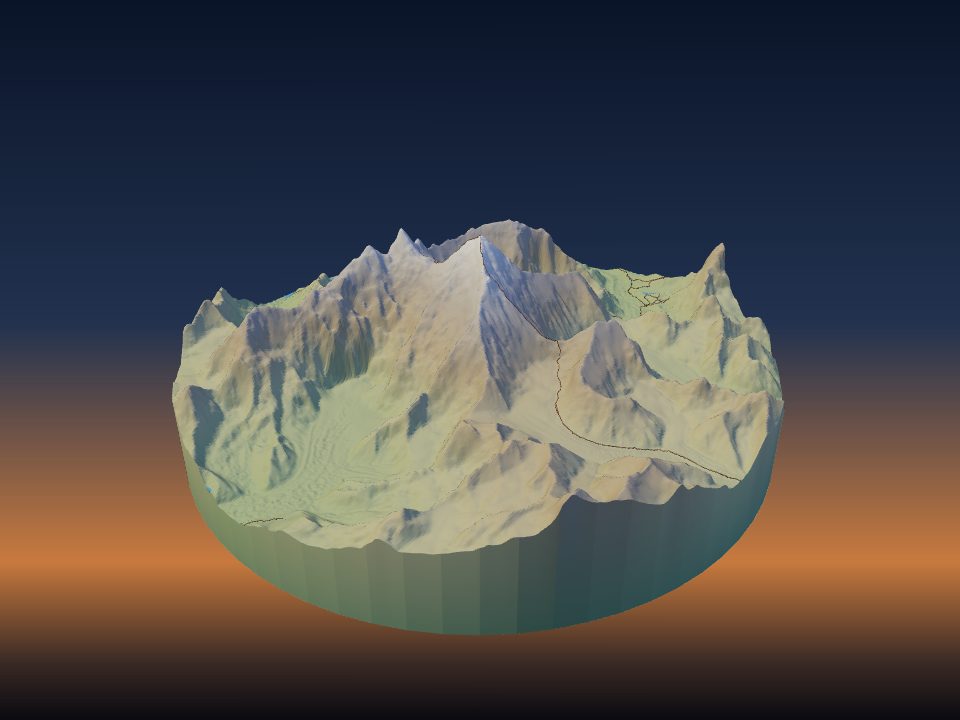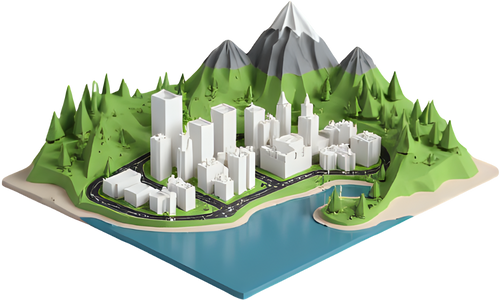
How to make a 3D printed map puzzle
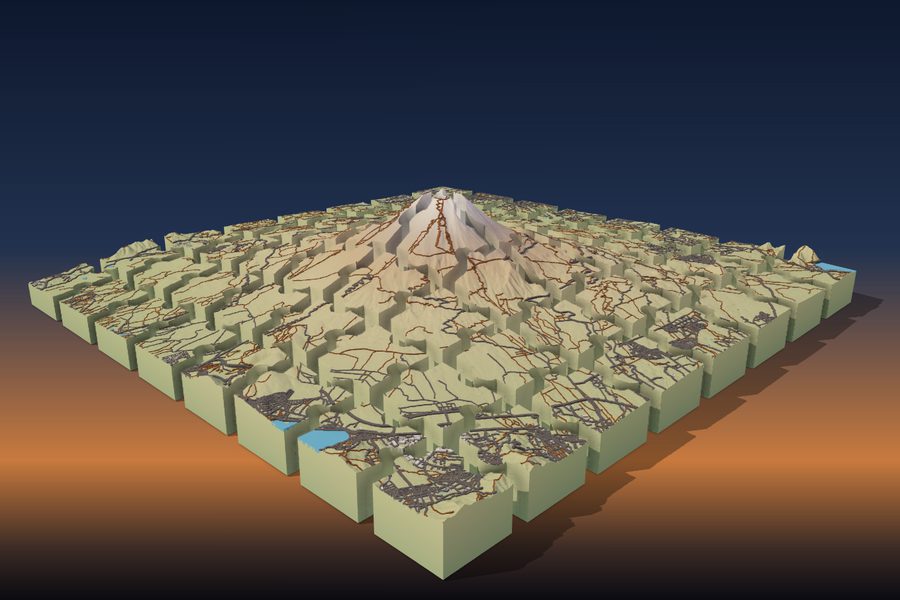
TerraPrinter's Puzzle style cuts a terrain model into interlocking pieces that fit back together into the real landscape. You choose the piece size, the shape of the edges and how tight they fit, and every piece downloads as its own file.
1. Choose a place that makes a good puzzle
The best map puzzles have strong shapes that help you find where a piece goes: a volcano, a canyon, a coastline or a lake. A flat area with no landmarks looks the same on every piece and is much harder to solve.
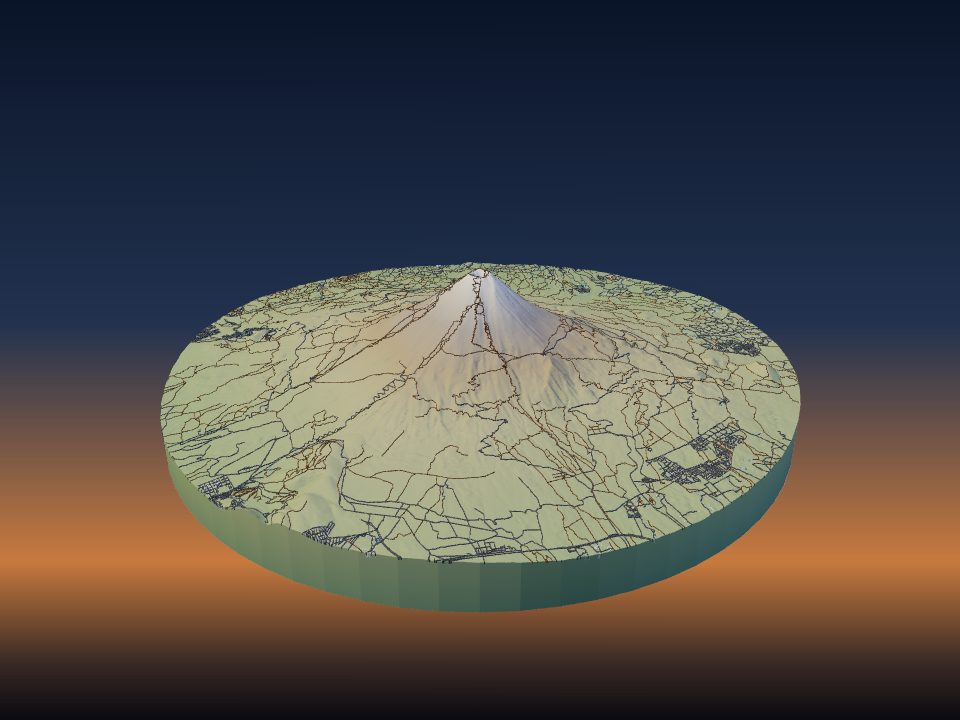
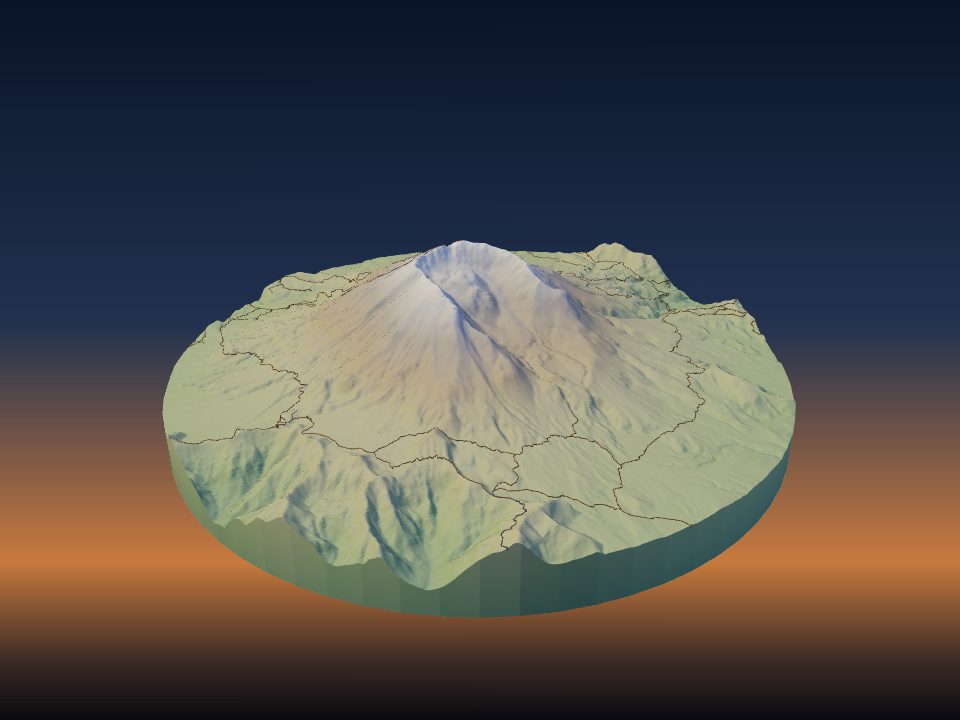
- Mount Fuji: a single volcano with a clear cone, so every piece shows which side of the mountain it comes from.
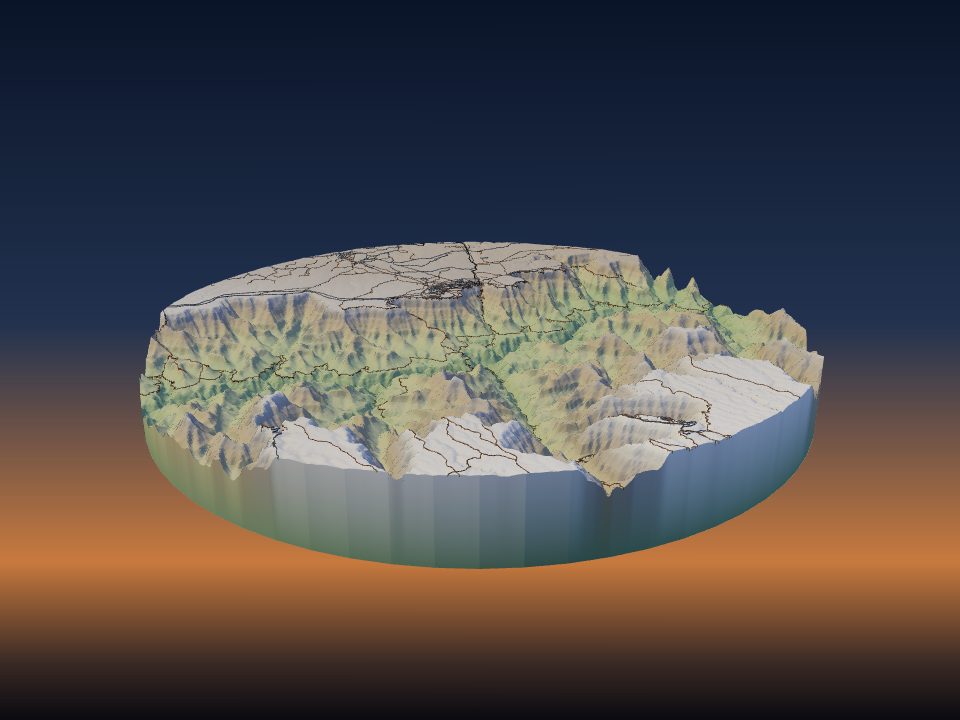
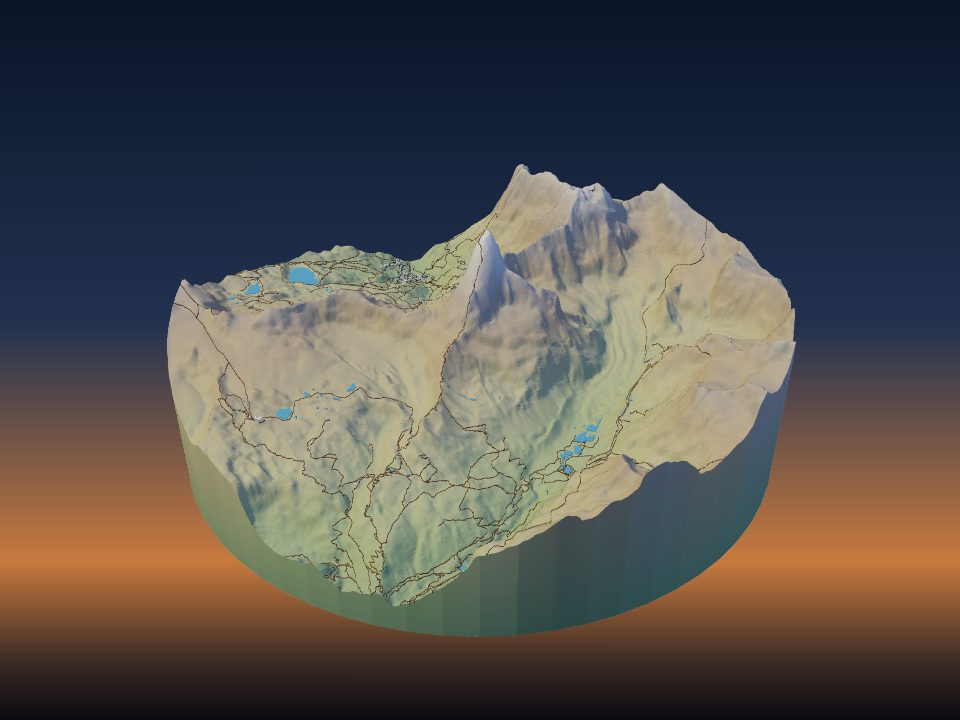
- The Grand Canyon: the river and the side canyons link the pieces together.
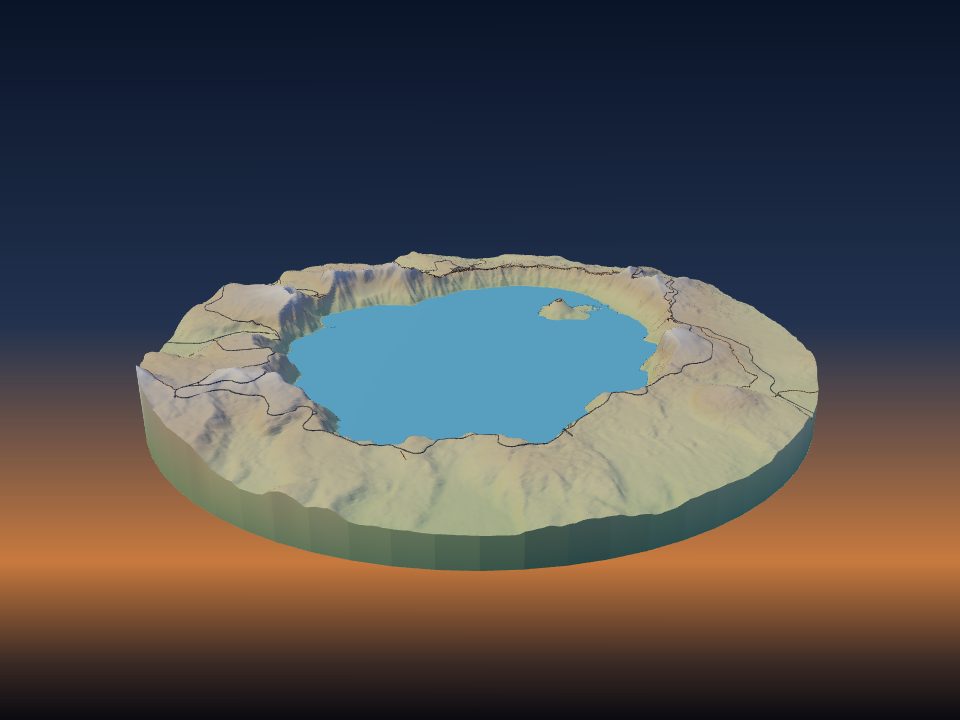
- Crater Lake: a round lake inside a volcano, with the rim running through many pieces.
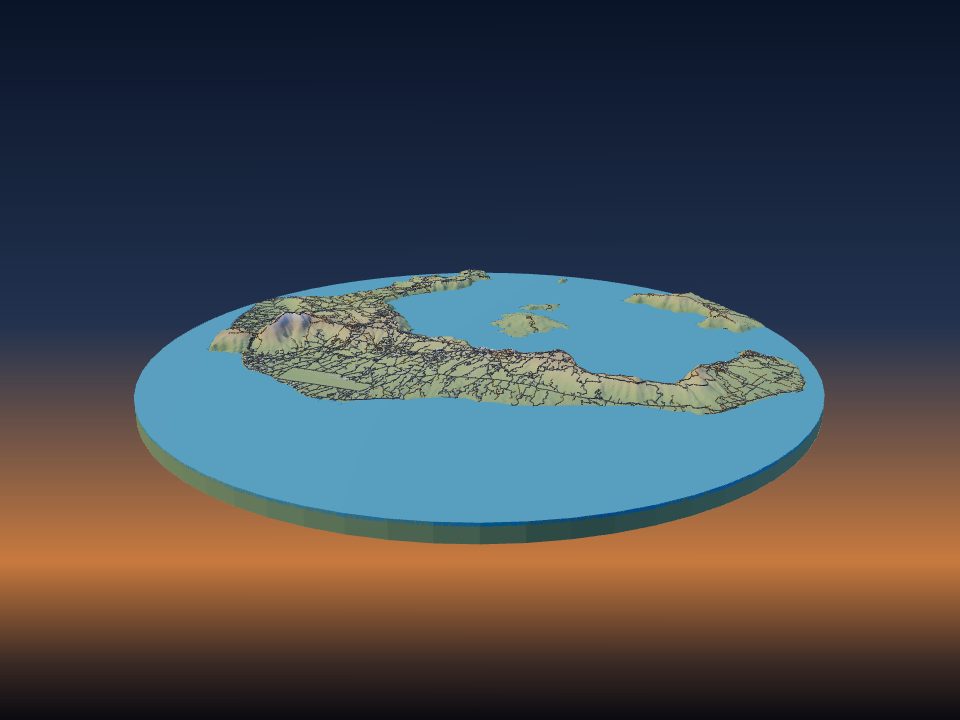
- Your home town: the streets, rivers and parks people know make it easier to solve.
Open TerraPrinter, search the place and draw the area. Mountains and canyons often look better with some Vertical exaggeration, so the ridges and valleys give each piece a clear shape; see choosing vertical exaggeration.
A Rectangle or Square area gives a puzzle with straight outer edges, like a boxed jigsaw. The outer pieces are then easy to find first, which helps younger players.
2. Turn on the Puzzle style
In the settings panel, open step 2, Style, and pick Puzzle. The puzzle settings appear under it.
The whole puzzle is as big as Max print size under step 4, Print (200 mm by default). The pieces are cut from that size, so set the finished size first.
Try it: build Mount Fuji as a puzzle.
3. What prints on the pieces
A puzzle is a normal TerraPrinter model cut into pieces, so everything you turn on under step 3, Features, prints on it: roads, trails, rail, water, parks and buildings. These details become clues, because a piece with a river bend or a town on it has only one place to go.
Too many small details can make the pieces look busy, especially with small pieces. For a cleaner look, turn off Trails or Roads and keep Water, which shows the shape of the land best.
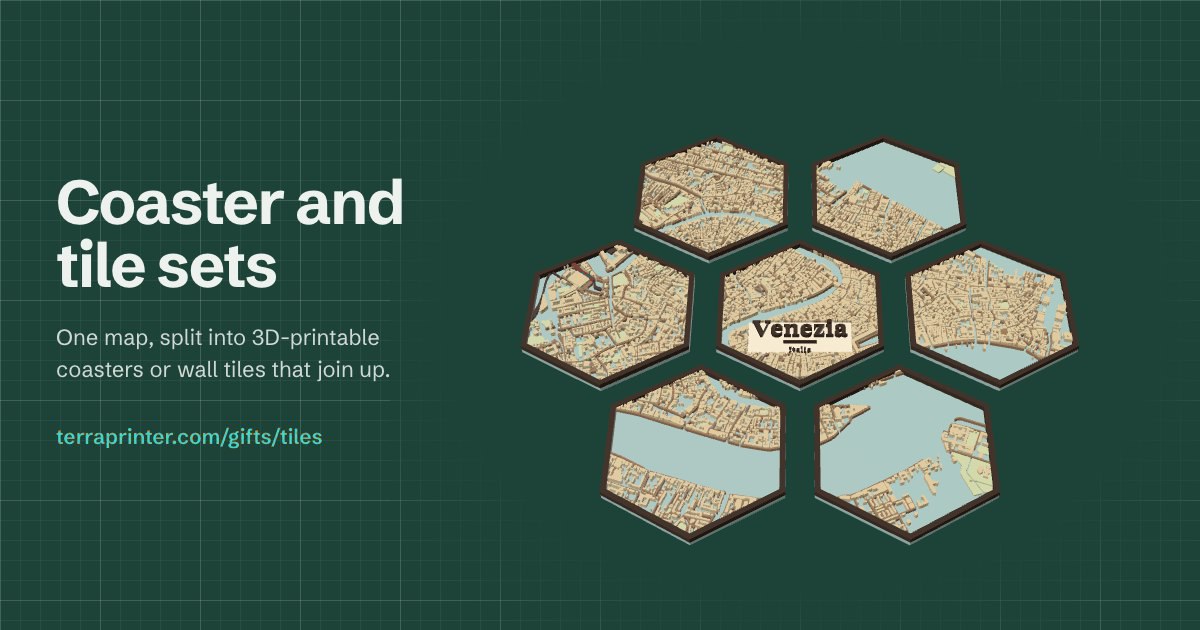
A city puzzle works too. Keep the area small, about 1–3 km across, so the buildings are big enough to print on each piece; see how to 3D print your city.
4. Choose the piece size
Piece size sets how wide each piece is, from 10 to 80 mm (25 mm by default). The area is divided into a grid of pieces of about that size.
- A 200 mm square puzzle with 25 mm pieces has 8 rows of 8, or 64 pieces.
- The same puzzle with 50 mm pieces has 4 rows of 4, or 16 pieces.
For young children, use big pieces of 40–50 mm, which are easy to hold and quick to print. For a harder puzzle, use smaller pieces, or a bigger print size with the same piece size.
5. Pick an edge style
The Edge style buttons set the shape of the seams between pieces:
- Jigsaw: classic round knobs, like a cardboard jigsaw.
- Interlock: square, trapezoid-shaped tabs.
- Wavy: smooth wave-shaped seams with no knobs.
- Straight: clean straight cuts, like tiles. The pieces do not hold each other.
- Locking: knobs with a narrow neck that lock the pieces together, so they only come apart when you lift one.
Locking edges suit a puzzle that will be picked up or hung once it is finished. Straight edges suit pieces that stay in a tray or on a board.
6. Set the fit gap
The Fit gap is the space left between neighbouring pieces, from 0 to 0.6 mm (0.24 mm by default). Each piece is made smaller by half the gap on every side, so the pieces slide together after printing.
- 0.2–0.3 mm suits most FDM printers.
- Raise the gap if pieces are too tight to push together.
- Lower it if they are loose and fall apart.
- 0 cuts the pieces exactly, with no space between them.
Before you print the whole puzzle, print two neighbouring pieces and test the fit. A first-layer bulge (elephant's foot) can make pieces tight at the bottom, so lower the first-layer squish in your slicer or scrape the edge.
7. Number the pieces and add a tray
- Number the pieces engraves each piece's number into its underside, mirrored so it reads correctly when you turn the piece over.
- Tray adds a tray that holds the finished puzzle, with each piece's number in its floor where that piece goes. It downloads as its own file in the zip and its own object in the 3MF.
Numbers and a tray make a big puzzle much easier to solve, and help you find a lost piece. For a fridge or a steel board, turn on Magnet pockets under Print, which adds round pockets for disc magnets in the bottom of each piece.
8. Check it on screen, download and print
Press Generate 3D Model. In the 3D preview, the Pieces apart button shows the pieces pulled apart or put together.
In the download dialog, Build Puzzle opens the pieces in the Puzzle Playground, where you can put them together on screen before you print. Download the zip to get every piece as its own file, plus the combined puzzle.
Print all the pieces with the same printer, filament and slicer settings, so they come out the same size. Fill each plate with pieces laid flat, the way they are in the file; none of them need supports.
- A base of 3–5 mm keeps small pieces stiff and the knobs strong.
- A 3MF keeps water and map features as separate colours for a multi-colour printer; see multicolour terrain maps.
- For slicer settings that suit terrain, see print settings for terrain models.
9. Map puzzles in the classroom
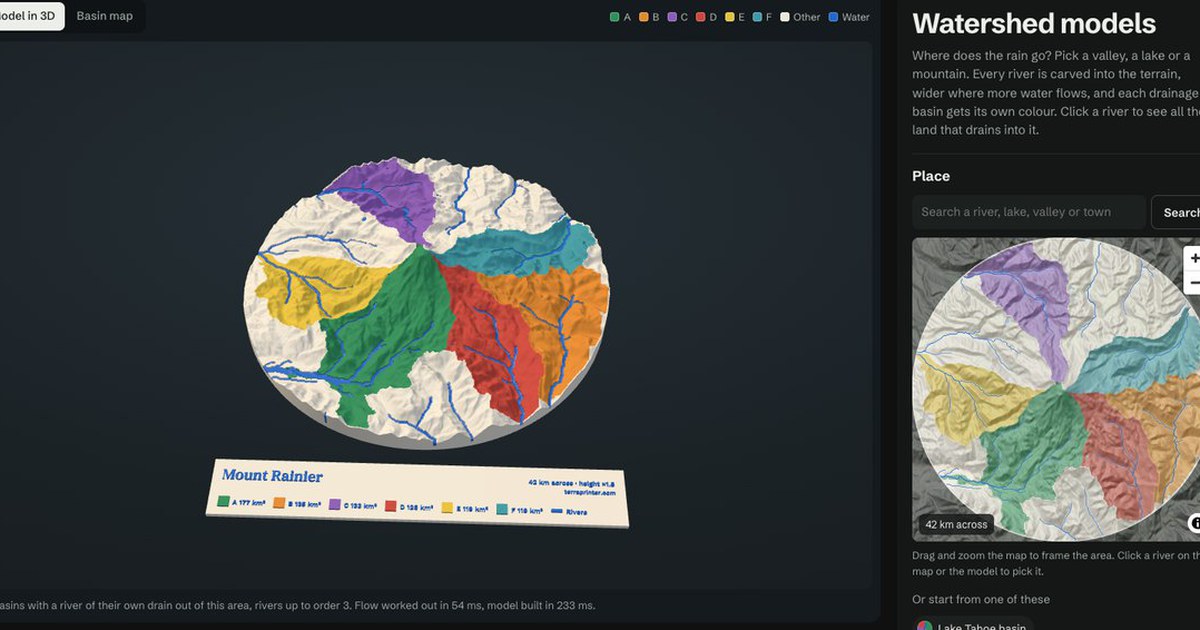
A terrain puzzle works well for group work. Give each group a piece to describe, such as its highest point or where the water flows, then put the landscape back together as a class.
The classroom lesson kits include a ready-made example: the Grand Canyon, 200 mm wide, in about 16 jigsaw pieces of 50 mm. The kits cover volcanoes, plate boundaries, glaciers, watersheds, coastlines, contour lines, Mars and the Moon.
Big pieces with numbers and a tray are the easiest for younger pupils. Puzzle style is not available for Large projects, so keep a class puzzle to one normal-sized model.