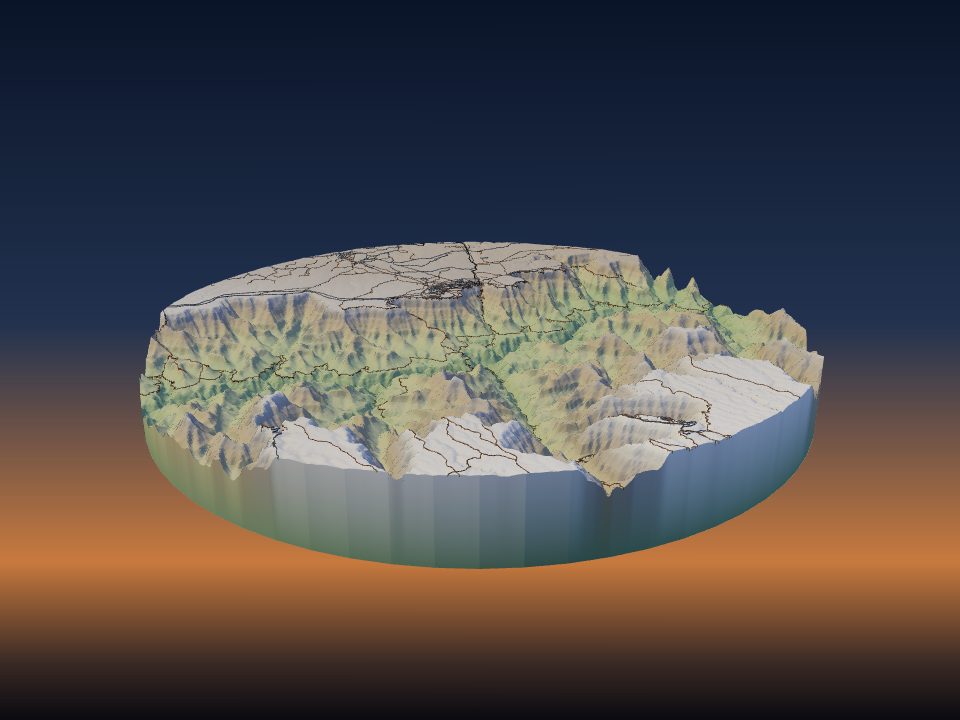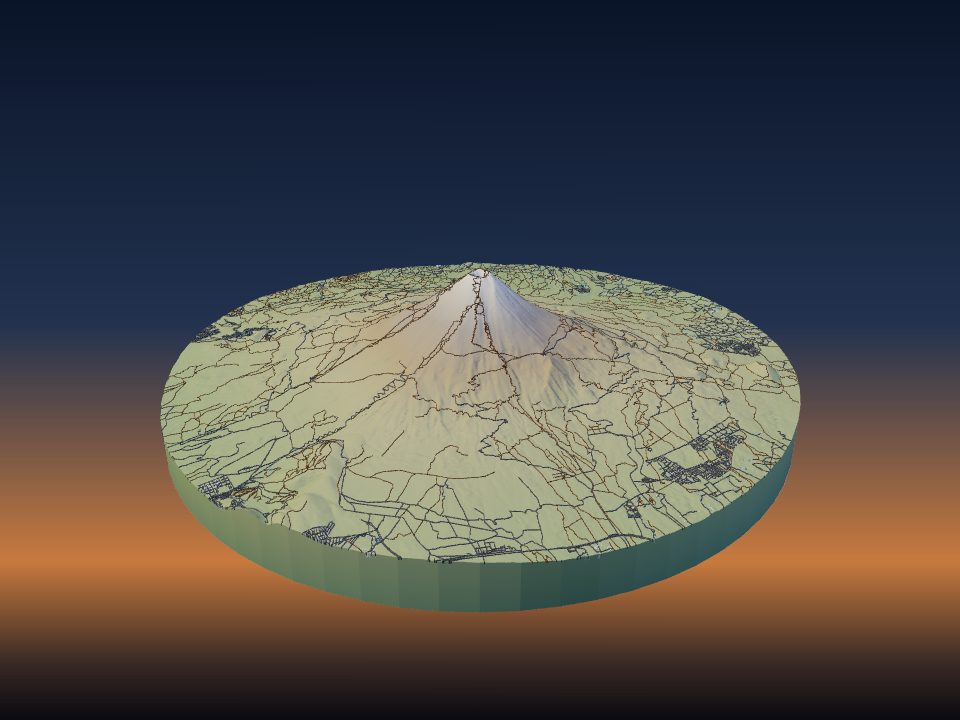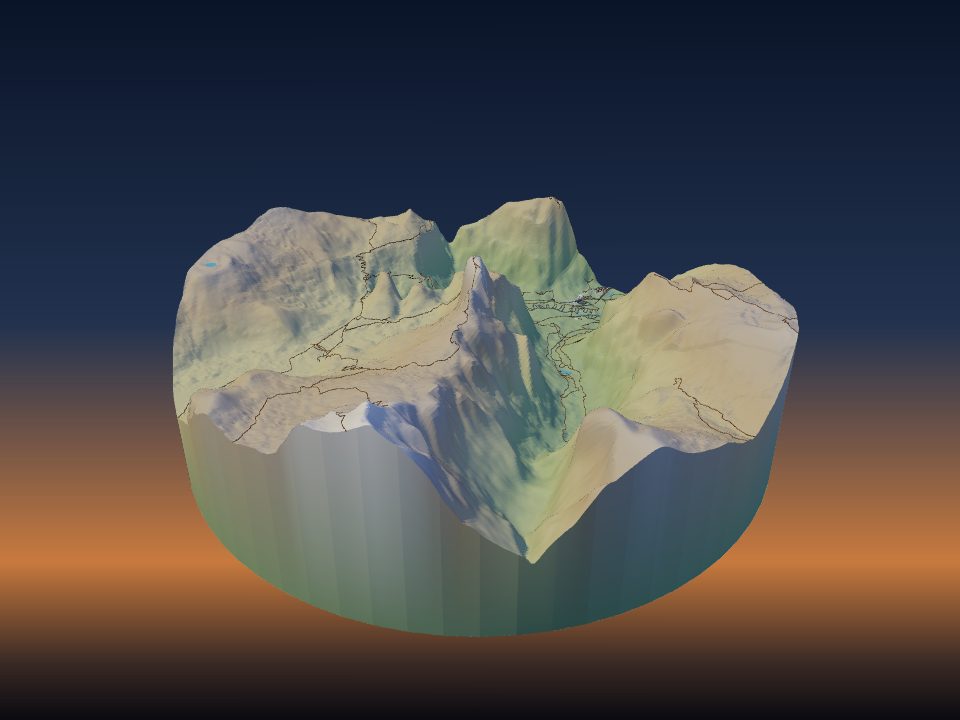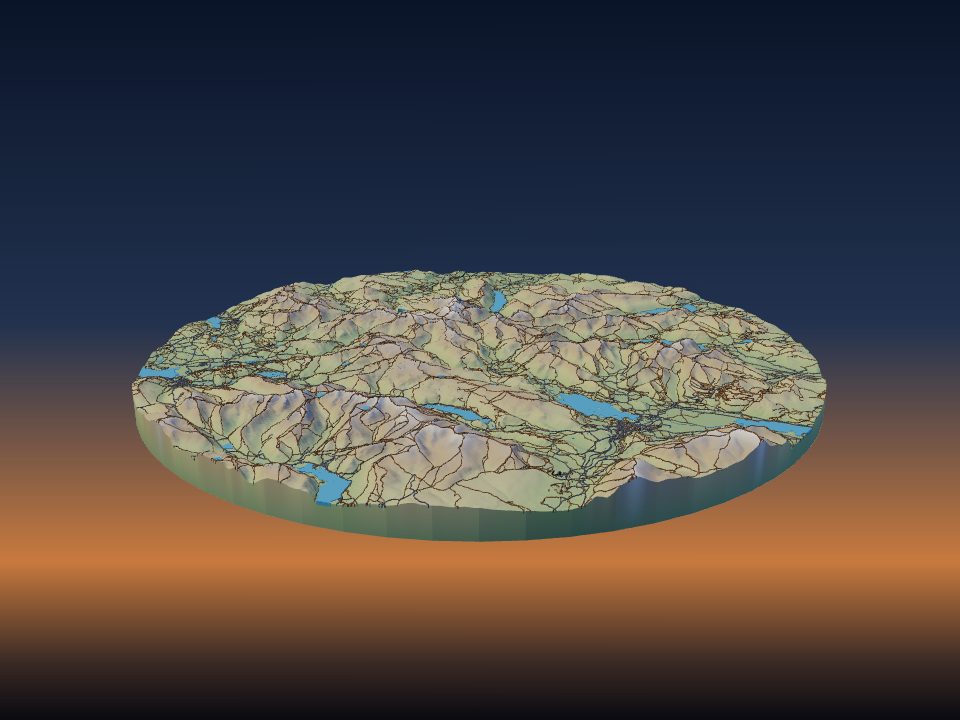
How to 3D print a topographic map
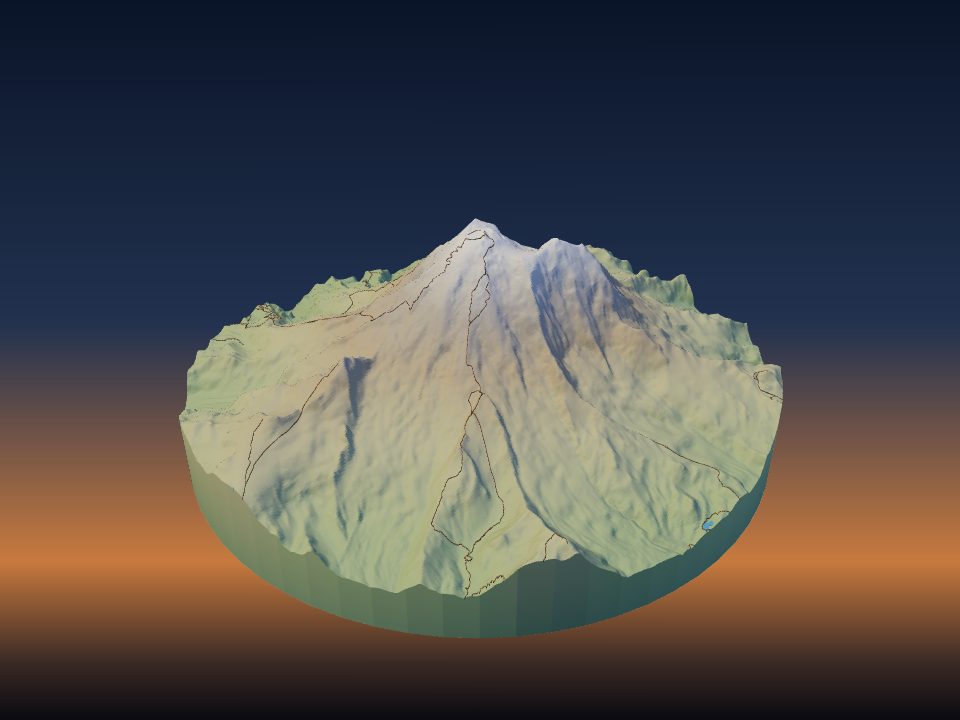
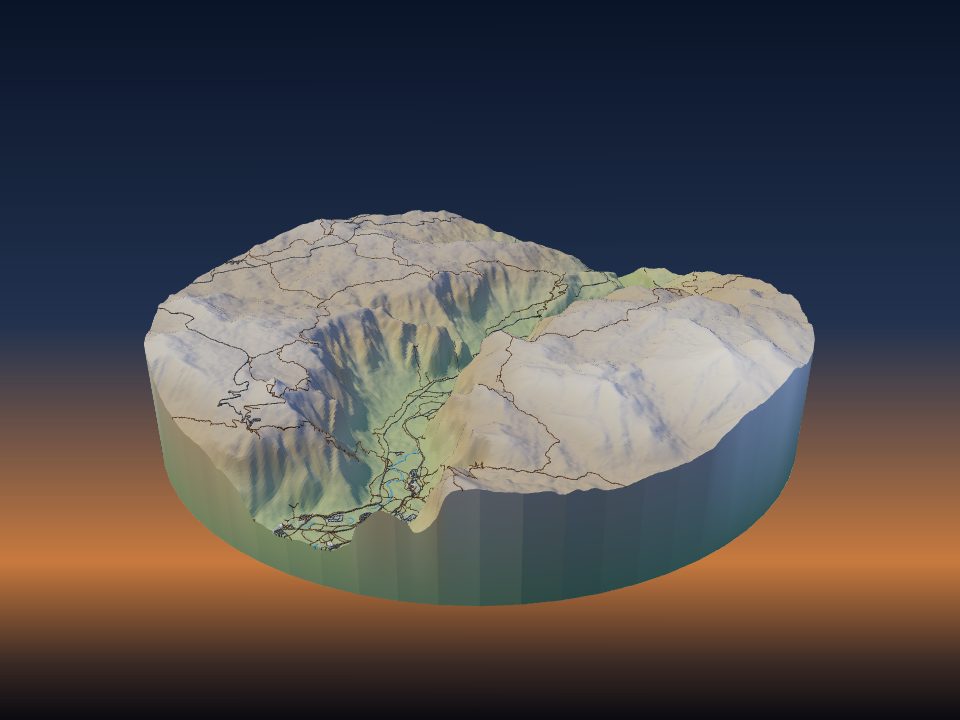
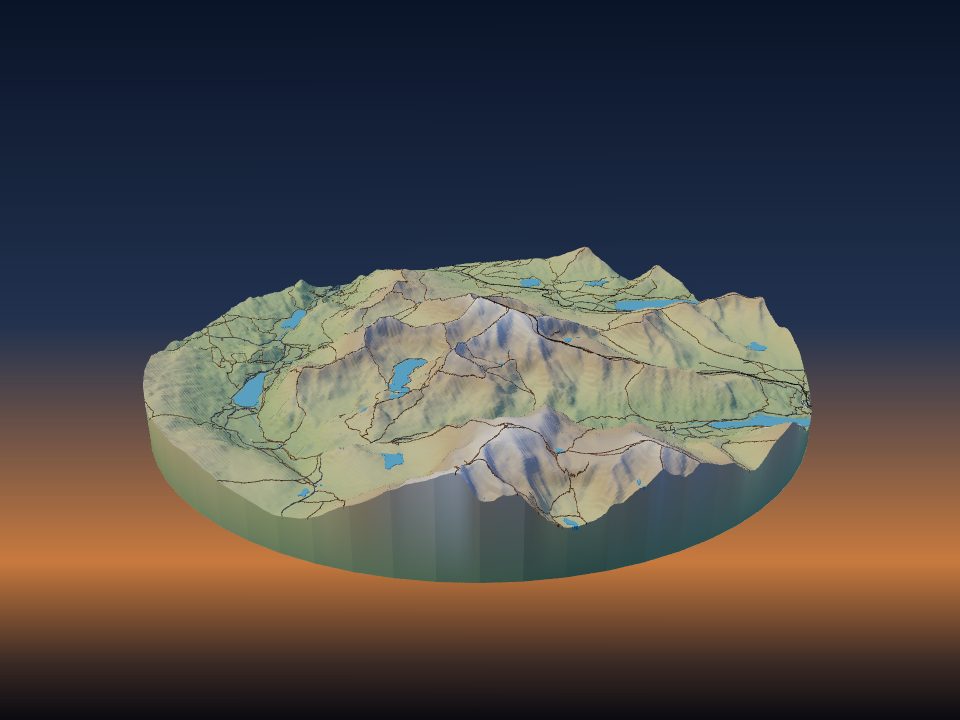
A 3D-printed topographic map shows the real shape of the land: the peaks, valleys and coastlines you can only read from contour lines on paper. Here is how to make one of any place, from choosing the area to taking the print off the bed.
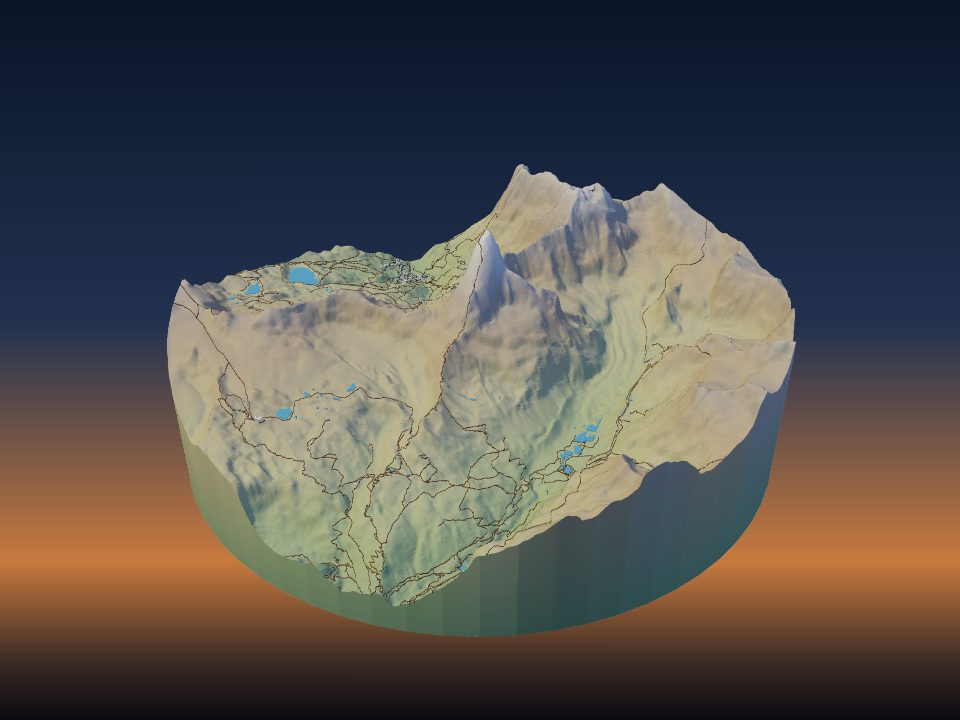
1. Pick the area
Open TerraPrinter and type a mountain, park, lake, town or address into the search bar. With Build the model as soon as I search switched on (it is on by default), picking a result draws an area that fits the place and makes the model straight away.
To choose the area yourself, open the settings with the gear and use the Place step. Pick a shape (Rectangle, Square, Circle, Hexagon, Polygon, Heart or Star) and drag it on the map. Drag the handles to move, resize or turn the area.
The Topo basemap in the same step shows contour lines and hill shading, which helps you frame a valley or a ridge. For a quick start, the place pages have ready-made areas for thousands of famous mountains, canyons, lakes and cities.
How big should the area be?
The area you pick is shrunk to fit your print size, so a bigger area means less detail per millimetre. On a 200 mm print, a 10 km area puts 50 m of ground into each millimetre. A 50 km area puts 250 m into each millimetre, so single buildings and small streams disappear.
- A single peak or canyon: about 5–15 km across.
- A town or a few city blocks: about 1–4 km across.
- A whole range, island or national park: 30 km or more, with terrain only.
2. Choose what goes on the map
The Features step lists the map layers. Each one has its own switch and colour: Buildings, Roads, Trails, Rail, Water and Parks, plus Trees, Landmark models and more. The terrain itself is always there.
For a classic topographic look, keep the terrain and add Contour lines under Overlays. They print as raised lines at fixed height steps. The interval goes from 10 to 500 m (50 m by default) and the line height from 0.2 to 2 mm.
- Mountains and parks: terrain, water and trails print well. Leave buildings off on large areas, because they come out as specks.
- Lakes and coasts: switch on Water. Sea-floor relief and Lake depths add the shape below the surface.
- Towns and cities: switch on Buildings and Roads. See how to 3D print your city for the details.
When you search a town or city, the app may start with Flat model switched on in the Style step. That prints a flat plate with only the map features. Switch it off if you want the hills under the streets.
3. Set the size and the base
Open the Print step. Max print size sets the longer side of the model, from 50 to 500 mm (200 mm by default). Pick a size that fits your printer bed with a little room to spare.
Choose your machine under Your printer, and set the Nozzle and Filament slots. The app then checks the model against your bed, build height and nozzle before you download.
Base thickness is the solid layer under the lowest point of the terrain, from 1 to 20 mm (5 mm by default). A thicker base is stronger but uses more filament. Hollow base leaves an open shell underneath to save filament.
If the area is bigger than your bed, the Layout options split it into tiles: Multi tile, Grid slice or Large project. See large terrain models.
4. Set the vertical exaggeration
Real landscapes are wide and low. At true scale, most areas print almost flat, so the heights are usually stretched. The Vertical exaggeration slider in the Place step goes from 0.1× to 10×, and starts at 1.5×. The 3D map view follows the same slider, so you can see the effect before you build.
When you search a mountain, park or other landscape, the app picks a starting value between 1.2× and 2.5× from the relief of the area. You can change it at any time.
- Big, steep mountains: 1–1.5×.
- Hills and moorland: 2–3×.
- Flat plains and deltas: 3× or more, or add contour lines.
The vertical exaggeration guide explains how to work out the printed height for any place.
5. Generate and check the model
Press Generate 3D Model at the bottom of the map. The model is built in your browser, and the Your 3D model window opens with a small preview you can drag to turn.
Preview 3D Model opens a full-screen view. Make adjustments lets you click any part of the model to change how it prints.
If you set your printer, a short print check appears in the same window. It warns when the model is bigger or taller than your printer can build, when roads or paths are thinner than your nozzle, when many buildings are too small to print, or when the base is too thin. Most warnings have a button that fixes the setting for you.
6. Download STL or 3MF
Download 3MF is the main button. A 3MF keeps the terrain, water, roads, buildings and other layers as separate parts, so a multi-colour printer can print each in its own filament. STL works with every slicer but holds one solid shape.
For a slicer without 3MF colour support, the menu next to STL has One STL per colour (zip). Each colour comes as its own STL, aligned so they load as one multi-part object.
The Open in slicer button sends the 3MF straight to Bambu Studio, OrcaSlicer or UltiMaker Cura. For PrusaSlicer it downloads the file. GLB and OBJ are there too, for 3D viewers and other software.
Downloads have terraprinter.com engraved into the bottom face, where it is hidden on display. You can turn this off with Site name underneath in the Print step.
7. Slice and print
Load the file in your slicer and leave the model flat on the bed, base down, as it comes. A terrain surface has no overhangs, so most terrain models print without supports.
- Layer height: 0.2 mm is a good start. Use 0.12–0.16 mm for gentle hills, where thick layers show as visible steps.
- Nozzle: 0.4 mm suits most models.
- Walls and infill: 2–3 walls and 10–15% infill are enough, because the base and terrain carry the strength.
- Top layers: use at least 4–5, so large, nearly flat areas close up cleanly.
- Material: PLA is the easiest. Matte grey or white shows the relief best.
The Print estimate in the download window gives a rough filament weight, cost and print time for PLA, PETG, ABS or TPU at the infill you choose. Your slicer gives the exact numbers.
For a full list of settings, see filament and slicer settings for terrain prints.
Common mistakes
- Too big an area for the print size. A city of 30 km on a 150 mm print loses its streets. Make the area smaller, or make the print bigger.
- Too much exaggeration on high mountains. Alpine peaks at 3× or more turn into spikes and may be taller than your printer can build. Start at 1–1.5×.
- Too little exaggeration on flat land. A river delta at 1× prints as a flat plate. Raise the exaggeration or add contour lines.
- Buildings on a large landscape. They print as loose specks. Turn Buildings off, or raise Hide buildings smaller than.
- A very thin base. A base under 2 mm on a large print can warp or crack. The default 5 mm is safe.
- STL when you wanted colours. STL holds one shape. Download 3MF for a multi-colour print.
- Forgetting to generate again. Many settings say "Applies on the next Generate". Press Generate 3D Model again after you change them.