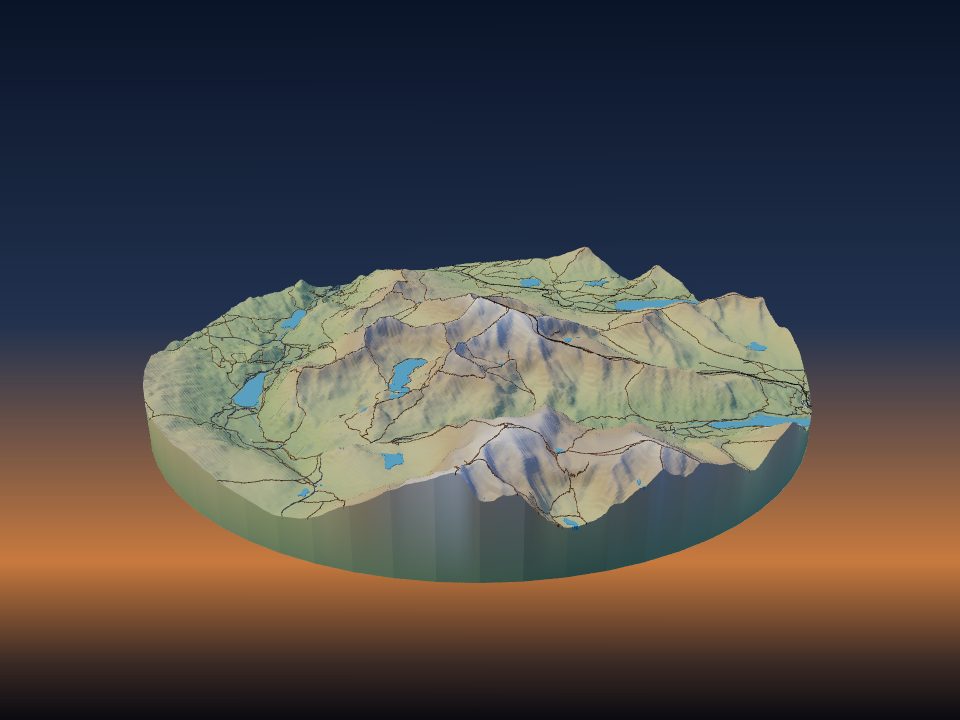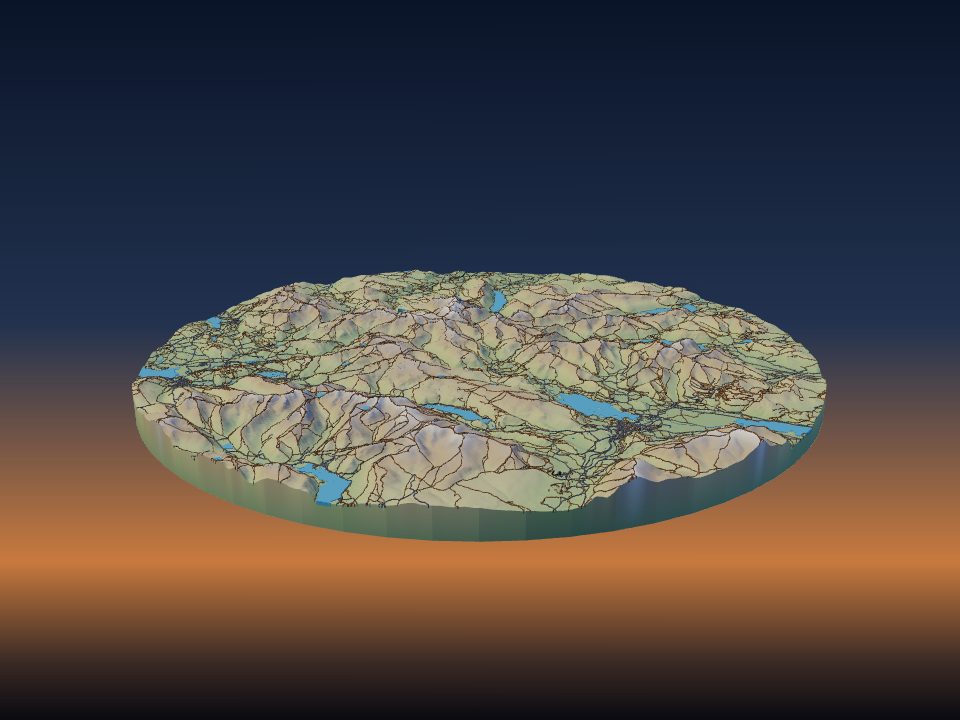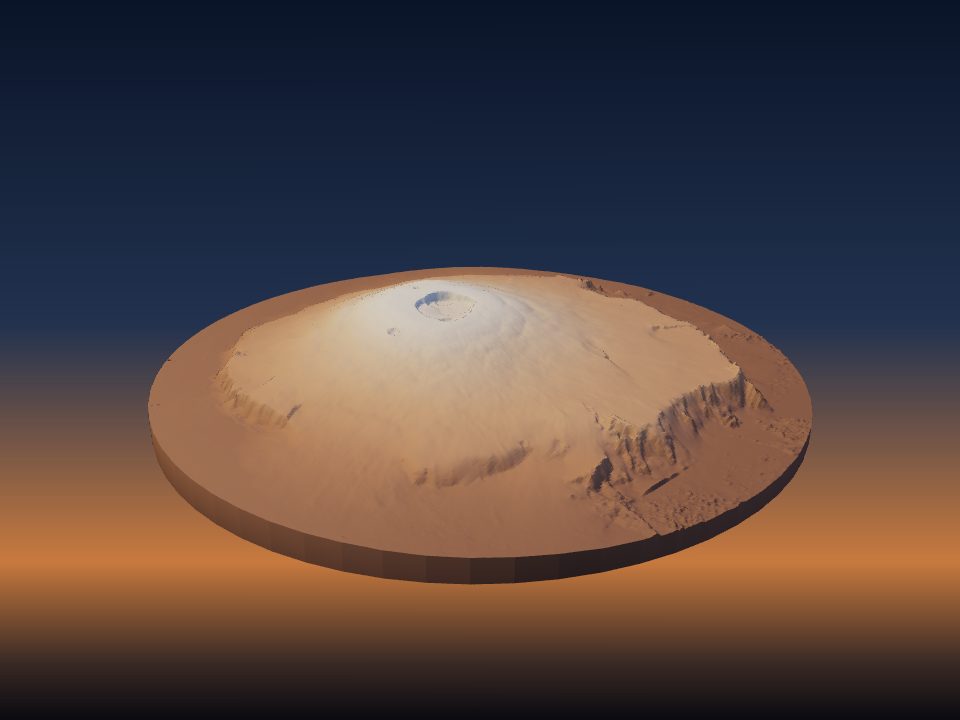
Vertical exaggeration for 3D printed terrain
Vertical exaggeration stretches the heights of a terrain model so the shape of the land is easy to see. The right amount depends on how steep the place is and how much ground you fit on the print.
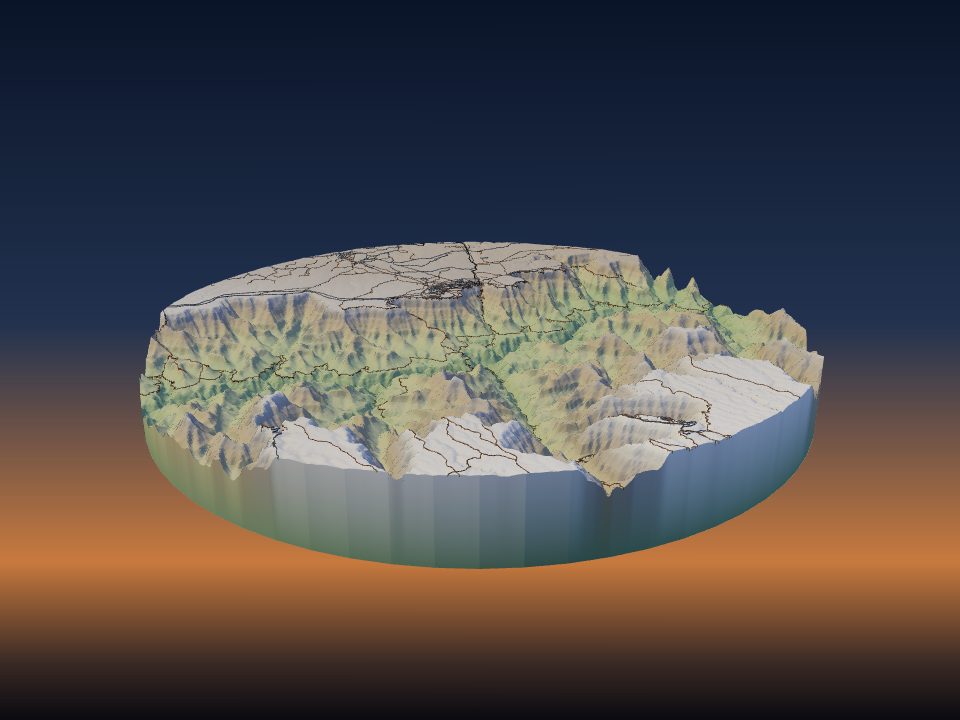
What vertical exaggeration means
At 1× the model has the same scale up and down as across. If 1 mm on the print stands for 50 m of ground, then 1 mm of height also stands for 50 m of height. This is called true scale.
At 2× every height is doubled, so a 1,000 m mountain prints as tall as a 2,000 m one would at true scale. The outline of the area and the position of every feature stay the same. Only the heights change.
Most landscapes are much wider than they are high. A valley 10 km wide may be only a few hundred metres deep. At true scale such a place prints nearly flat, which is why maps and models of terrain are so often exaggerated.
How TerraPrinter applies it
The Vertical exaggeration slider is in the Place step of the settings. It goes from 0.1× to 10× in steps of 0.1, and starts at 1.5×. The 3D view of the map follows the same slider, so you see the effect on the map before you generate.
The lowest point of your area sits on top of the base. Every other point rises above it by its real height difference, scaled to the print and multiplied by the exaggeration. The base thickness is added underneath.
Buildings, roads, water and the other map layers each have their own height slider in the Features step. Those heights are multiplied on top of the terrain exaggeration. To make a city taller without stretching the hills, raise Buildings height instead of the terrain exaggeration.
Work out the printed height
You can work out the height of the terrain on the print before you generate. Take the relief of the area (highest point minus lowest point, in metres). Multiply it by the print size in millimetres, divide by the width of the area in metres, and multiply by the exaggeration.
Terrain height (mm) = relief (m) × print size (mm) ÷ area width (m) × exaggeration
Add the base thickness to get the total height of the model. Each place page lists the width of its area and its relief, so you can do this in a few seconds.
Real examples at 1×, on a 200 mm print
These use the area and relief from each place page.
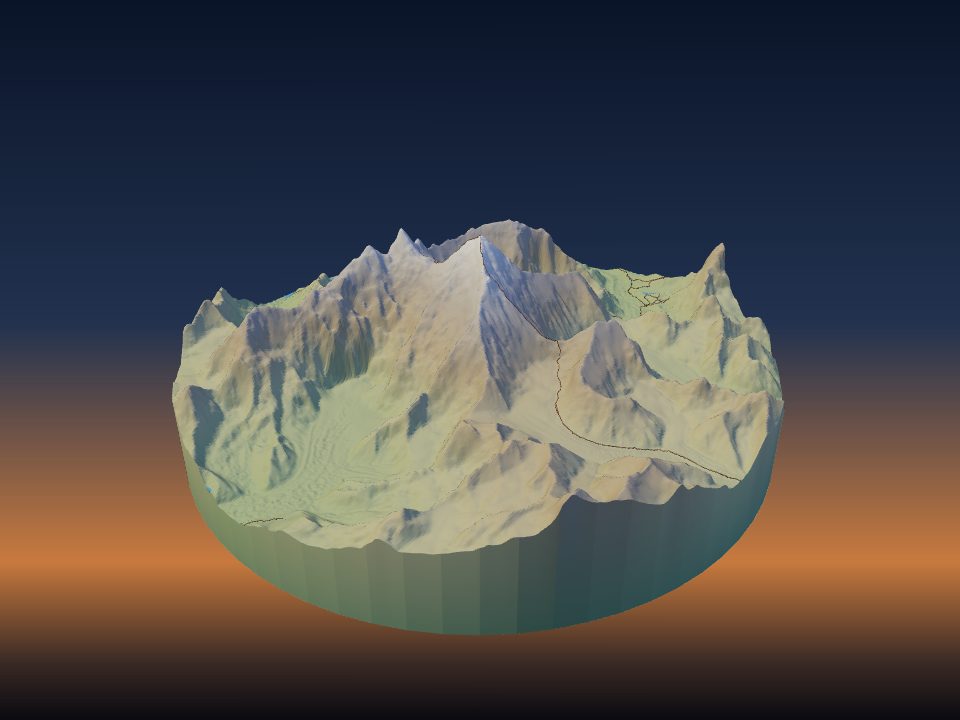
- Matterhorn: 12 km across, about 2,660 m of relief. About 44 mm of terrain at 1×.
- Mount Everest: 20 km across, about 4,300 m of relief. About 43 mm at 1×.
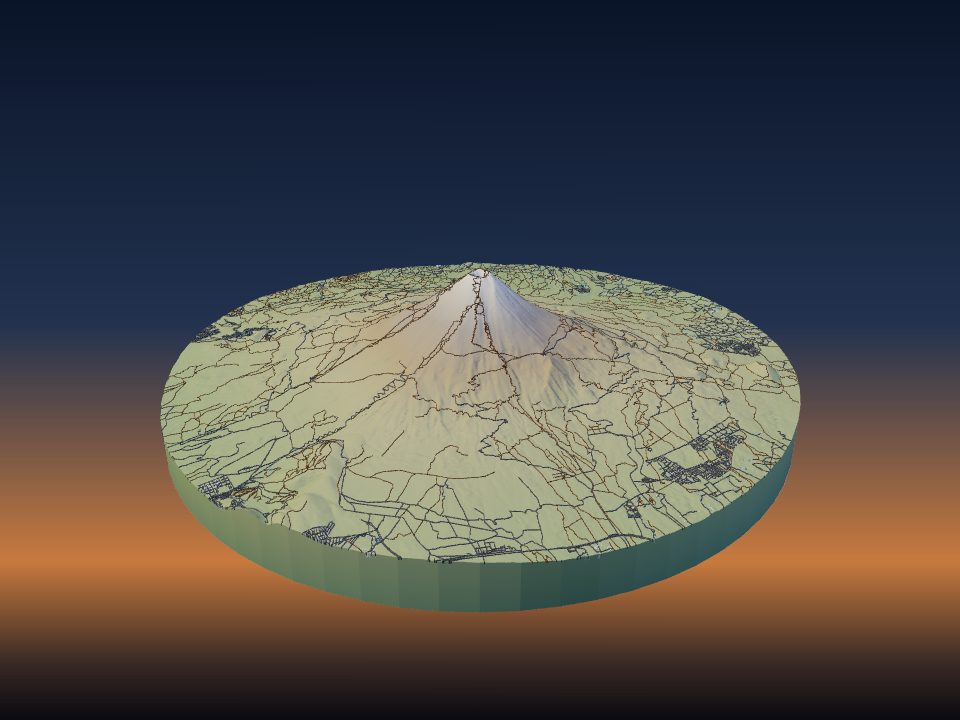
- Mount Fuji: 25 km across, about 3,600 m of relief. About 29 mm at 1×.
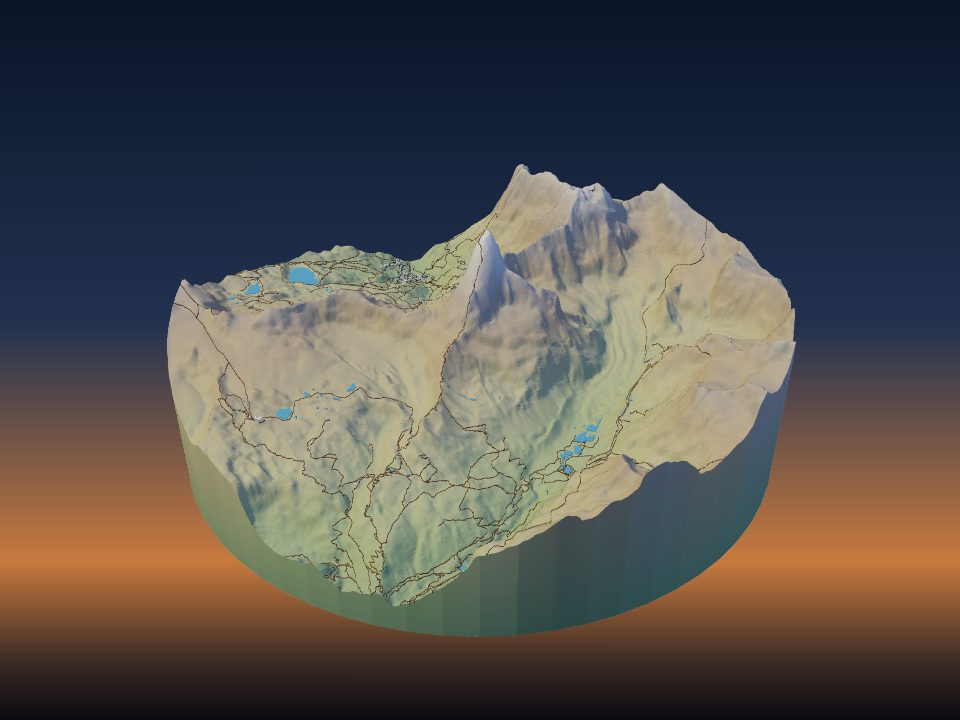
- Snowdon: 12 km across, about 1,030 m of relief. About 17 mm at 1×.
- Grand Canyon: 30 km across, about 1,920 m of relief. About 13 mm at 1×.
- Lake District: 35 km across, about 970 m of relief. About 6 mm at 1×.
- Everglades: 60 km across, about 30 m of relief. About 0.1 mm at 1×, so even 10× gives only 1 mm.
The steep peaks already stand 40 mm or more at true scale. The Lake District needs about 3× to reach the height that Snowdon has at 1×.
Choose a value for your landscape
A useful aim is terrain that rises about 15–40 mm on a 200 mm print. Lower than that and the shape is hard to see from across a room. Much higher and slopes become steep walls that no longer look like the real place.
- High, steep mountains (Alps, Himalaya, big volcanoes): 1–1.5×. The relief is already strong, and more exaggeration turns ridges into spikes.
- Canyons and medium mountains: 1.5–2×. The Grand Canyon at 2× gives about 26 mm of depth on a 200 mm print.
- Hills, moorland and rolling country: 2–3×. This keeps valleys and ridgelines readable.
- Plains, deltas, low islands: 3–10×, or accept a flat model and add contour lines, water and roads to carry the map.
- Towns and cities: the buildings usually carry the model. Keep the terrain at 1–2× so streets on hills do not look like ramps.
To try two values side by side, open the Lake District at 2.5× or the Matterhorn at true scale, then press Generate 3D Model.
Area size changes everything
The same mountain needs a different setting depending on how much ground is around it. If you double the width of the area on the same print size, each millimetre stands for twice as much ground. The terrain then prints half as tall at the same exaggeration.
This is why a whole mountain range needs more exaggeration than a single peak. A tight 5 km area around a summit can print well at 1×. A 60 km area of the same range may need 2× or more.
The print size works the same way. A 100 mm model is half as tall as a 200 mm model of the same area at the same exaggeration.
Other worlds show this clearly. Olympus Mons on Mars has about 24,000 m of relief, but its area is 750 km across. On a 200 mm print that is only about 6 mm at true scale. For this reason off-world models start at 4×, and the relief globes have a Relief exaggeration slider that goes up to 100×.
How the app picks a starting value
When you search a mountain, park, canyon or other landscape and the model builds by itself, the app sets the exaggeration from the relief of the area. It aims for terrain about one fifth as tall as the model is wide, and keeps the value between 1.2× and 2.5×.
So steep peaks such as the Matterhorn start near 1.2×, and wide, gentle areas start at 2.5×. Treat this as a first guess, then adjust the slider and generate again.
If you set your printer in the Print step, the print check after Generate warns when the model is taller than your printer can build. Its Lower the terrain button reduces the exaggeration until the model fits.
Exaggeration and printing
- Print time grows with height. A taller model has more layers, so doubling the exaggeration adds a lot of time on a mountain model.
- Low relief shows layer steps. On gentle terrain, each 0.2 mm layer becomes a visible contour. A smaller layer height, or a little more exaggeration, makes the slopes smoother.
- Contour lines help flat areas. Switch on Contour lines under Overlays to show small height changes that exaggeration alone cannot.
- Say what you used. For a model used in teaching, put the exaggeration on the label so nobody reads the slopes as real. The classroom kits give models that are compared the same area, size and exaggeration, so the comparison is fair.
- Contour-layer models. The layered contour maker shows the exaggeration as you change the layers, and has a button to set them for true scale.