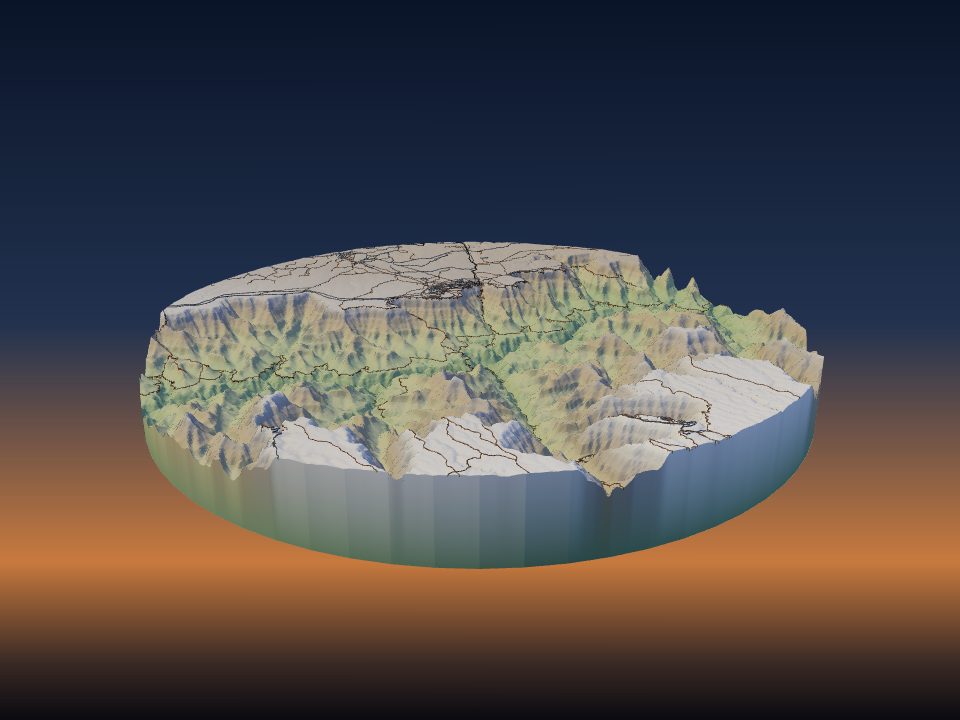
Open a 3MF ready to print in Bambu Studio, OrcaSlicer or PrusaSlicer
Normally you open a 3MF, pick the printer, pick the filaments and match every colour by hand. Set your printer once and the file arrives set up, so you can slice and print.
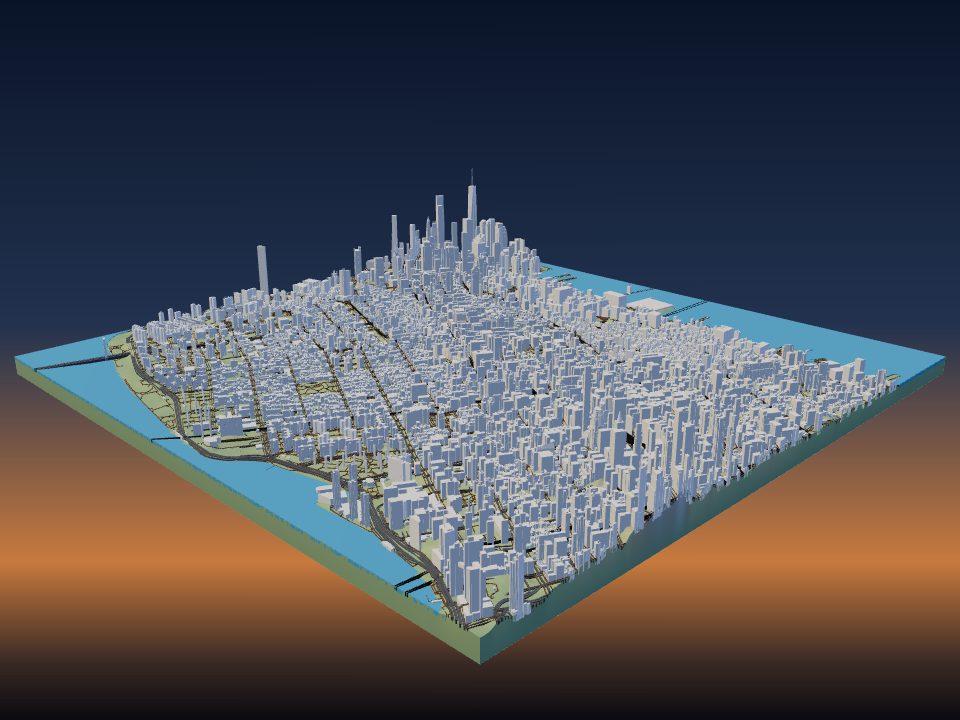
What opens set up for you
When TerraPrinter knows your printer, the 3MF it sends to your slicer carries:
- the slicer's own profile for your exact printer, with its standard 0.20 mm print settings;
- one filament for each colour in the model, using the filaments you have loaded, so each part prints on the closest colour you have;
- the model placed on the plate, clear of the prime tower and of any corner the printer can't print in.
All you check is the plate, then slice and print.
Step 1: tell it your printer
In the app, open step 4, Print, and choose your machine under Your printer. Leave the Nozzle at 0.4 mm: the ready-to-print files use each printer's 0.4 mm profile. Set Filament slots to what your printer holds, for example 4 for one AMS, 5 for an MMU3 or 9 for an H3C.
If you are signed in, your printer is saved to your account, and you can change it any time on your account page under Your printer.
Step 2: set the filaments you have loaded
Below the slots, Loaded filaments shows one swatch per slot. Set each one to the colour and type (PLA, PLA Matte, PETG, ABS, ASA or TPU) actually loaded in that slot. Each part of the model then goes to the closest of those colours.
If you leave the swatches alone, the file keeps the model's own colours instead, and you choose the filaments in the slicer. With a single slot, the whole model prints in that one filament.
Step 3: open it in your slicer
Generate the model. In the download window, pick your slicer from the menu next to the Open in button:
- Bambu Studio and OrcaSlicer open the file straight from the browser. Bambu Studio asks whether to open a file from this site: choose Yes.
- PrusaSlicer only opens web links from its partner sites, so the 3MF downloads instead. Double-click it or drag it into PrusaSlicer.
The message under the button says what the file is set up for, such as your printer and how many of your filaments it uses. If the model is too big to fit next to the prime tower, it tells you the largest size that fits.
Which printers are supported
- Bambu Studio: Bambu Lab A1, A1 mini, A2L, H2S, P1P, P1S, P2S, X1 Carbon and X1E.
- OrcaSlicer: all of those plus the H2D, H2D Pro, H2C and X2D; Prusa MK4S, MK4, MK3S, CORE One, MINI and XL; Creality K1, K1C, K1 Max, Ender-3 V3 and Ender-3 V2; and Elegoo Neptune 4 and Neptune 4 Pro.
- PrusaSlicer: Prusa MK4S, MK4, MK3S, CORE One, MINI and XL. With 2 or more slots, the MK4S, MK4, MK3S and CORE One open with the MMU3 and the XL with 5 tools.
For any other printer, or another nozzle size, you get the normal colour 3MF: every part in its own colour, ready for you to pick the printer and filaments. More printers are being added.
Each printer has its own page with its bed size, the largest model that fits and the settings to start from: see printers.
Before you print
- Check the filaments in the slicer match what is really in each slot. The file uses what you set in the app.
- Look at the plate: the model should sit in one piece, with the prime tower beside it.
- Slice and look through the layer preview, especially thin roads and trails.
- On a multicolour print, check the estimated purge. How to reduce purge waste shows how to bring it down.