How to make a map lithophane
A map lithophane is a thin print that looks plain until light shines through it. Then the mountains, canyons, craters or city streets appear, bright where the plastic is thin and dark where it is thick.

What a map lithophane is
A lithophane turns a picture into thickness. Thick parts block the light and look dark, and thin parts let it through and glow. With the light off it is a pale, textured panel; with the light behind it the picture appears.
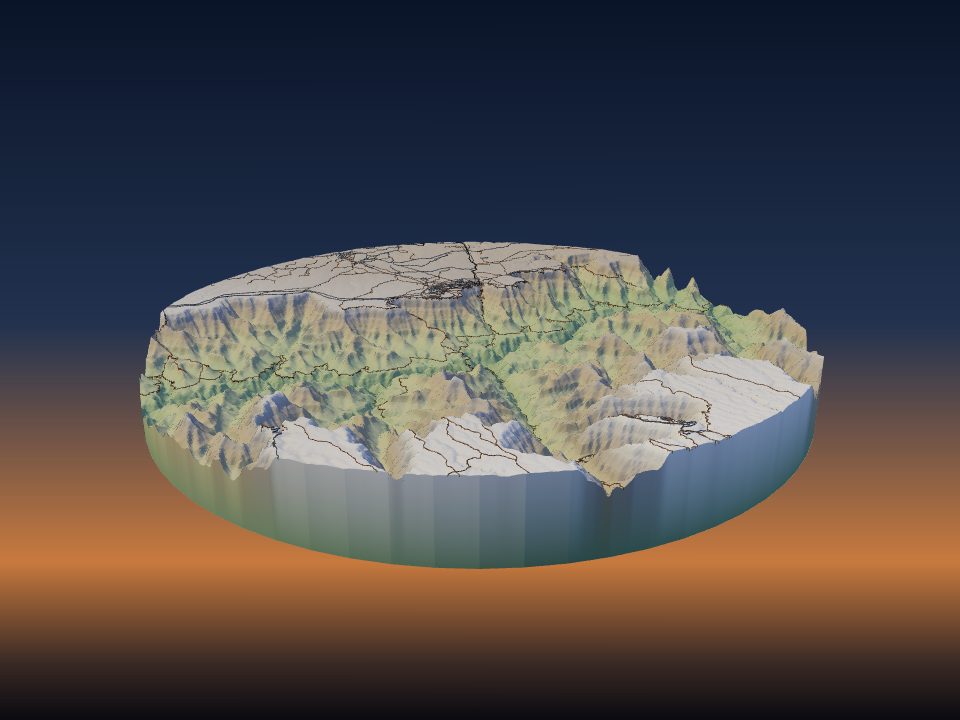
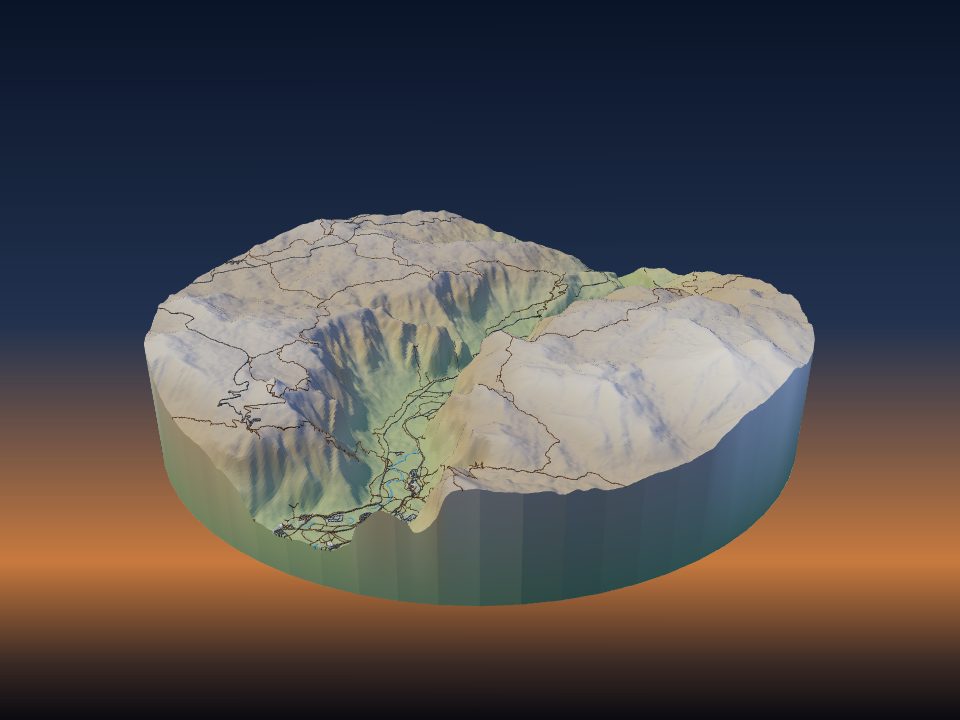
For a map lithophane, the picture comes from real elevation data. Relief shading makes ridges and valleys stand out the way they do on a shaded map, so a mountain range or a canyon reads clearly when lit.
- A panel for a window, a shelf or a light box.
- A round piece for a window or a lamp front.
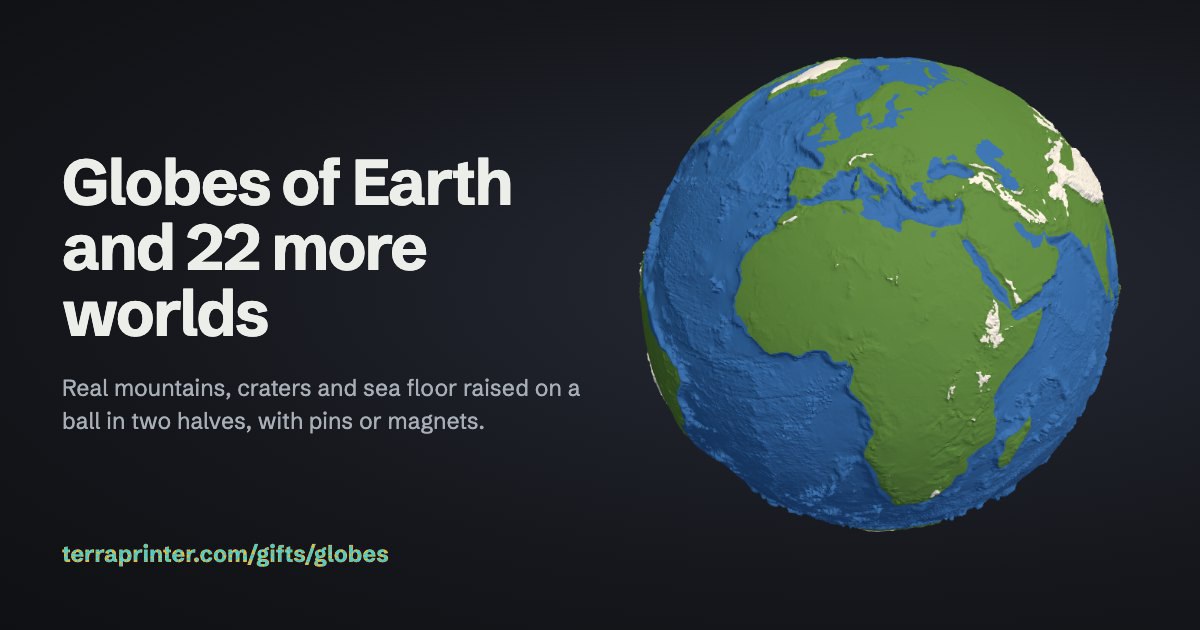
- A lamp: a whole world as a hollow ball, such as a Moon lamp, that sits over an LED light.
Make one in the lithophane maker
The free lithophane maker builds the model in your browser, with a 3D preview that shows the light coming through.
- Under What to make, choose Panel, Round or Lamp, and pick a World: Earth, the Moon, Mars and the other worlds in the list.
- Under Place, search for a mountain, canyon or city, then drag and zoom the map. The bright outline is the lithophane. For a panel, pick a shape: 16:9, 3:2, 4:3, Square, 3:4 or 2:3.
- Under Size, set the width (50 to 250 mm, 120 mm by default) and choose a frame, a hanging loop for a window and a stand.
- Under Picture, choose what the light shows, and adjust the contrast and brightness.
- Under Thickness and detail, check the thinnest and thickest settings.
- Press Light on to switch the preview light off and on, then download 3MF or STL.
Each build runs a mesh check and reports whether the print is closed and watertight.
A panel can also have a gentle Curve of up to 150°. A curved panel has no stand.
Choose the picture
- Relief shading (the default) lights the land from the north-west, so ridges and valleys stand out. It suits mountains and canyons best.
- Height (higher is lighter) makes high ground glow and low ground dark. It suits volcanoes, islands and single peaks.
- Surface photo (NASA) is offered on other worlds, such as the Moon and Mars, and uses real pictures of the surface.
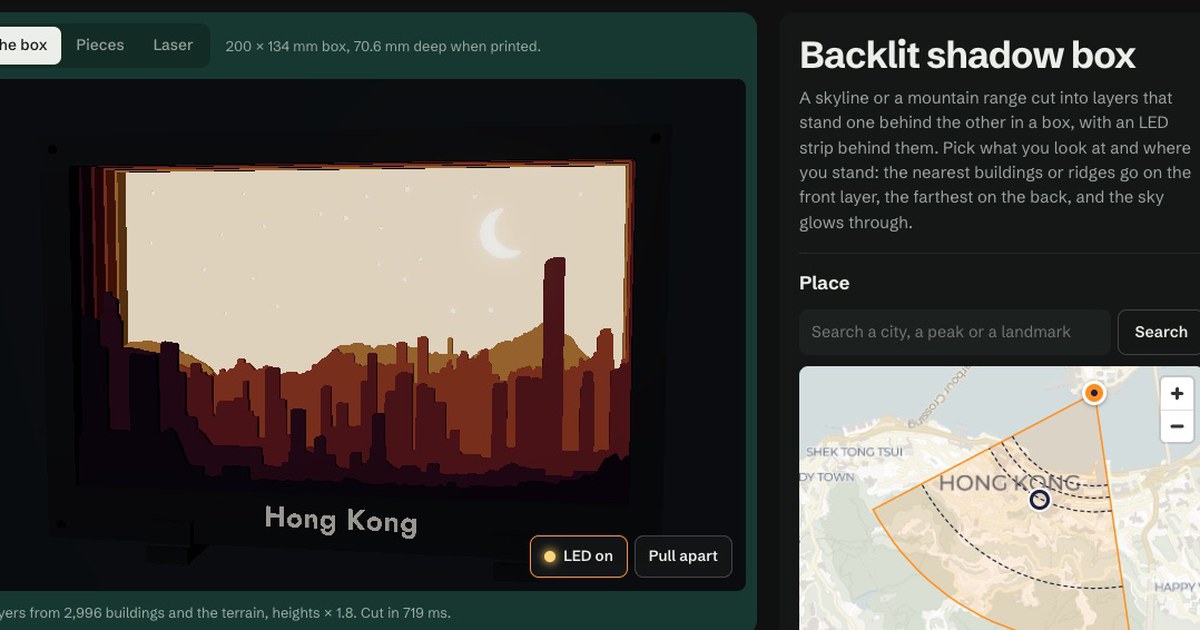
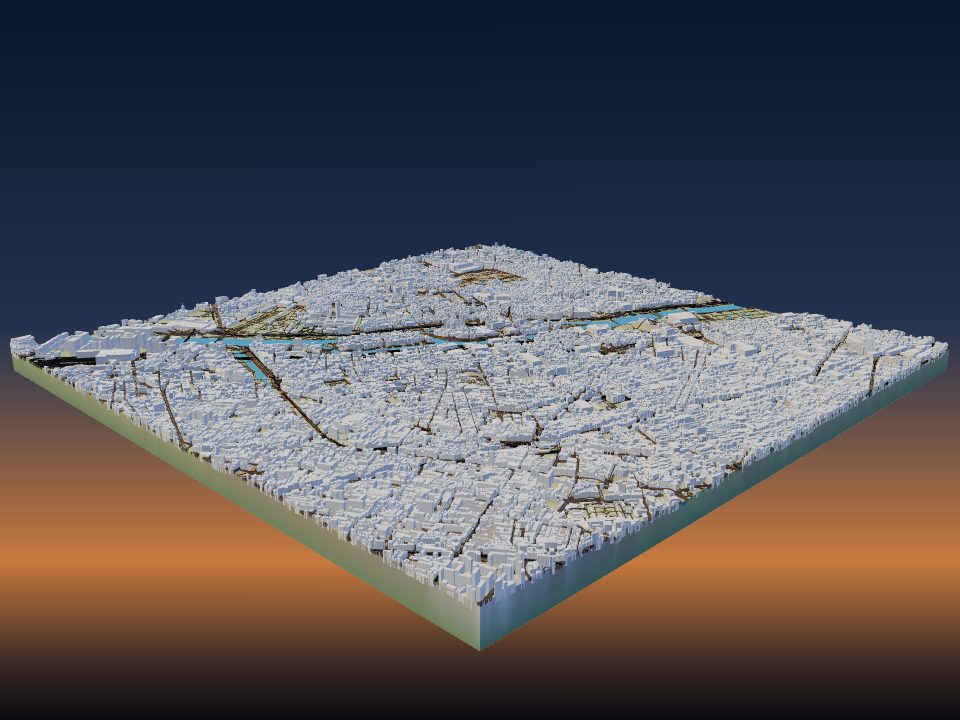
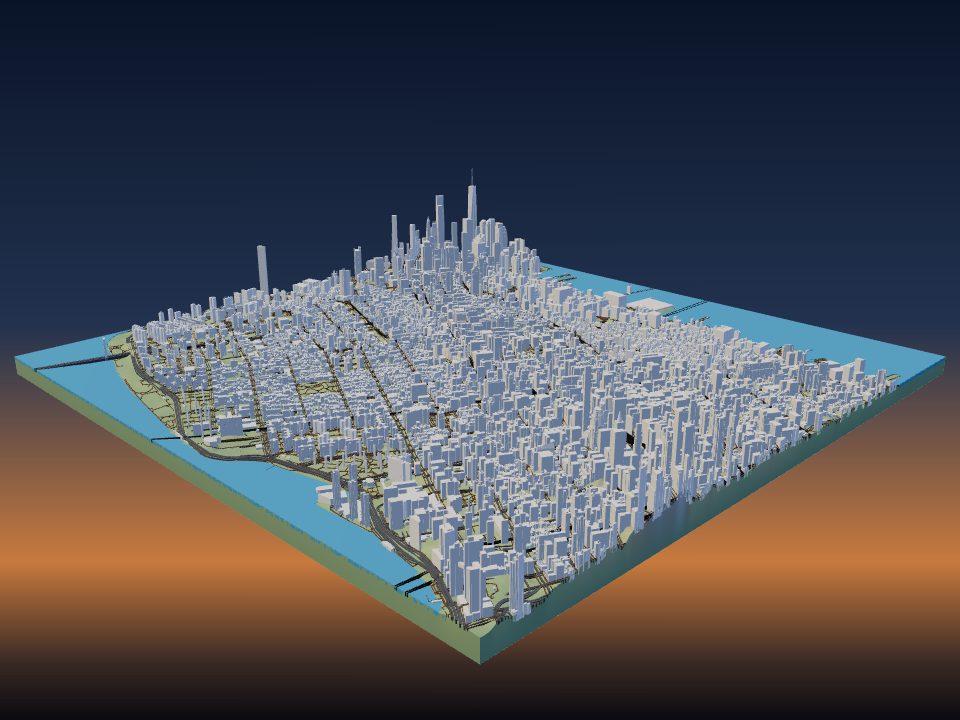
- City lights (the streets glow) draws the streets from OpenStreetMap thin so they glow, with the blocks between them thick and dark, like a city seen from the air at night.
Contrast (0.3 to 3) and Brightness change the picture without changing the place. Invert swaps light and dark.
City lights works on Earth panels and round pieces. It has its own settings: Street width, Street brightness, Glow round main roads, and how the water looks.
Places that make good lithophanes
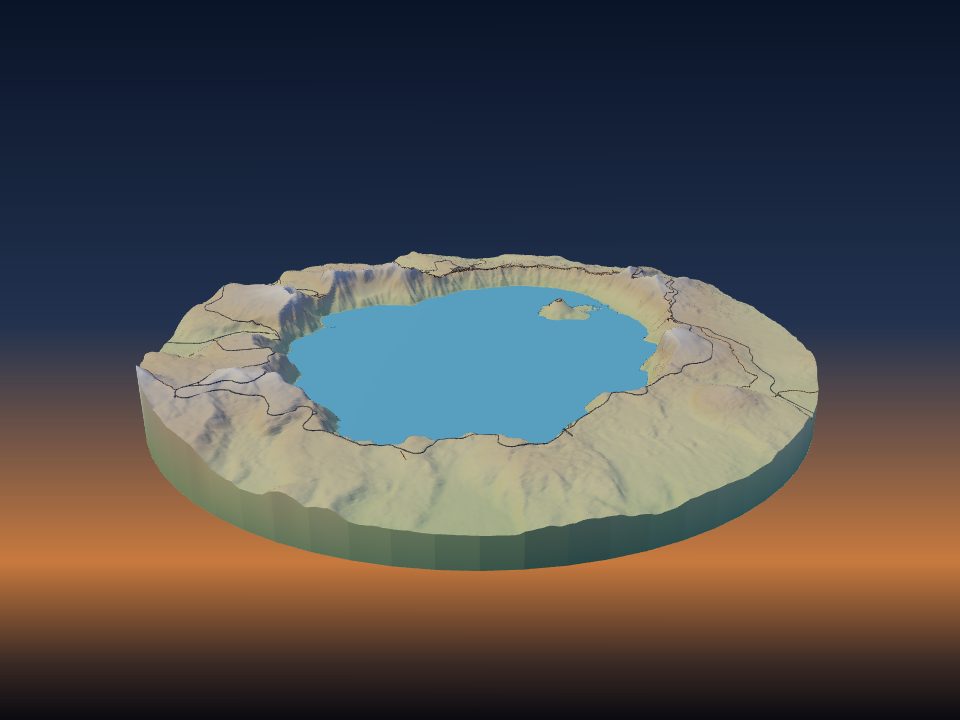
Mountains and canyons 5 to 50 km across make the best pictures. Much smaller areas have too little relief to show, and much larger ones lose the detail.
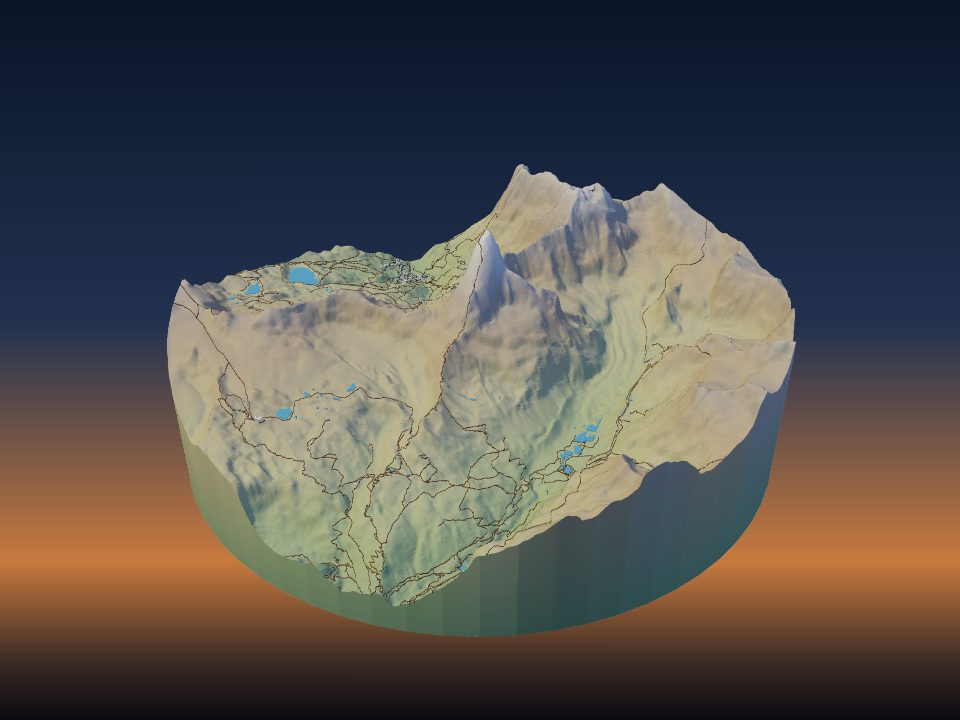
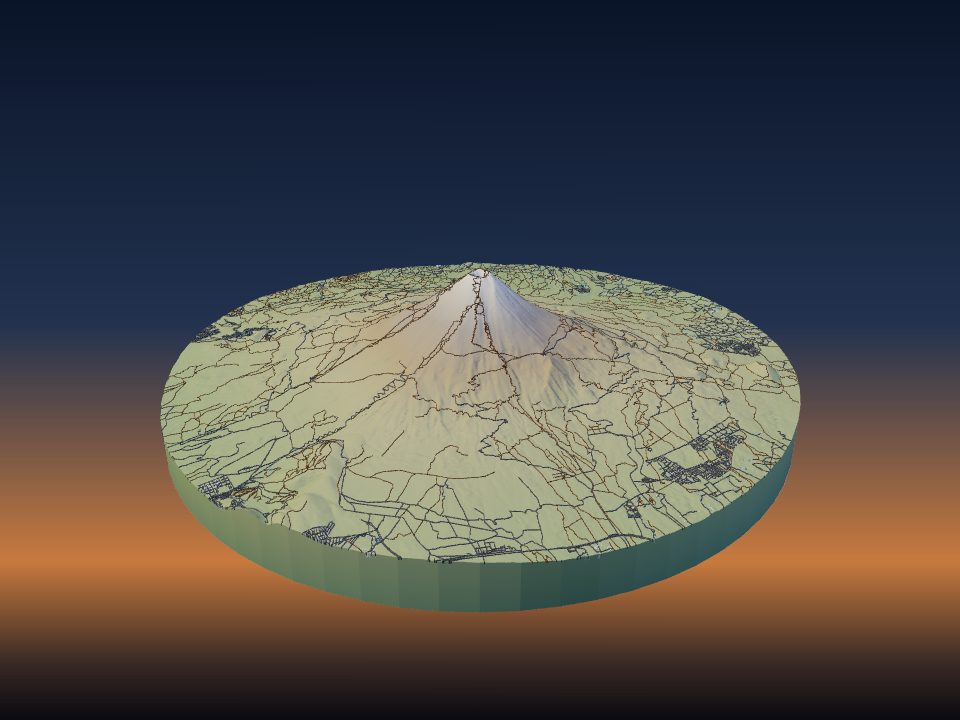
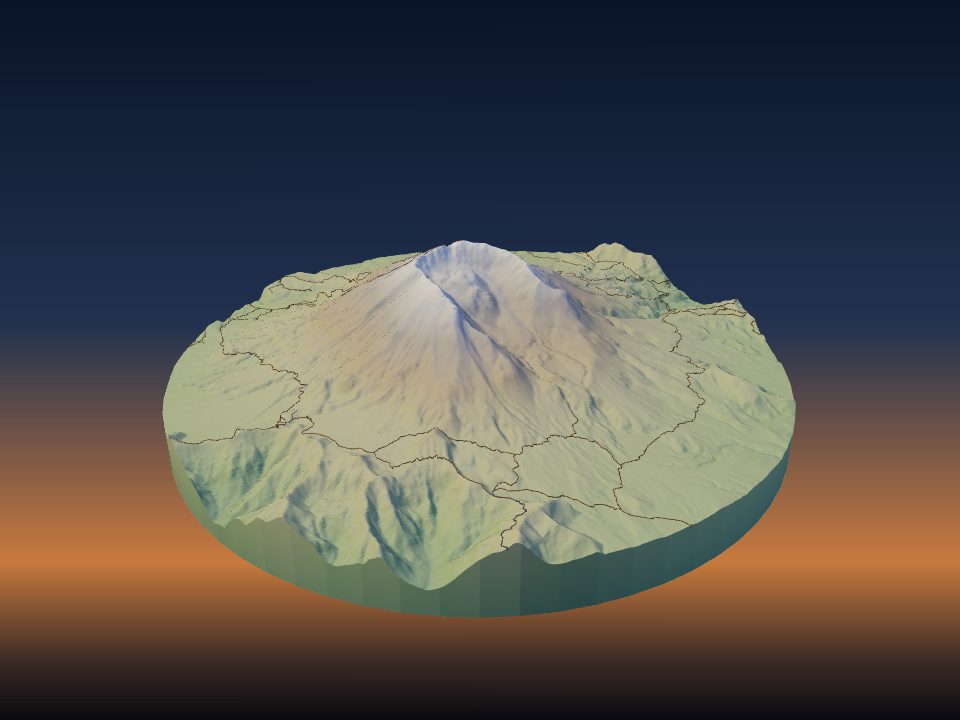
Deep valleys and sharp ridges work especially well, because relief shading turns them into strong light and dark lines. Good examples are the Grand Canyon, Yosemite Valley, the Matterhorn and Mount Fuji, which are all one click away in the maker.
For City lights, towns and cities from 2 to 8 km across show the streets best. The maker draws areas up to 16 km across.
Try the Grand Canyon as a panel or Paris in City lights.
Moon, Mars and Earth lamps
A lamp is a hollow ball, smooth inside with the world on the outside. It prints in one piece, upright on its light opening, without supports. A cupped stand holds the light under it.
Choose a diameter from 60 to 200 mm (120 mm by default) and a Light opening: 30 mm for a small LED, 40 mm for an LED tea light or 55 mm for an LED puck light. On a small lamp the opening is made smaller to suit the size.
On the Moon and other worlds, lamps use a real surface photo by default. An Earth lamp can add Sea-floor relief, so the ocean floor shows too.
Start from a Moon lamp, a Mars lamp or an Earth lamp with the sea floor.
Thickness settings
Every point of the lithophane is between two thicknesses. Thinnest (brightest) can be 0.4 to 2 mm and Thickest (darkest) 1.5 to 6 mm. The defaults are 0.8 mm and 3.0 mm, and the thickest is always at least 0.8 mm more than the thinnest.
A bigger gap between the two gives more contrast but needs a brighter light. A thinner minimum glows more, but very thin areas can be fragile or print with gaps.
The frame is a little thicker than the thickest part of the picture, so it stays dark and stiffens the panel.
Detail can be Standard (smaller files), Fine (the default) or Maximum (large files, slower). Fine is enough for most prints.
Print settings for lithophanes
- Filament: white or natural PLA. Coloured and dark filaments block the light.
- Infill: 100%, so the thickness alone makes the picture. Gaps in the infill show up as patterns when lit.
- Layer height: 0.12 mm or less shows the most detail.
- Speed: slow outer walls give a cleaner picture.
- Panels: print standing up, as the file comes, with a brim. The stand prints flat beside it.
- Lamps: print upright on the opening with no supports and a brim, and slow down for the last few centimetres at the top.
Standing up, the thickness that makes the picture is drawn by the nozzle moving sideways, which is finer than stacking layers. That is why lithophanes usually print upright. Keep the room free of drafts, because a tall, thin panel can wobble.
For general settings for other terrain prints, see the best print settings for terrain models.
Light it up
Use an LED light. Tea lights with a flame get too hot for PLA.
A panel looks best in a window with daylight behind it, or in front of an LED panel or strip. Hang it with the hanging loop, or stand it in its slotted stand with a light behind.
A lamp sits in its stand over an LED tea light, a small LED or an LED puck light, to match the opening you chose.
Warm white light gives a soft, old-paper look, and cool white looks more like snow and rock. Even, diffuse light shows the picture better than a single bright point.